
When an injury occurs, staying calm and knowing what to do can make all the difference. Whether it’s a scraped knee from a fall or a deeper cut from a kitchen accident, understanding basic wound care is essential for anyone looking to assist themselves or others in a moment of need. This illustrated guide on emergency wound care not only walks you through the types of injuries commonly faced but also outlines practical steps to clean and dress wounds effectively. With straightforward techniques and visual aids at your fingertips, you’ll feel more confident handling unexpected situations while keeping safety and recovery at the forefront of your efforts. So let’s dive in and equip ourselves with the knowledge needed to tackle these challenges head-on!
The “Emergency Wound Care Basics: Illustrated Guide” covers essential topics such as types of wounds, initial assessment procedures, proper wound cleaning techniques, and dressing applications. Additionally, it includes illustrated step-by-step instructions for treating various injuries while emphasizing infection prevention and follow-up care.
Assessing the Wound Environment
When approaching an injury, pause to assess your surroundings. The environment plays a crucial role in emergency wound care; a minor wound could worsen due to hazards. For instance, if you’re tending to someone who has fallen, ensure they aren’t at risk from oncoming traffic or sharp objects that could inflict further harm. Conducting thorough initial safety checks ensures a safe approach.
Initial Safety Checks
Checking for hazards is the first line of defense in any emergency situation. Scan for potential dangers such as broken glass, open flames, or unstable structures before you rush forward. This moment of observation allows you to prioritize safety. Always remember: patient safety begins with your awareness of your surroundings. If the scene feels perilous, address these hazards first or relocate if necessary.
A chaotic scene can make even a seasoned rescuer feel flustered, so take a deep breath! Calmly directing the injured person away from danger while assessing how best to help them ensures readiness.
Personal Protective Equipment (PPE)
Once the environment appears secure, gear up with proper protection. Using Personal Protective Equipment (PPE) like gloves is vital for both you and the injured individual. Gloves help prevent infection from entering the wound and protect you from any bodily fluids that may be present. It’s akin to putting on your superhero cape before rushing into action—a small but impactful step towards responsible care.
Always have a pair of disposable gloves in your first aid kit, making them easy to grab and don when needed.
Wound Visibility and Lighting
Light is equally crucial in evaluating an injury. Thoroughly inspecting a wound requires good visibility; therefore, adequate lighting conditions are imperative. Weak lighting can mask foreign objects embedded within a wound or obscure the true extent of the injury. If daylight isn’t sufficient, use a flashlight to gauge what you’re dealing with.
Holding a flashlight in one hand while assessing with the other keeps this process efficient. It’s essential to evaluate the injury correctly before deciding on further treatment steps.
Having established a secure environment for assessment, it’s now critical to accurately identify the type of wound before determining appropriate treatment protocols.
Identifying Different Wound Types
Recognizing the type of wound you’re dealing with is crucial for selecting the right treatment method. Each wound type has its own set of characteristics and implications for healing. Knowing these can often mean the difference between effective home care and escalating a minor issue into a major problem.
Abrasions
Abrasions occur when the skin is scraped off, often seen during falls or incidents like road rash. They may appear shallow, but don’t let that fool you; they can be quite painful and prone to infection if not treated properly. Picture the last time you skinned your knee while running—usually, it’s bleeding a bit and raw, leaving underlying skin exposed to dirt and germs. To treat an abrasion, cleaning with soap and water is vital to remove debris. Applying an antibiotic ointment afterward aids healing while protecting from infections.
Lacerations
Lacerations go deeper than abrasions. These cuts penetrate through the skin into the surrounding tissue and are frequently caused by sharp objects such as knives or shards of glass. Depending on their severity, lacerations might bleed significantly and even require stitches. If you encounter a deep laceration, control bleeding with direct pressure before cleaning it. Stay alert for jagged edges or unusual shapes in these wounds—they’re key indicators of how the injury occurred and will assist healthcare providers in determining the necessary treatment.
Puncture Wounds
Puncture wounds can be especially tricky. These small yet deep holes result from pointed objects like nails or needles. Although they may not bleed much externally, their potential for serious internal damage makes them a concern you can’t overlook. If you come across a puncture wound, do not remove any embedded object, as doing so may cause further damage or increased bleeding. Instead, clean around the area gently and seek medical attention—these injuries sometimes require tetanus shots to prevent infection.
Avulsions
Lastly, avulsions represent some of the most severe types of wounds where chunks of skin and tissue are forcibly torn away from the body. Not only do avulsions tend to involve heavy bleeding but they also indicate significant tissue damage that may require immediate professional medical intervention. If you encounter this type of wound, controlling the bleeding is paramount—applying direct pressure with a clean cloth can help manage blood loss until help arrives. Covering the area with a moist dressing is critical to protect exposed tissue from contaminants.
Types of Wounds:
- Abrasions: Superficial scrapes; typically heal without scarring.
- Lacerations: Deep cuts needing careful assessment; can require stitches.
- Puncture Wounds: Small but can lead to complications; do not remove embedded objects.
- Avulsions: Severe wounds requiring urgent medical care to manage bleeding and protect tissue integrity.
With these wound types identified clearly, proper actions now take center stage as we move towards understanding how best to clean and dress these wounds effectively for optimal healing and safety.
Cleaning and Dressing Instructions
The journey to healing begins with a systematic approach to cleaning and dressing your wound. Proper cleaning is crucial for minimizing infection risks, while an effective dressing can protect the wound from external contaminants. Imagine your wound like a garden: if you don’t tend to it carefully right from the start, weeds will sprout and choke out new growth.
Step-by-Step Cleaning Process
Let’s explore the detailed steps that form the backbone of effective wound care, starting with irrigation, which ensures a clean slate for your wound. It’s not just about rinsing; studies indicate that using clean water or a saline solution to irrigate the wound for several minutes can dramatically reduce the bacterial load—up to 50% less risk of infection! This initial step not only washes away dirt but also ushers in the opportunity for healing.
Following irrigation, it becomes essential to address what might still be lurking within the wound, including foreign objects or dead tissue.
Step I – Irrigation
During this step, hold the wound under a gentle stream of running water or use an irrigating syringe filled with saline solution. Aim to flush out any debris without causing further trauma to the affected area. Picture yourself as a gardener again; you’re clearing away mud and leaves that could harbor pests, making way for new growth.
Once you’ve rinsed the wound effectively, we move on to debridement.
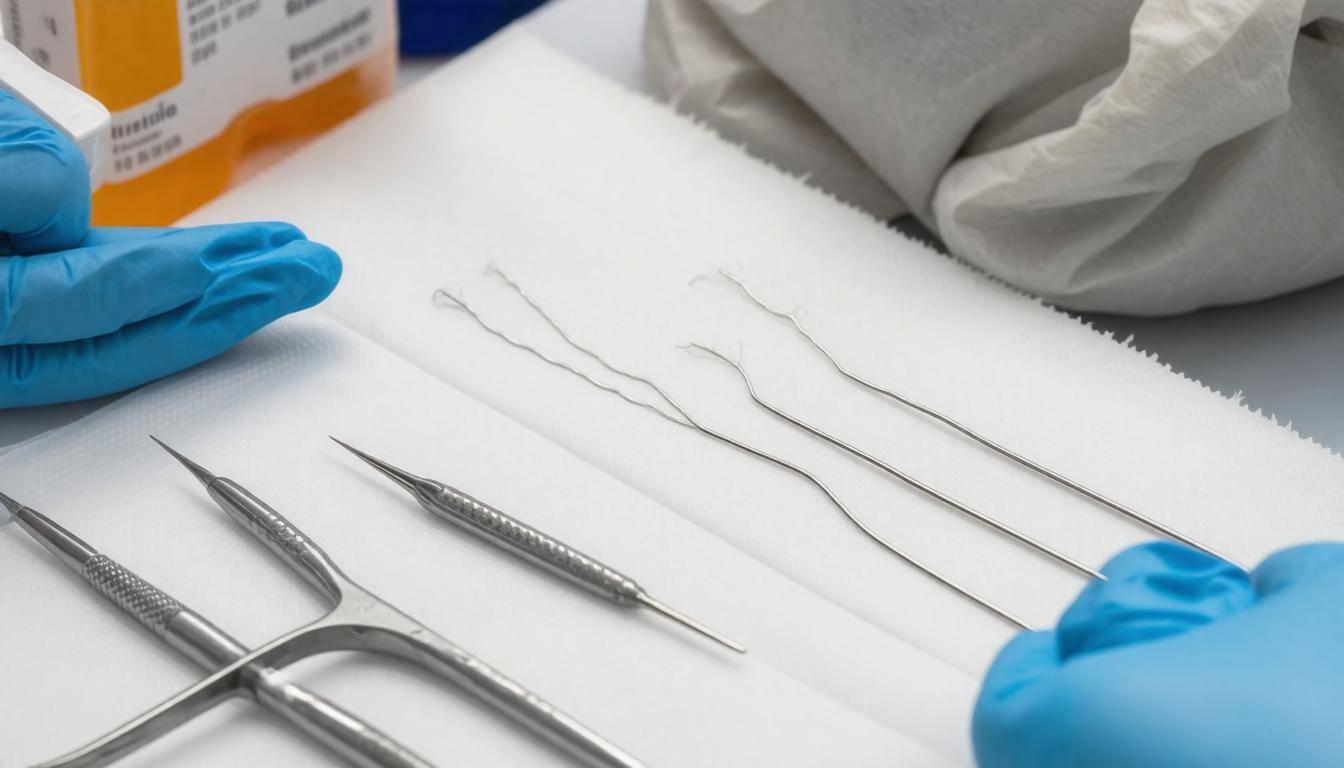
Step II – Debridement
Debridement involves gently removing any remnants that didn’t wash away during irrigation. Using sterilized tweezers, inspect the wound for small fragments, such as dirt or even bits of clothing. If you find dead tissue hanging on, it’s essential to remove this as well—this isn’t merely cosmetic; avoiding scar tissue formation can significantly enhance healing outcomes in the long run. Think of your wound like old mulch around a flower bed that needs to be cleared out so new blossoms can flourish.
With the wound now clean and free of any debris, we turn our attention to disinfecting.
Step III – Applying Antiseptics
At this point, grab your antiseptic solution—whether it’s iodine or chlorhexidine—and apply it directly onto the cleaned edges of the wound. Be careful not to flood the open area itself, as these solutions are powerful and can sometimes irritate living tissue. Instead, your goal here is to provide a protective barrier against potential infections while creating an optimal environment for healing. Consider this stage akin to adding fertilizer that keeps unwanted critters at bay while nurturing healthy growth.
Finally, with a disinfected wound ready for protection, we will detail how to dress it properly to facilitate recovery.
Step IV – Dressing the Wound
Now that you’ve completed all crucial cleaning steps, it’s time to cover your hard work. Place a sterile gauze pad directly over the wound—making sure it extends past the edges to allow room for any potentially oozing fluids. Gently secure it in place with adhesive tape, ensuring it’s snug but not too tight; you want air circulation while preventing movement that hinders healing.
For larger wounds, consider using a pressure bandage to control bleeding effectively as well. This method parallels putting up a sturdy fence around your garden; it protects the area from intruders while fostering healthy plant growth beneath.
With this robust approach set in place—from thorough cleaning through care in dressing—we are primed to discuss critical techniques for managing bleeding effectively.
Applying Pressure to Control Bleeding
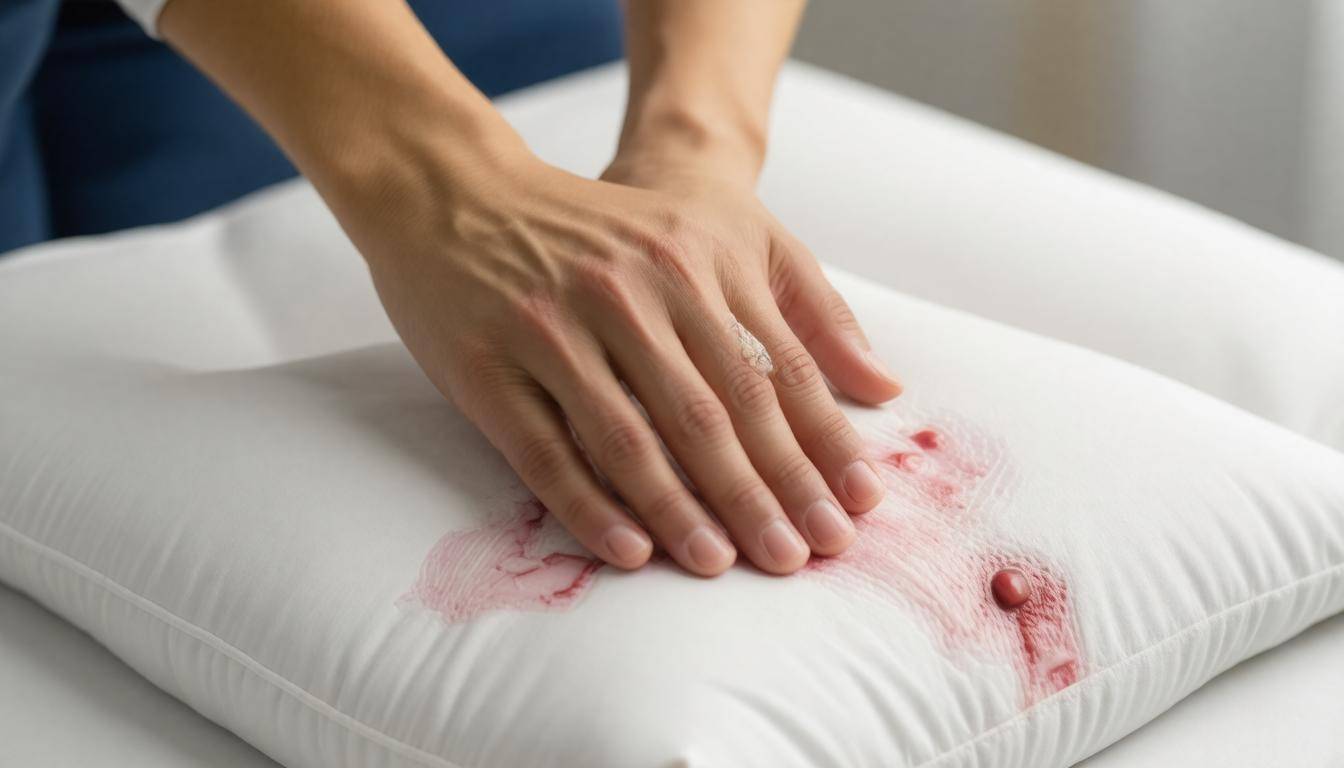
Controlling bleeding is paramount in emergencies, as it prevents shock and minimizes the risk of serious complications. When you encounter a wound, the very first thing to remember is to apply direct pressure. This simple act can be life-saving. Using a clean cloth or sterile gauze, press firmly over the wound, ensuring that your grip is strong enough to stem the blood flow adequately.
This consistency in pressure should be maintained without interruption; lifting the cloth even once can disrupt clot formation and lead to renewed bleeding.
Elevating the injured limb above heart level is another effective technique that can help slow the flow of blood to a wounded area. This step not only assists in controlling the bleeding but also helps lessen swelling. Imagine placing a delicate piece of glass on a shelf; ensuring it’s at a higher altitude can provide some added security. In this context, keeping an injured arm raised about heart level acts similarly by reducing gravitational pull on the blood flow.
Direct Pressure Application
As you apply direct pressure, it’s important to remain calm and reassure the injured person, if conscious, to help ease their anxiety and prevent any unnecessary strain on their system. Make sure that the material used for pressure application is clean, as this reduces the risk of introducing infection into an open wound. If you’re working with gauze, ideally use sterile pads for this very reason.
“Effective action in the moment can mean the difference between life and death.”
If blood begins to seep through your initial cloth or gauze layer, resist the urge to remove it—do not lift it off to check! Instead, add additional layers on top while continuing to apply firm pressure. Each layer will assist in clotting and provide more absorbent capacity without reopening wounds.
Use of Tourniquets
In cases where bleeding is particularly severe or does not respond to direct pressure techniques, resorting to a tourniquet may become necessary. A tourniquet should be positioned 2-3 inches above the wound, but importantly, it must not be applied directly over joints; doing so could cause more damage than good. It’s crucial that individuals applying tourniquets have received some training beforehand since improper use can lead to loss of limbs or other severe complications.
Should you resort to this option, always mark down the time of application clearly—this note is vital information for any medical professionals who will take over when assistance arrives.
Regularly reassessing both the wound and your application of pressure can provide insights into how well your efforts are working. Is blood seeping through? Has swelling increased? Effective pressure management requires quick thinking and careful observation in real time—each element playing a part in maintaining life until professional help takes over.
With bleeding under control, we now turn our attention to ensuring that these openings remain protected from infection, shaping your approach to comprehensive care.
Protecting Wounds from Infection
Infection can severely impede the healing process or even lead to systemic illness, making it essential to adopt proper methods for wound protection. Keeping your hands clean is the first line of defense, so remember to wash them thoroughly with soap and water before and after attending to any wounds. If you have disposable gloves handy, use them as an added barrier to minimize the risk of introducing harmful bacteria.
Hygienic Measures
Always prioritize hygiene during wound care. A simple 20-second hand wash dramatically reduces the number of bacteria on your skin. If you’re in a situation where running water isn’t available, hand sanitizer can be an excellent substitute for initial cleansing—just ensure it contains at least 60% alcohol to be effective.
Another important aspect of keeping wounds safe from infection is how you handle them after cleaning. After rinsing and disinfecting the affected area, it’s wise to apply an antimicrobial ointment like Neosporin or Bacitracin. These products provide a protective layer while creating a moist environment that promotes faster healing by lessening scab formation.
Applying Antimicrobial Ointments
When applying ointment, you only need a thin layer; too much can actually trap moisture and create a breeding ground for bacteria instead of protecting against them. If you notice any sign of irritation or allergic reaction, discontinue use and consult a healthcare professional.
After treating the wound and applying ointment, covering it properly is vital to shield it from outside contaminants. For this, sterile non-stick gauze pads are your best friend. They allow air circulation while also absorbing any fluids without sticking to the injury, which can cause pain during removal.
Choosing the Right Bandages
Think about your bandage options: using medical-grade adhesive tape will keep your dressing secure without irritating the skin underneath. For larger or more serious wounds, consider specialized dressings impregnated with silver or honey. These advanced materials not only offer physical coverage but also release antimicrobial properties that significantly reduce infection risks—perfect for more stubborn injuries.
As we transition into understanding further treatment options, grasping the techniques for effectively closing wounds can lead to improved healing outcomes.
Suturing and Closure Techniques
Not every injury requires sutures, but for more profound or jagged cuts, knowing how to close the wound properly is essential to promote healing and minimize scarring. The first step is assessing whether the wound needs suturing at all. Evaluate if you can easily pull the edges of the wound together and check for depth; a significant depth that exposes underlying tissues typically signals that sutures are necessary.
If you determine that suturing is required, it’s crucial to use the right type of suture material. Medical professionals generally opt for absorbable sutures like Polyglycolic acid (PGA) or Polyglactin 910 (Vicryl) for internal layers, as these will dissolve over time and not require removal. For skin surface closure, non-absorbable sutures such as Nylon or Silk come in handy; they provide lasting support until they can be safely removed. The choice of materials may also depend on the patient’s unique needs, such as those with allergies to specific materials.
If you’re faced with a smaller wound or need to act quickly in a field setting, alternatives to traditional suturing should be considered. Adhesive strips, commonly known as Steri-Strips, and medical-grade skin glue can effectively close minor lacerations without the invasiveness of sutures. These methods not only reduce discomfort but can also streamline the treatment process when time is of the essence.
After your meticulous effort in either suturing or using alternative closure methods, remember that taking care of the wound afterward is just as vital for a smooth recovery. This includes regular monitoring for signs of infection and ensuring that dressings are replaced promptly to facilitate effective healing and protect against further complications.
Removal and Replacement of Dressings
Frequent dressing changes play a vital role in wound care as they not only help keep the injury clean but also serve as an opportunity to check for signs of infection.
It’s essential to understand that a dressing is like a protective layer, safeguarding the wound from harmful bacteria while allowing it to heal. With this in mind, let’s explore the recommended practices for maintaining proper wound dressings.
How Often to Change Dressings
A good rule of thumb is to replace a dressing every 24 to 48 hours. However, if the dressing becomes wet or visibly soiled, change it immediately. Imagine wearing a damp shirt all day — it’s uncomfortable and invites irritation; the same principle applies to your wound.
Wet or soiled dressings can become breeding grounds for bacteria, increasing the risk of infection. Thus, keeping a close eye on the condition of the dressing is critical. If you frequently find yourself in scenarios where you might encounter dirt or moisture—like outdoor activities—consider reinforcing your first-aid kit with extra dressings.
Steps for Safe Dressing Removal
When it’s time to remove old dressings, do so gently. Start by peeling back one corner slowly to prevent disturbing any newly healed tissue underneath. If you’re confronted with resistance due to sticking—an unfortunate yet common occurrence—moisten that area with saline solution before continuing. This eases the adhesive’s grip and minimizes discomfort.
It’s almost like unwrapping a present: you want to be excited about what’s inside but take care not to tear anything precious while doing so.
Reapplying Fresh Dressings
After successfully removing the old dressing, clean the wound again using saline solution—a gentle method that helps ensure any debris or bacteria from the previous dressing is washed away. Once your wound is cleaned, apply a fresh layer of antibiotic ointment and cover it with a new sterile dressing.
The importance here lies in ensuring that the new dressing fits snugly but is not overly tight; think of it as hugging your wound just enough—not too loosely that it falls off and not too tightly that it constricts blood flow.
Regular monitoring through consistent dressing changes can significantly reduce infection rates and promote faster healing. Imagine each time you conduct these changes as planting seeds: each careful action contributes positively towards growth and recovery.
Follow-up care demands attention beyond initial injury treatment, setting the stage for effective healing and minimizing risks along the way.
Tips for Effective Follow-Up Care
Consistent follow-up care is like nurturing a fragile seedling as it grows; without ongoing attention, the potential for flourishing is stunted. Promptly checking in on your wound is vital to ensure it heals well. Monitoring your wound after the initial treatment helps catch issues early, allowing for swift intervention if needed.
Monitoring for Signs of Infection
As you assess your wound during follow-up, look closely for signs of infection. Check for symptoms such as increased redness, swelling, or discharge oozing from the site. If you start noticing these changes, don’t hesitate to reach out to a healthcare professional promptly. Delaying medical attention can transform a manageable issue into a more significant complication. Remember, when it comes to infections, timely action can make all the difference.
Next to monitoring, addressing overall health plays a crucial role in how efficiently your body can mend itself.
Proper Nutrition and Hydration
Nourishing your body with proper nutrition increases its ability to heal. Good food isn’t just fuel; it’s vital support! Focus on incorporating protein-rich foods like chicken, beans, and legumes into your diet – these are the building blocks your body needs to repair tissues effectively. Alongside protein, staying well-hydrated enhances blood circulation and promotes cellular processes necessary for healing. Aim for eight glasses of water a day and consider infusing it with electrolytes if you’re active or sweating heavily.
As important as self-care is, having professional guidance ensures everything remains on track.
Scheduled Medical Check-ups
Don’t underestimate the value of scheduled follow-up appointments with healthcare providers. These visits allow professionals to assess your wound’s healing progress accurately, ensuring that any concerns are addressed before they escalate into severe complications. If sutures were used in treatment, they may need to be removed during these visits too. Regular check-ins not only facilitate better recovery but also provide peace of mind knowing that you’re actively participating in your own health journey.
With the complexities of wound care in mind, sometimes visual aids can make understanding easier.
Use of Illustrative Guides
Consider employing illustrated guides or apps that provide step-by-step visuals for wound care techniques. These resources can bridge knowledge gaps and offer clarity on procedures you might find overwhelming at first glance. Visual learners particularly benefit from seeing proper methods in action as it reinforces their understanding and confidence while caring for their wounds.
| Follow-Up Care Tips | Importance |
|---|---|
| Monitor for Infection | Early detection of complications |
| Proper Nutrition | Enhances body’s natural healing mechanisms |
| Scheduled Check-ups | Professional assessment and guidance |
| Use of Illustrated Guides | Improved understanding of proper wound management |
By prioritizing comprehensive follow-up care practices, you’re giving yourself the best chance at complete recovery and keeping any pesky problems at bay. Healing takes time and effort — be diligent and compassionate towards yourself throughout this process.
Incorporating these practices ensures a smoother healing journey and reduces the likelihood of complications down the road. Your commitment to proper care makes a substantial difference in your recovery outcomes.
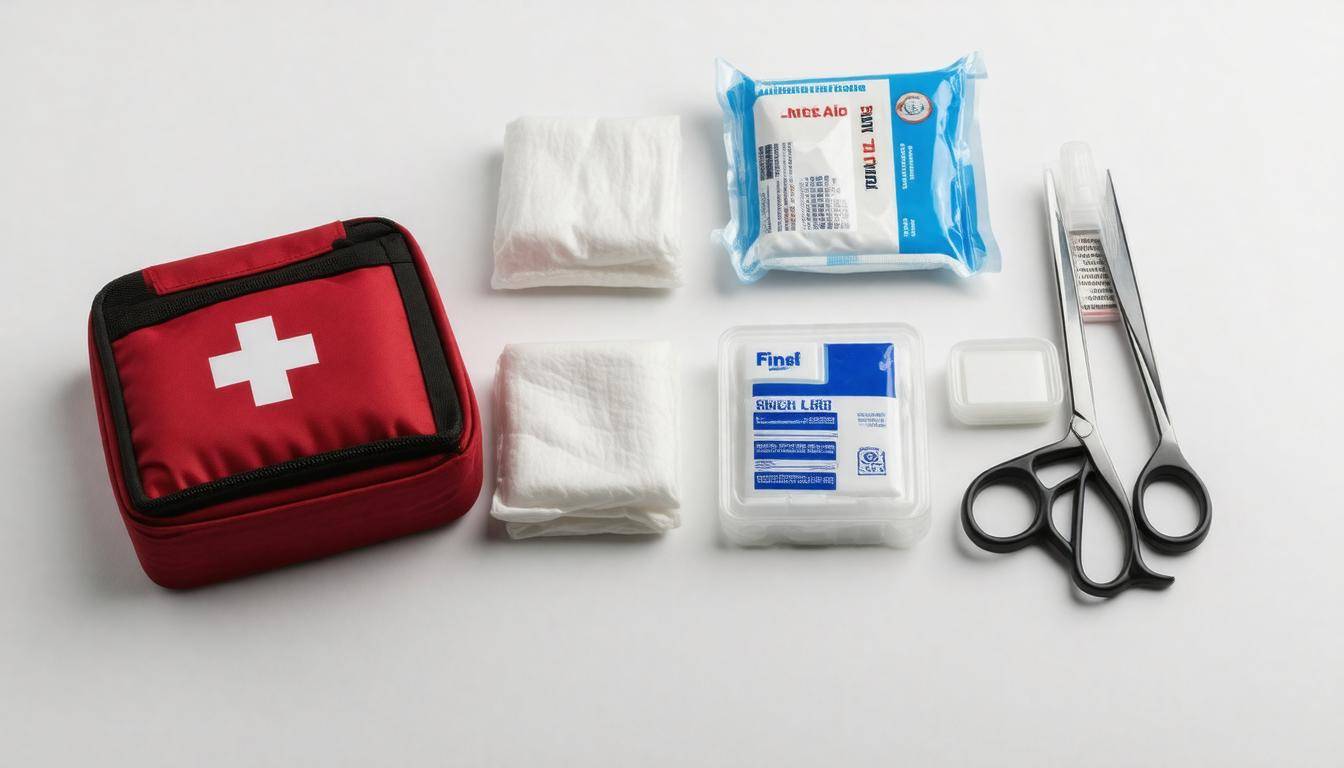
What essential materials should be included in a basic emergency wound care kit?
A basic emergency wound care kit should ideally include adhesive bandages, sterile gauze pads, antiseptic wipes or solution, medical tape, scissors, tweezers, and gloves. According to the American Red Cross, having these essential materials can significantly improve the management of minor injuries and help prevent infections. For instance, properly cleaned wounds reduce infection rates by up to 60%, making it crucial to have a well-equipped kit on hand for prompt and effective care.
What steps should one take if a wound shows signs of infection despite following the illustrated guidelines?
If a wound shows signs of infection despite following the illustrated guidelines, one should take the following steps: clean the wound gently with soap and water to remove any debris, apply an antibiotic ointment, and cover it with a sterile bandage. Monitor for symptoms like increased redness, swelling, pus discharge, or fever, which may indicate a more serious infection. If these symptoms persist or worsen after 24-48 hours of treatment, seek medical attention promptly as untreated infections can lead to complications in about 10% of cases. Early intervention is crucial to prevent further issues and promote healing.
How do different types of dressings impact the healing process for various wounds?
Different types of dressings impact the healing process by providing varying levels of moisture, protection, and support to wounds. For instance, hydrocolloid dressings maintain a moist environment that can speed up healing by up to 50%, while also reducing pain and dressing changes. In contrast, dry gauze can adhere to wounds and create discomfort, potentially delaying healing. Studies show that advanced dressings such as alginates or foam can absorb exudate effectively, leading to a lower risk of infection and faster recovery in chronic wounds, emphasizing the importance of selecting the appropriate dressing based on wound type and stage.
How does an illustrated guide improve the understanding of wound care for laypersons versus trained professionals?
An illustrated guide enhances the understanding of wound care for laypersons by providing visual representations that simplify complex concepts, making them more accessible and easier to remember. Studies have shown that visuals increase retention of information by up to 65% compared to text alone. For trained professionals, while they may grasp technical terms, illustrations can serve as quick references or refresher tools, leading to improved communication with patients who may be unfamiliar with medical jargon. Overall, visuals bridge the knowledge gap between professional expertise and lay understanding, fostering better outcomes in emergency situations.
What types of wounds are most commonly addressed in an emergency wound care guide?
The types of wounds most commonly addressed in an emergency wound care guide include lacerations, abrasions, puncture wounds, and burns. Lacerations, often resulting from accidents or falls, account for a significant portion of emergency visits, while abrasions are prevalent in sports injuries. Puncture wounds, frequently caused by nails or animal bites, pose infection risks; statistics show that approximately 1 million dog bite injuries occur annually in the U.S. Burns can result from various sources, including thermal or chemical agents. Understanding these common wounds is crucial for effective initial care and prevention of complications.