
In urgent situations, when injuries occur, knowing how to properly close a wound can make all the difference between swift recovery and serious complications. Whether you’re an outdoor adventurer, a first responder, or simply someone who wants to be prepared for unexpected mishaps, understanding emergency wound closure techniques is essential. It’s not just about stopping the bleeding; it’s also about promoting healing and preventing infections. While I’ve spent countless hours digging deep into medical practices and the latest guidelines, my aim is to break down these concepts into simple terms that anyone can grasp. So, if you’ve ever wondered what tools and techniques are best suited for closing wounds effectively, read on—this guide is here to help!
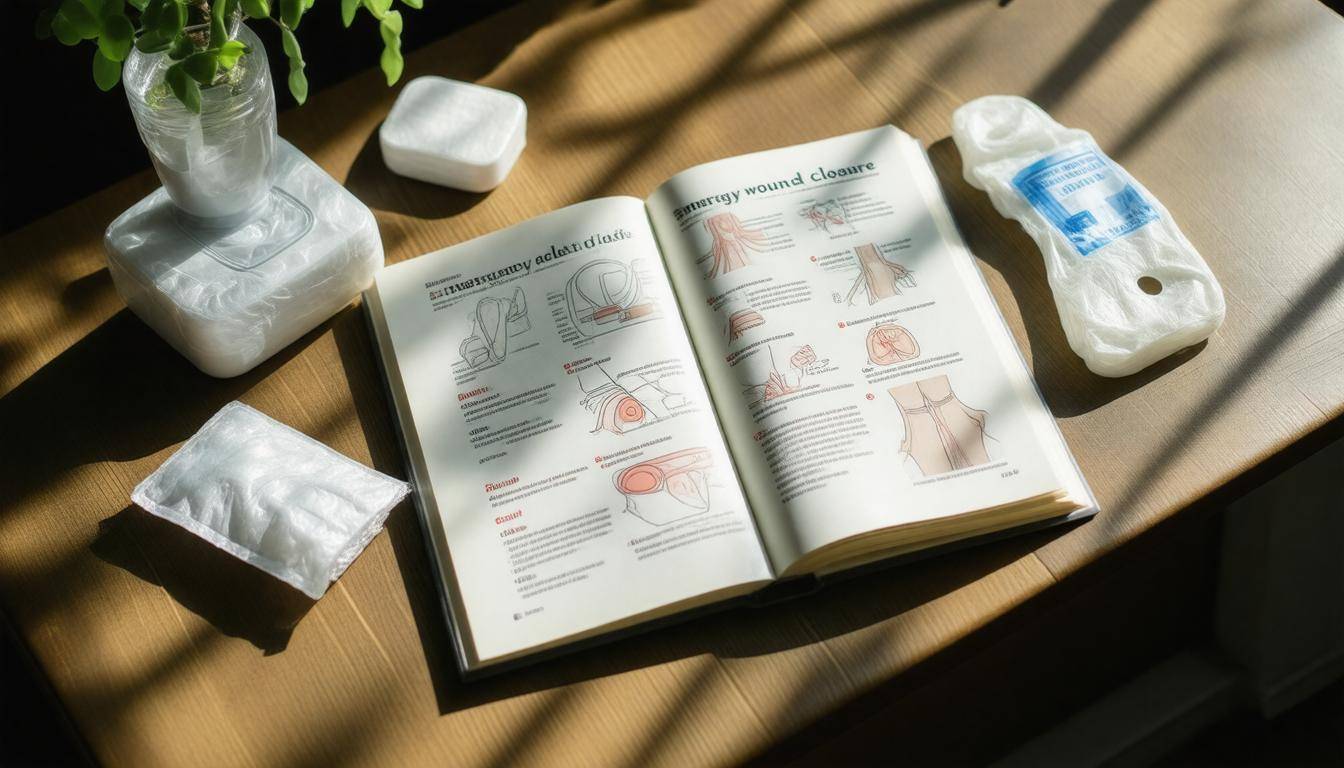
The Field Guide to Emergency Wound Closure offers essential insights into various wound closure techniques, including sutures, staples, and adhesive strips, along with indications for each method. It emphasizes the importance of proper assessment, sterile practices, and timing in achieving optimal healing outcomes while reducing the risk of complications such as infections or scarring.
Essential Emergency Wound Closure Tools
A well-stocked emergency wound closure kit is not just about having items on hand; it’s about having the right tools to effectively and safely handle a variety of situations. Each tool serves a specific purpose, ensuring that you can address wounds efficiently while minimizing the risk of further injury or infection.
Basic Tools
-
Scalpel and Blades: The scalpel is indispensable for making precise incisions or removing tissue—particularly useful if there’s dead tissue that needs debridement to promote healing. A selection of blades allows for flexibility depending on the wound size or type.
-
Hemostats: Think of hemostats as your go-to tool for controlling bleeding. They clamp down on blood vessels to prevent excess bleeding during an emergency and can also grasp small objects like splinters or sutures, making them versatile in various scenarios.
-
Needle Holder: This handy tool is essential for suturing, holding the suture needle securely while you weave through the tissue. A quality needle holder ensures better precision for delicate suturing tasks.
-
Forceps: Forceps come in several types and are vital for tissue manipulation during procedures. Whether pulling away surrounding tissues or holding dressings in place, forceps enhance functionality when dealing with larger wounds.
-
Scissors: Often overlooked, scissors are crucial for cutting threads when stitching, trimming dressings, or cutting clothing away from the injured area. Sharp surgical scissors make these tasks quicker and safer.
-
Stitch Remover: Once a wound has healed, stitches need careful removal. A stitch remover simplifies this process, allowing you to remove sutures with minimal discomfort and without risking damage to the surrounding skin.
-
Sterile Gloves: Maintaining a sterile environment is paramount during any wound closure procedure. Wearing sterile gloves protects both you and the patient from potential infections while providing a clean barrier against contaminants.
-
Antiseptic Solution: An antiseptic solution such as iodine or alcohol is critical for cleaning the wound site before closing it up. This step reduces bacterial load and helps prepare the area for suturing or dressing application.
-
Suture Kits: Pre-packaged suture kits contain everything needed for stitching a wound: sutures in various sizes, needle holders, and sometimes even antiseptics. They allow quick access to materials without rummaging through your kit.
Once armed with these essential tools, thoughtfully organizing your first aid supplies will ensure readiness for any unexpected emergencies that may arise.
Assembling Your First Aid Kit
Imagine being out in the wilderness, miles away from help, and suddenly facing a severe laceration. A camper had to manage with only a basic first aid kit, which lacked the necessary components to properly address this situation. Having a well-assembled first aid kit could transform a dire moment into a manageable one and has the potential to save lives.
Essential Components
-
Bandages and Gauze: These are crucial for dressing wounds, as they provide essential coverage to help prevent infection while promoting healing. Include various sizes to accommodate different injuries.
-
Antibiotic Ointment: This simple yet effective solution can help stave off infections by creating a protective barrier over the wound.
-
Pain Relievers: Effective pain management is vital during any medical incident. Medications like ibuprofen or acetaminophen allow you to provide relief while waiting for professional help.
-
Tweezers: These handy tools are necessary for removing debris such as splinters or dirt from wounds, ensuring that the injury is clean and reducing infection risks.
-
Sterile Water: Always ensure that you have sterile water on hand for effectively cleaning wounds before applying dressings.
-
Medical Tape: This versatile tool helps secure dressings in place, providing stability so that they can better protect the injury.
-
CPR Mask: With its capability to create a barrier during respiratory emergencies, having a CPR mask included allows responders to give assistance without risk of exposure.
Now that your first aid kit is ready and equipped with essential components, understanding the various methods for wound closure will enhance your ability to manage emergencies efficiently.
Types of Closure Techniques
There are several types of wound closure techniques, each suitable for different scenarios based on the nature and severity of the injury. Understanding these methods helps ensure the best possible care for patients or anyone needing immediate assistance.
Direct Pressure and Bandaging
The first line of defense in emergency wound management is applying direct pressure to control bleeding followed by proper bandaging to cover the wound. This technique helps stabilize the injury and can be life-saving in instances where heavy bleeding occurs. Here, you aren’t just stopping blood loss; you’re also preventing contaminants from entering the wound, which could lead to infections.
It’s important to note that if bleeding does not stop after applying direct pressure for several minutes, it may require more advanced intervention.
Once bleeding has stabilized, bandaging involves carefully wrapping the wound with sterile dressings or gauze. This not only protects against dirt but also keeps the area moist—which is beneficial for tissue healing. However, applying too tight a bandage can restrict blood flow and cause further damage; thus, achieving a balance here is key.
For more serious wounds, suturing might be required, as this technique offers precise closure and minimizes scarring.
Suturing
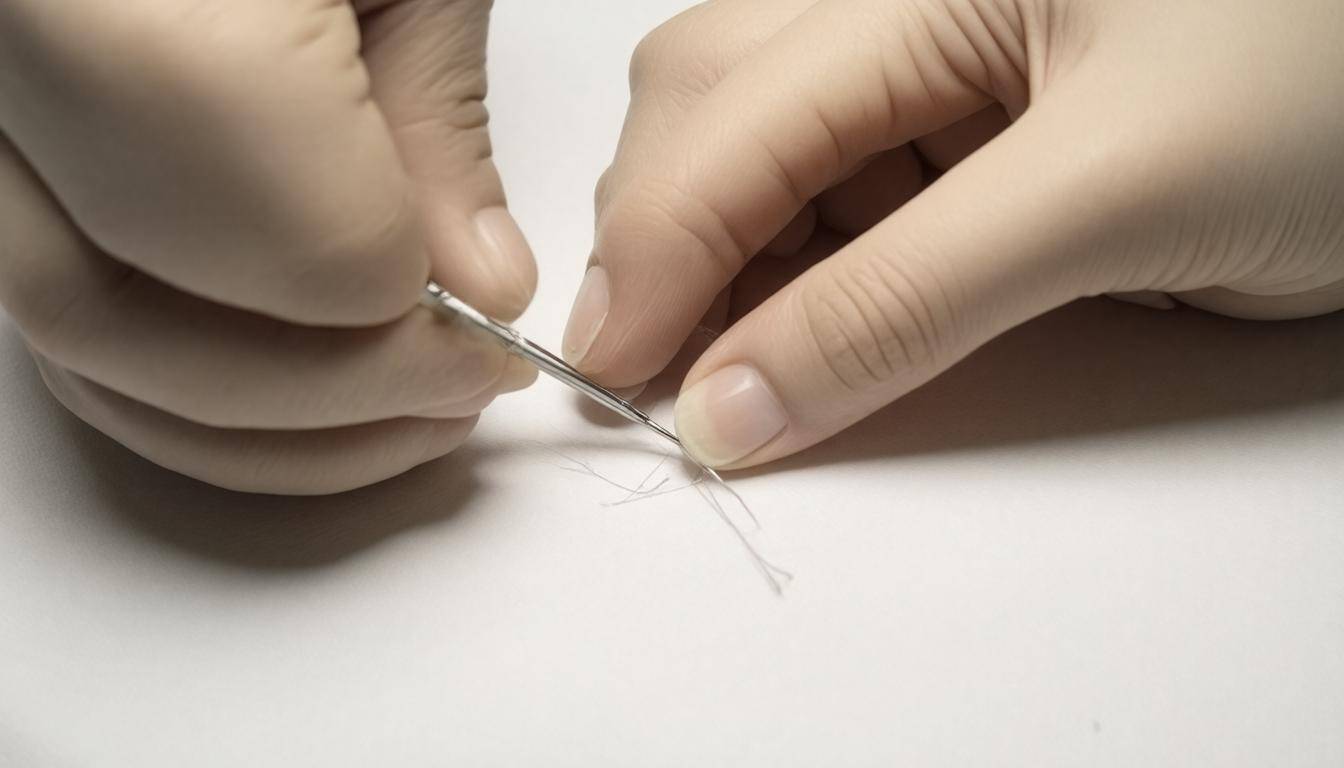
Suturing remains one of the most common methods for closing lacerations. This technique involves using a needle and thread to bring together the edges of the wound. It’s preferred when precision is necessary—like on the face or areas requiring aesthetic consideration. Imagine bringing together two pieces of fabric; suturing connects skin edges in a way that promotes optimal healing.
Interestingly, research indicates that proper suturing techniques can reduce scarring by up to 50%, highlighting just how much technique matters when aesthetics are on the line.
Sutures fall into two categories: absorbable and non-absorbable. Absorbable sutures dissolve over time, making them ideal for internal closures that don’t require removal. Non-absorbable sutures, however, need to be taken out after healing unless they’re used in areas where they may remain safely embedded.
Timing is crucial—wounds should ideally be closed within 6 to 8 hours for the best outcomes, especially facial injuries where aesthetic appearance is paramount.
While suturing offers significant advantages, there are additional closure methods worth exploring that may be better suited for specific types of wounds.
Additional Methods
Alongside suturing, other closure options include staples and tissue adhesives. Staples offer a quick solution for larger wounds; they involve placing metal clips along the edge of the skin to hold it together firmly. This method finds its place primarily in surgical settings or emergencies due to its efficiency.
| Closure Technique | Description | Best Use Cases |
|---|---|---|
| Direct Pressure | Controls bleeding with pressure | Minor cuts |
| Suturing | Needle and thread to close wounds | Deeper lacerations |
| Stapling | Metal clips to secure skin | Larger or surgical wounds |
| Tissue Adhesives | Glues that bond skin edges instantly | Superficial lacerations |
Tissue adhesives bypass traditional tools altogether by using a cyanoacrylate-based product like Dermabond that literally glues skin edges together without needles or stitches—a fantastic option for very superficial wounds often seen in pediatrics or emergency settings due to their ease of use.
Each technique has unique advantages depending on various factors, including wound type, patient health status, and location on the body; understanding these nuances helps craft an appropriate response strategy during emergencies. Now let’s explore some specific techniques involving more detailed aspects such as sutures and their application.
Sutures and Stitches
Suturing is a critical skill in both emergency and routine medical care, celebrated for its precision and ability to promote optimal healing. To put it simply, sutures act like tiny stitches that hold the edges of a wound together. This stabilization allows for better blood flow and reduces the risk of infection. However, sutures can be categorized as either absorbable or non-absorbable, each serving unique purposes based on the situation at hand.
Absorbable vs. Non-absorbable
| Type | Advantages | Disadvantages |
|---|---|---|
| Absorbable | Dissolves over time, no removal needed | Limited tensile strength after a few weeks |
| Non-absorbable | Provides long-term wound support | Requires a follow-up visit for removal |
Absorbable sutures, such as those made from polyglycolic acid or catgut, dissolve naturally within the body over time. These sutures are particularly useful in internal wounds where follow-up visits may be challenging. Non-absorbable sutures, like nylon or polypropylene, provide lasting support but require a trip back to the provider for removal after about 5 to 14 days post-closure. Choosing between these types often hinges on the particular injury and its location on the body.
Furthermore, the size of the suture is just as pivotal as its type.
Suture Sizes and Needle Types
In practice, suture sizes range from 0 (thicker) to 11-0 (thinner), with 3-0 to 5-0 commonly used for skin closures. The size you select influences how well the wound coalesces without causing excessive tension that could lead to scarring or discomfort. Different needle types are tailored for various tissues; cutting needles are ideal for tougher tissues, while tapered needles suit softer tissues.
The importance of choosing the right suture size cannot be overstated; it directly impacts both healing outcomes and cosmetic results.
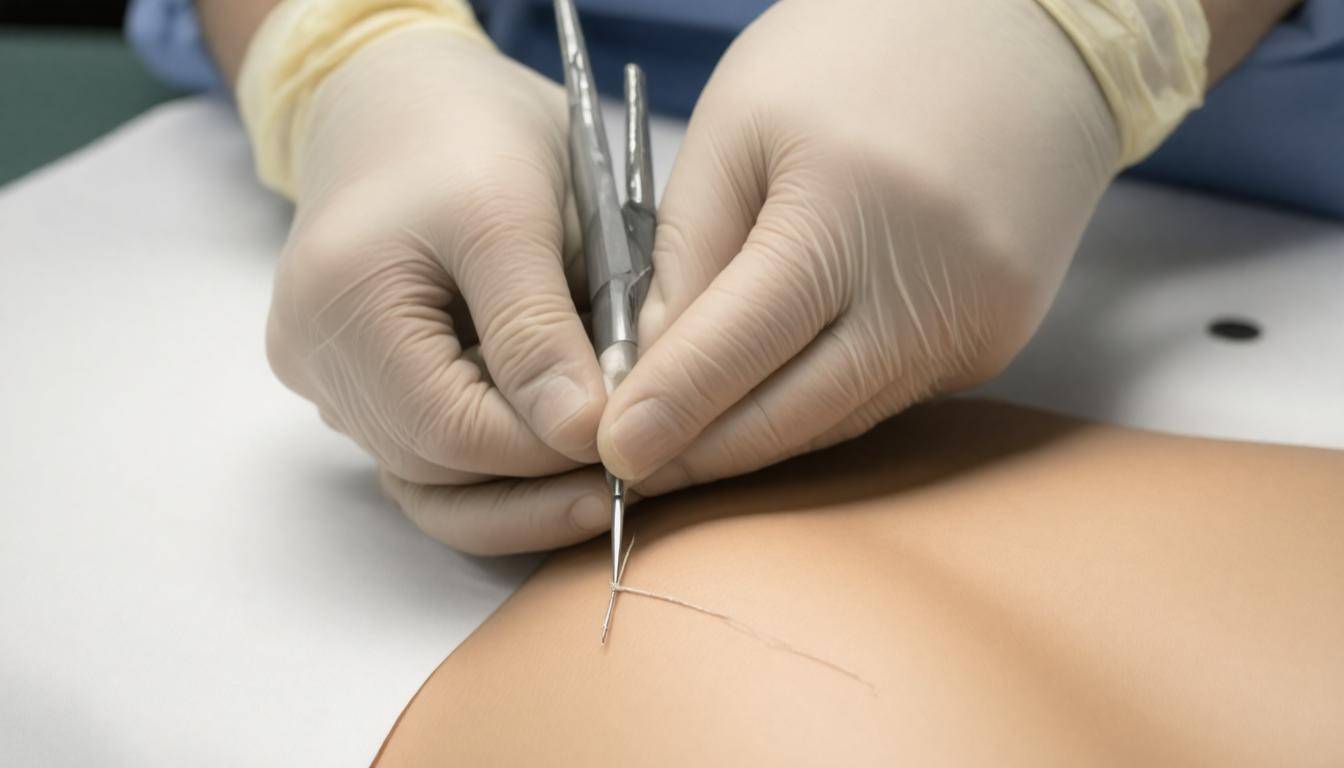
When closing wounds, employing proper techniques is essential—not just for effective closure but also to minimize scarring. Recommended techniques include simple interrupted stitches for basic repairs and mattress stitches for deeper closures requiring more tension control. It’s akin to carefully crafting a fine tapestry, where every stitch counts towards achieving a seamless end result.
All of this emphasizes safety measures that practitioners must adhere to during suturing.
Safety Measures During Suturing
Maintaining sterile techniques while using appropriate knot tying methods—such as secure square knots—is indispensable in ensuring patient safety and preventing infections. A careless approach can leave room for bacteria to flourish and complicate recovery efforts. Aftercare also plays an integral role; keeping the area clean and dry significantly contributes to successful healing.
Always monitor signs of infection—redness, swelling, or pus—and schedule follow-ups promptly for suture removal when necessary. Each aspect reinforces that effective wound closure requires diligence not only during application but throughout the entire healing process.
Understanding these techniques creates a solid foundation as we explore alternative closure methods next.
Stapling Methods
Stapling is indeed a quick and effective technique commonly employed in both emergency and surgical settings, especially for larger lacerations that are not located on the face. Imagine a situation where precious time is of the essence; this is where staples shine. Just think about the adrenaline rush during an emergency—every second counts, and staples offer a reliable solution to close wounds rapidly without compromising safety.
Advantages
One significant advantage of using staples is their speed of application. In emergency situations, every second matters, and using a skin stapler can drastically reduce the time needed to close a wound compared to traditional suturing techniques. Additionally, staples tend to cause less tissue trauma since they require fewer passes through the skin. Their consistent pressure can also minimize blood loss, preventing further complications.
However, it’s essential to note that staples do have drawbacks. While they offer quick closure, they are somewhat rigid compared to sutures. This rigidity can lead to more noticeable scarring if not applied correctly, particularly in areas that undergo repeated movement or tension. Alignment is critically important—misalignment can result in asymmetry that affects healing aesthetics. Therefore, the balance between speed and precision should always be considered when opting for this method.
The efficiency of staples in high-pressure environments cannot be overstated. A combat medic reflects on the experience: “In a field hospital in Afghanistan, staples allowed us to close wounds quickly, saving precious time.” This insight emphasizes how invaluable staple applications can be when rapid decisions impact patient outcomes.
Special Considerations
When utilizing staples, several tools come into play—a quality skin stapler device, sterile staple removers to ensure seamless removal later, and forceps that help manipulate the skin effectively during application. Maintaining a sterile field throughout this process is vital; it helps significantly reduce infection risks post-closure.
Remember: Before applying any staples, it’s crucial to ensure the wound is free from debris and contaminants.
In terms of aftercare, keeping the area clean and dry can be directly linked to reducing complications such as infections or dehiscence (the reopening of a closed wound). Generally, follow-up appointments should be scheduled for staple removal within 7-14 days post-application depending on healing progress.
As we explore various techniques for wound closure, it’s important to consider alternative methods that may provide additional benefits for specific types of injuries.
Adhesive Glues and Tapes
Adhesive glues and tapes have become increasingly popular in modern wound care, especially due to their ease of use and effectiveness for minor injuries. Medical-grade adhesives like Dermabond offer patients a pragmatic solution when traditional sutures are not ideal. For instance, scenarios where stitches might be impractical or overly invasive make adhesive options an excellent alternative. Imagine being able to quickly bond skin edges together without the cumbersome process of needle and thread; that’s the beauty of medical adhesive.
However, it’s essential to recognize the limitations of these products. While adhesive glues provide a strong bond, they are generally not suitable for high-tension areas or larger wounds. High-tension areas—think of places like over joints or on the scalp—are prone to movement that can compromise the integrity of the glue bond. In these situations, using sutures or staples might be more appropriate to ensure proper closure and healing.
As a rule of thumb, adhesives work best on clean, small cuts that don’t experience much tension during everyday activity.
When considering the application of adhesive glues, preparation is key. Begin by ensuring that the wound is clean and dry; any dirt or blood can prevent the adhesive from setting properly. Gently wash the area with mild soap and water before applying any glue. In my experience, taking this moment to cleanse the wound can significantly impact how well the glue adheres and ultimately how well it heals.
- Clean: Use mild soap and water.
- Dry: Ensure complete dryness before application.
- Apply: Squeeze out a thin line, aligning wound edges closely together.
Once you apply the adhesive, it’s essential to keep the area still and undisturbed while it sets. This process typically only takes a few minutes but feels longer as you must avoid even slight movements that could disrupt alignment. After a short period has passed, you should check to see if the adhesive has performed its job—there should be a visible solid hold between skin edges.
In addition to technical application tips, it’s also vital to consider aftercare following the use of adhesive closures which plays a crucial role in achieving optimal healing results.
Step-by-Step Wound Closure
Closing a wound is a systematic process that requires technical skill and an understanding of the healing mechanics at play. The first step is to clean the wound, which is essential for removing debris or contaminants that could lead to infections. Using sterile saline, flush out the area thoroughly. This is akin to washing a cut before applying a bandage; it’s vital! Afterward, apply an antiseptic solution to eliminate any lingering bacteria around the wound.
Once the wound is clean, attention shifts to controlling bleeding, an equally crucial step in ensuring proper healing.
To control bleeding, apply direct pressure on the wound with clean gauze. Imagine holding onto a small cut on your hand; this pressure helps stem the flow of blood, allowing the body to naturally begin clotting. If circumstances allow, elevate the injured area above heart level; this further assists in slowing blood flow and paving the way for effective sealing of the wound.
With bleeding managed, it’s time to focus on aligning those edges for optimal closure.
The next step involves approximating the wound edges using forceps. Gently bring these edges together, avoiding excessive tension that could compromise circulation and lead to complications during healing. Think about it like pulling two pieces of fabric together when sewing – you want them close, but not so tight that they rip.
Now comes the most crucial part: applying the right closure technique based on your evaluation of the wound.
When it comes to applying the closure technique, your choice among sutures, staples, or adhesive strips will depend greatly on the nature of the injury. Sutures offer flexibility and precise control over tension as they can be tailored to fit any type of laceration, making them particularly effective for deeper wounds. Conversely, staples are often quicker but may not provide aesthetically pleasing results. Adhesive strips might be suitable for superficial cuts where minimal tension is required. It’s important to consider each method carefully and choose one that aligns best with aesthetics and healing potential.
Finally, protecting that freshly closed wound ensures all your hard work pays off.
Once closed, it’s time to dress the wound with a sterile bandage. This acts as a shield against infection while helping maintain moisture within the area – a key factor in promoting healing. In this analogy, think about dressing a cake with fondant; you want it protected yet visually appealing! Ensure that whatever dressing you use remains clean and dry throughout its duration to prevent pathogens from entering your newly sealed skin.
Performing these steps while maintaining safety and sterilization practices is essential. Failing to do so can lead not only to infection but also negatively affect scarring outcomes—something no one desires after an injury. Remember that each action taken matters and dictates how well and quickly a wound heals.
As we examine each aspect of wound care, it’s equally important to ensure that all techniques are performed under proper safety protocols and sterilization standards.
Safety and Sterilization
Infection prevention is paramount when closing wounds. The act of stitching or sealing a cut carries the potential risk of introducing bacteria into a vulnerable area, which can lead to complications like infections.
To start, using sterile tools and materials cannot be overstated. Whether it’s sutures, gauze, or adhesive strips, ensuring that everything you use is sterile protects your patients from harmful pathogens that could otherwise enter through an open wound.
Hand hygiene is equally crucial in this context. Before donning gloves, wash your hands thoroughly with soap and water or an alcohol-based sanitizer. Think of this step as building a protective barrier—it minimizes the risk of contamination from your own skin to the surgical field. Once your hands are pristine, wear sterile gloves that fit well, as this will allow for better dexterity and precision during the closure process.
Using antiseptics, such as Betadine, is another critical step before you begin the actual wound closure. Cleaning the wound and surrounding skin ensures that you eliminate surface bacteria that could interfere with healing or lead to infection post-surgery.
Additionally, consider sterilizing reusable instruments properly. If you’re fortunate enough to have access to an autoclave, leverage its power to ensure your surgical tools are free of any microorganisms. Alternatively, boiling instruments in water for several minutes can be effective when resources are limited; however, always verify that they’re cooled and dry before using them on a patient to avoid burns.
Once you’ve successfully closed the wound following these principles, preparing for proper care after closure is equally important for ensuring successful healing.
As these foundational practices unfold in surgical settings, the attention to what comes next plays a pivotal role in patient recovery and overall outcomes.
Post-Closure Care and Monitoring
Once a laceration has been expertly closed, the journey to healing doesn’t stop there; it’s just beginning. The immediate aftermath of wound closure is a pivotal time where adequate care and vigilance can significantly dictate the success of recovery. Regular monitoring becomes essential as the body begins its repair process, and understanding how to best support it through this phase is reached by a few key practices.
Monitoring
You should check the wound daily for any changes. Redness around the edges, swelling, increased warmth, or discharge—especially if it’s purulent—are all signs of potential infection. By keeping an eye on these symptoms, you can catch issues early before they escalate into something more serious. Here’s where your observational skills become vital; trust your instincts. If something feels off, don’t hesitate to reach out to a healthcare professional.
Keeping things clean and dry is another cornerstone of post-closure care that promotes healing.
It’s critical to maintain cleanliness around the wound at all times. The first few days after closing are especially crucial as the risk of infection is highest. Use saline solution or mild soap and water to gently cleanse the wound when changing dressings. Adhering to proper cleaning routines helps in preventing infections and minimizes scarring, leading to better aesthetic outcomes overall.
Dressing Changes
Regular dressing changes are equally important in wound management. According to established protocols, change dressings every 1-3 days or immediately if they become wet or dirty. This ensures that your wound is protected from external contaminants while allowing any collected moisture to evaporate, aiding in preventing maceration of the skin around the injury.
A nurse once told me, “We always emphasize to patients the importance of keeping a wound clean and monitoring it closely to prevent complications.” This sound advice pairs well with thorough education on proper dressing change methods.
Monitoring and maintaining cleanliness sets the foundation for healthy healing.
It’s essential to remember that your actions during this stage have long-lasting implications for your health. Promptly addressing any concerns can mean the difference between a smooth recovery and complications down the line. Staying informed about each step and advocating for your health is incredibly empowering—and absolutely critical in wound care.
As you navigate through this healing process, being proactive in your care can significantly enhance recovery outcomes. With sustained attention and proper techniques, you’ll pave the way for effective healing.