
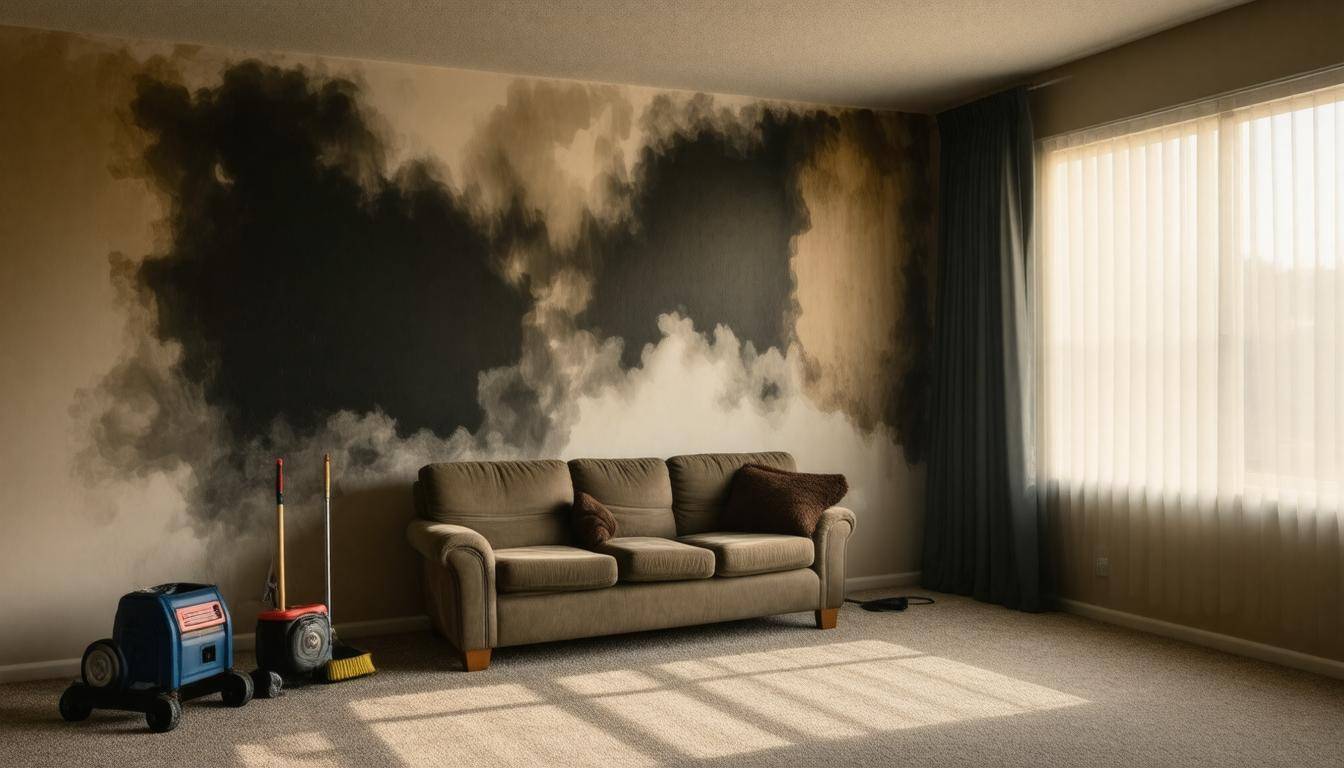
Dealing with smoke damage in your home can feel overwhelming. You might wonder, “Where do I even start?” Well, the good news is that you’re not alone, and there’s a clear path to recovery. This guide will walk you through the necessary steps to restore comfort and cleanliness to every room in your house. From kitchens to bedrooms, understanding how to tackle smoke damage effectively can save you time, money, and stress down the line. Let’s dive in and explore practical strategies that will help you reclaim your space after an unexpected fire event.
The “Smoke Damage Remediation: Room-by-Room Guide” outlines specific procedures for effectively cleaning and restoring each area of your home, starting with an initial assessment of the damage. Key recommendations include assessing salvageable items, employing professional cleaning services for heavily impacted areas like kitchens and electronics, and applying odor-blocking treatments to structural elements such as drywall to eliminate lingering smoke odors.
General Smoke Damage Remediation Process
The process begins with a careful Initial Assessment of the affected areas. This involves identifying visible smoke damage, such as soot deposits on walls and ceilings, while engaging your senses. A lingering smoke smell may persist long after the fire is extinguished. Using a flashlight to inspect corners and less visible areas can reveal hidden damage that might not be immediately apparent. Take notes during this assessment to prioritize which rooms need urgent care, as some spaces may be impacted more than others.
Once you’ve evaluated the extent of the damage, the next step is crucial for successful remediation: Ventilation.
Effectively ventilating your home is essential. Start by opening windows and doors to create a cross-breeze; this helps push out stale air while allowing fresh air to circulate in. If weather permits, using fans can significantly expedite this process, especially in closed-off areas where smoke and odors linger longer. Improving airflow benefits odor removal and enhances overall air quality—a critical factor in smoke-damaged environments.
After proper ventilation, you’ll want to address any soot these efforts have unearthed. This leads us to the next key step: Removing Loose Soot.
When cleaning soot, caution is paramount. Always use a vacuum equipped with a HEPA filter to effectively capture fine particles without spreading them further. Avoid attachments with brushes; these can inadvertently push soot deeper into surfaces rather than extract it. The careful removal of loose soot prevents secondary contamination—essentially avoiding moving toxic residues around.
While these initial steps set a solid foundation for further cleaning, understanding the subsequent procedures ensures thorough remediation.
Step IV – Deep Cleaning
Following soot removal, deep clean surfaces using specialized products designed for smoke damage restoration. Pay close attention to walls and ceilings where soot can cling stubbornly despite vacuuming. Employ dry cleaning sponges or solutions specifically formulated for this type of debris. Each swipe helps lift away ingrained particles that could cause lingering odors.
- Cover every nook and cranny where smoke may rest—including HVAC vents.
- Clean floors thoroughly as they can trap soot particles.
- Consider using commercial-grade odor neutralizers specifically designed for smoke damage post-cleaning efforts.
This step reflects how comprehensive cleaning is crucial; if parts are left untreated, they may release unpleasant odors later when exposed to heat, humidity, or light.
With thorough cleaning completed, focusing on Odor Removal becomes integral—after all, lingering smells can turn a beautifully restored space back into an unwelcoming environment.
Neutralizing odors often requires creative solutions. Many homeowners find success with natural remedies like activated charcoal or baking soda sprinkled liberally in the area; both absorb malodorous particles without leaving harmful residues. Don’t underestimate the power of fresh air combined with these methods—a little patience here often pays off with a truly refreshed ambiance.
Finally, while DIY efforts can significantly restore your home after smoke damage, knowing when professional intervention is necessary is crucial. Extensive structural damage or items requiring specialized handling—like electronics—call for professional cleaning services that bring expertise along with advanced equipment.
Establishing a clear process not only makes recovery manageable but fosters lasting safety and comfort in what may have been a tragic experience.
As we shift our focus from remediation techniques to understanding the specific resources that facilitate effective restoration, it’s essential to gather the right materials and tools that will aid in this important work.
Essential Materials and Tools
Having the right materials and tools can significantly simplify the remediation process, increasing efficiency and effectiveness. The heart of any effective smoke damage recovery lies in the preparations made beforehand. Armed with the proper equipment, a homeowner or restoration professional can tackle even the most challenging situations with confidence.
Essential Items
A high-efficiency particulate air (HEPA) vacuum cleaner tops the list, essential for initial soot removal. This specialized vacuum captures particles down to 0.3 microns, ensuring that minimal debris lingers in your home environment after cleaning. When every grain counts, having a dependable HEPA vacuum could make all the difference; it helps set the stage for a clean slate.
Next up is the dry sponge, also known as a chem sponge, specifically designed for soot removal from walls and ceilings. Unlike regular sponges, chem sponges are engineered to absorb soot without smearing it around, which can be especially beneficial in preventing secondary contamination during cleanup.
To complement these essential tools, don’t underestimate the need for clean cloths and microfiber towels for wiping down various surfaces. Microfiber is particularly useful because its densely woven fibers trap dirt and soot more effectively than traditional materials. Additionally, remember to have various cleaning solutions on hand—mild soap and water mixtures work well for tackling surfaces without damaging finishes, while vinegar solutions can help alleviate persistent odors commonly associated with smoke residue.
It’s wise to stock commercial smoke odor removers specifically formulated to handle stubborn smells. These products often contain advanced ingredients designed to neutralize odors rather than just mask them, providing a crisp result that adds freshness back into your home.
Safety cannot be overlooked. Protective gear is paramount when dealing with hazardous particles released during fire events. Equip yourself with gloves, masks, and safety goggles—all of which guard against irritation caused by airborne particulates. Remember that protecting yourself is just as critical as restoring your living space.
Furthermore, have odor-neutralizing products such as activated charcoal or baking soda ready at hand. Their natural properties allow them to absorb unwanted smells lingering in carpets and upholstery after remediation.
Finally, as you approach the concluding stages of remediation, you may find it necessary to use paint and sealant. These materials ensure the integrity and aesthetics of your space when addressing areas impacted by smoke damage through touch-ups or complete refinishing.
Now that we’ve established our arsenal of essential tools and materials, it’s time to explore how these items come into play in specific areas that often bear the brunt of smoke damage—starting with one of the most crucial spaces in every home.
Kitchen Restoration Tips
Kitchens are often ground zero for smoke damage due to their regular exposure to cooking. This reality makes it crucial to address any signs of smoke or soot immediately. The key is a systematic approach to cleaning that encompasses everything from surfaces to appliances, ensuring no corner remains untouched.
Clean All Surfaces
To start your kitchen cleanup, focus on cleaning all surfaces thoroughly. A degreaser designed specifically for kitchen use will be your best ally here. Whether it’s cabinets, countertops, or even backsplash tiles, these surfaces often trap grease and smoke particles, leading to lingering scents and discoloration over time.
Use a cloth or sponge drenched in the degreaser, making sure to pay attention to areas where grease builds up—these could include behind the stovetop and in corners where spatters may occur.
The importance of this step can’t be overstated; if you leave grease behind, it becomes a breeding ground for odors and long-term damage.
Inspect and Clean Appliances
Moving on, be diligent in inspecting and cleaning your appliances. Ovens, microwaves, and particularly the area behind refrigerators can harbor stubborn smoke residues that might not be visible at first glance. For the interiors of these appliances, opt for non-abrasive cleaners that won’t scratch surfaces but are tough enough to eliminate soot and grime.
When you’re finished with larger appliances, take a moment to assess smaller ones like toasters or coffee makers. If those smaller appliances still emit smells after thorough cleaning attempts, it might be prudent to consider discarding them altogether. Smoke tends to penetrate electronic components deeply, potentially leaving toxins behind that could pose health risks.
Dishwasher Trick
Lastly, consider employing a creative dishwasher trick. For heat-safe kitchenware that bears the brunt of the residual smoke odor, running a cycle in the dishwasher with a splash of vinegar added during the rinse can work wonders. Vinegar serves as a natural deodorizer; it neutralizes odors while disinfecting your dishes at the same time. Just remember: check that everything you’re washing can handle the heat!
Each of these techniques plays an essential role in restoring your kitchen’s cleanliness and safety post-smoke damage. As we turn our focus toward other areas of the house that also require immediate attention, you’ll find that the cleanup process holds its own unique challenges.
Living Room Cleanup
The living room is often one of the most cherished spaces in a home, where families gather and memories are made. However, it’s also where you’ll find soft textiles and sensitive electronic equipment, both highly susceptible to smoke damage. As you embark on this cleanup journey, understanding the specific needs of your living room becomes essential to restoring it back to a welcoming environment.
Upholstery and Carpets
If your living room boasts carpets or upholstered furniture, consider professional cleaning services or even renting a steam cleaner for effective results. Professionals use specialized equipment and solutions that can penetrate deeply into fibers, lifting away soot and odors effectively.
For minor damage that doesn’t warrant a full professional cleaning, you might find relief in a simple remedy: sprinkle baking soda over the affected areas, let it sit for a few hours to absorb odors, then vacuum thoroughly. This approach helps revitalize your upholstery without excessive effort.
Treating fabrics delicately is paramount; they can hold onto smoke residues particularly well. Dry cleaning may also be necessary for particularly valuable or delicate items. Be mindful of the materials involved when deciding your approach.
Electronics
Now, onto those beloved electronics—your TVs, game consoles, and sound systems. Start by unplugging each device cautiously to ensure safety during the cleanup process. Use a microfiber cloth dampened with a gentle cleaning solution to wipe down the exterior surfaces carefully. This action not only enhances their appearance but can also help remove surface-level smoke particles that might hinder performance.
It’s crucial, however, to never open these devices yourself unless you have professional expertise. Smoke residues can penetrate internal components and may pose health risks if disturbed improperly. If serious concerns linger, consulting an electronic repair professional can save you from potential mishaps down the line.
Walls and Ceiling
Moving upward, walls and ceilings can often bear the brunt of smoke damage, resulting in discoloration and dirt buildup. For efficient cleanup here, opt for a dry sponge specifically designed for soot removal. These sponges are effective at lifting soot without damaging the surface beneath.
Follow up this step by using a damp cloth along with a mild cleaning solution to wipe away any remaining residues.
In cases where there’s persistent discoloration or staining on your walls, you may need to consider repainting as a final touch to restore your living room’s original aesthetic appeal. A fresh coat of paint not only brightens up your space but can help seal in any lingering odors that resist standard cleaning methods.
With each element covered—from textiles to electronics and surfaces—you’re gaining the knowledge needed to remove smoke damage effectively. Let’s continue by exploring strategies tailored for another important area of your home.
Bedroom Smoke Damage Solutions
Bedrooms serve as our personal sanctuaries, providing comfort and rest. Therefore, when smoke damage strikes, it’s imperative to address it swiftly to eliminate lingering odors and harmful residues.
The first step involves dealing with bedding and fabrics. Washing all bedding, including pillows, duvet covers, and sheets, in a mixture of vinegar and water is particularly effective for neutralizing stubborn odors. A standard ratio of 1 cup of white vinegar to 1 gallon of water will work wonders. If any persistent smells remain after this treatment, explore ozone treatments or enlist professional dry cleaning services for a deeper clean.
Moving beyond fabrics, we must turn our attention to mattresses.
Cleaning mattresses can be tricky due to their size and material. Start by sprinkling a generous amount of baking soda over the surface; this acts as a natural deodorizer that absorbs bad smells. Leave it to sit for several hours—preferably a full day—then vacuum it up thoroughly. This simple method can significantly refresh your mattress. However, if smoky odors linger despite your efforts, consider replacing it altogether. Long-term exposure to smoke can pose health risks, especially while sleeping.
Alongside bedding and mattresses, the next consideration is clothing.
When dealing with clothing items affected by smoke damage, dry cleaning is often the best route, especially for delicate fabrics. For garments that can withstand washing at home, opt for mild detergents and add a cup of vinegar during the wash cycle; this can help lift odors while keeping your clothes fresh. It’s crucial to check care labels before washing anything—it’s better to err on the side of caution than risk ruining your favorite pieces. Clothes stored away in closets or drawers should also be checked; even if they haven’t been worn recently, they can still absorb unpleasant odors from the surrounding environment.
Lastly, let’s not forget about air quality throughout the bedroom space itself.
Utilizing HEPA air purifiers is an excellent way to improve air quality post-smoke damage. These devices reduce airborne particles—like those pesky smoke residues—by up to 99.97%. Placing bowls of activated charcoal or baking soda around the room will also aid in absorbing remaining odors over several days. It’s another simple yet effective strategy that ensures your bedroom returns to its optimal state—inviting sleep without reminders of past damages.
Now that we’ve covered solutions for restoring comfort in personal spaces, let’s shift our focus toward another essential area requiring specialized cleaning techniques.
Bathroom Cleaning Techniques

Bathrooms can be particularly tricky when it comes to smoke damage. Their small, enclosed spaces often trap odors and residue, which can linger long after the fire is extinguished. Tackling this area requires a dedicated approach to ensure surfaces are properly cleansed and odors neutralized. Keeping in mind the delicate nature of some bathroom materials, let’s explore effective methods for restoring your bathroom after smoke damage.
Tiles and Grout
Tiles and grout are especially susceptible to smoke damage because of their porous nature. To tackle this issue effectively, begin by combining baking soda and water to form a thick paste. Apply this mixture generously across the affected areas, focusing specifically on the grout lines where smoke residue tends to accumulate. As you scrub with a brush—preferably one with stiff bristles—be sure to work into all crevices, dislodging dirt and debris.
Once you’ve completed this scrubbing, rinse thoroughly with clean water to remove any remaining particles. The combination of baking soda’s natural abrasive properties and its deodorizing capabilities will work wonders in refreshing your tiles.
Fixtures
Moving on to metal fixtures, the buildup of soot and tarnish can be particularly noticeable on taps and showerheads. To address this, prepare a simple cleaning solution by mixing warm water with mild detergent—a gentle but effective way that won’t damage the finish of your fixtures. Dampen a soft cloth or sponge in this mixture and gently wipe down each fixture.
For stubborn discoloration that refuses to budge, consider using a specialized metal cleaner designed for your specific fixture material. A little elbow grease goes a long way here; just remember not to use anything too abrasive, as that could lead to scratches.
Linens
Finally, we come to linens like towels and shower curtains, which can absorb smoke odors very easily. It’s important to give these items special attention during your cleanup process. Start by bundling together your towels, shower curtains, and any other fabric items that were exposed to smoke.
When washing them, reach for a strong detergent—this is where you’ll want to pull out all the stops. For an additional boost in odor elimination, add a cup of white vinegar to your wash; its acidic properties counteract lingering smells effectively. After washing, allow them to air dry outside if possible; fresh air can work wonders in terms of eliminating any residual scents.
With these cleaning methods in hand, you’ll be well-prepared to restore both the appearance and safety of your bathroom post-smoke damage. Let’s now turn our attention to some essential considerations for the less commonly addressed areas of your home.
Attic and Basement Considerations
Attics and basements, often out of sight and out of mind, can harbor significant damage from smoke. These hidden spaces require just as much attention as the more visible rooms in your home. The potential for smoke to infiltrate insulation, structural components, and other materials is substantial, making it essential to evaluate these areas carefully. Imagine you are performing a search-and-rescue mission in your own home; the rewards of thorough checks can be invaluable as they lead to safe and lasting repairs.
Insulation Checks
Begin with the attic’s insulation. Smoke can penetrate deeply into this material, making it difficult—even impossible—to clean thoroughly. If your insulation shows signs of soot or has absorbed odors, replacing it may be your best option. Removing contaminated insulation not only improves air quality but also prevents future health issues related to inhaling harmful chemicals trapped within the fibers.
Remember that proper ventilation in your attic is key as well; maintaining airflow helps mitigate mold growth and decreases humidity levels, which in turn supports the integrity of your insulation over time.
As you inspect, keep an eye out for compromised materials that might not present themselves immediately. Discoloration or unusual smells can indicate deeper issues that deserve attention.
Basement Structural Components
Next up, focus on the basement’s exposed structural components such as beams, joists, and foundation walls. This area bears the brunt of absorbing odors and particulates from smoke due to its lower ventilation compared to other sections of the house. The use of a high-efficiency particulate air (HEPA) vacuum is highly recommended here; these vacuums capture nearly all particles, leaving not only surfaces cleaner but also significantly improving overall air quality.
Once you’ve finished vacuuming, consider applying sealants specifically designed for odor-blocking. Sealants can safeguard your foundational structures against any lingering residuals from smoke damage while providing added protection against moisture intrusion—an important factor to consider in basements where humidity levels can fluctuate.
Proactively taking care of your attic and basement will help maintain a safe and healthy home environment long after smoke damage remediation is completed. With these foundational spaces addressed, we can now explore the contrasting approaches for managing the aftermath when smoke damage occurs.
Professional vs. DIY Smoke Damage Remediation
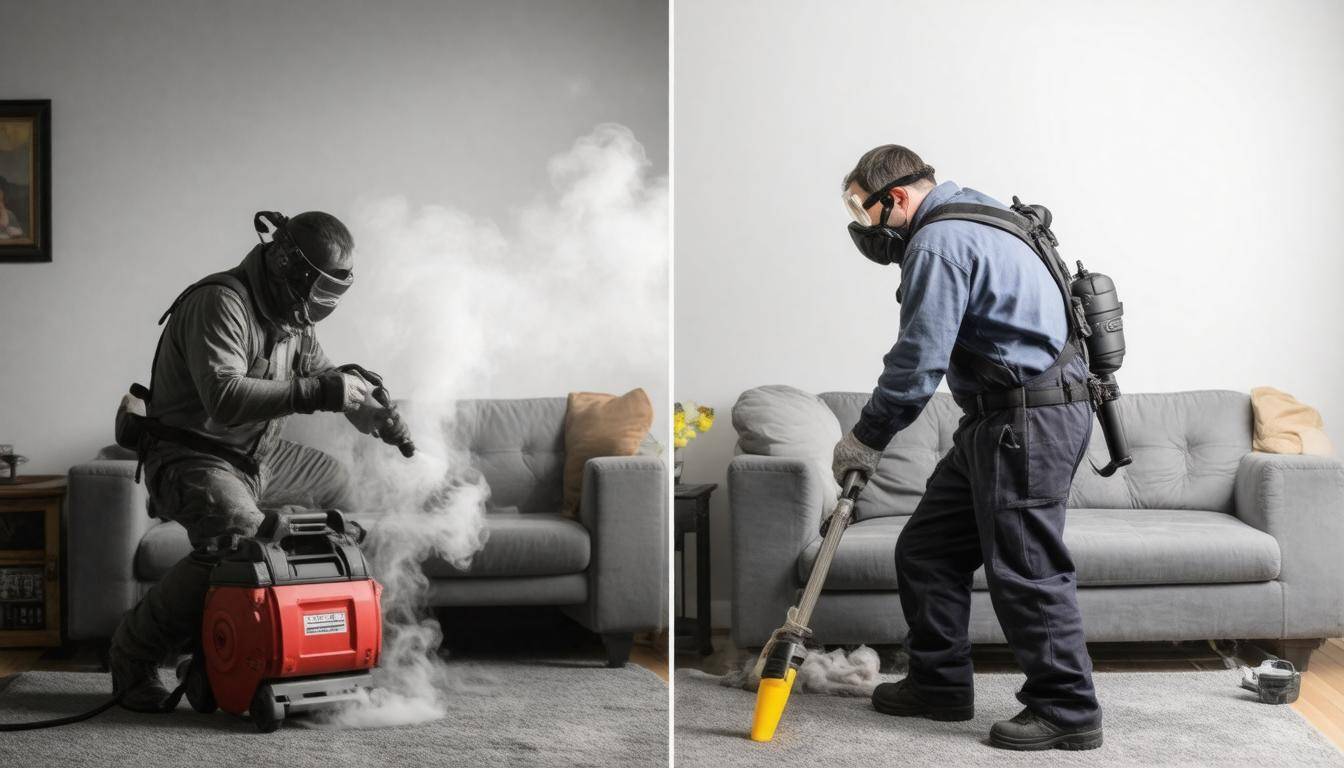
Deciding whether to hire a professional for smoke damage remediation or tackle the project yourself involves several important factors. First, let’s consider the financial implications of both choices.
Cost Considerations
Typically, the cost for professional services can vary significantly, ranging from $2,000 to $30,000. Those numbers can be staggering at first glance, but this expense covers specialized equipment, cleaning agents, and expert knowledge that ensure thorough treatment of smoke-affected areas. Professionals often utilize advanced technologies like thermal fogging or ozone treatments designed to eliminate odors and bacteria more effectively than typical household products.
In contrast, opting for a DIY approach may only set you back a few hundred dollars if you already have some cleaning supplies on hand. However, inadequate cleanup might lead to larger issues in the long run—thus potentially racking up greater expenses later.
Now that we understand the impact of cost on your decision, let’s explore the effort and expertise involved in both options.
Effort and Expertise
Taking the DIY route may initially seem appealing due to reduced costs. However, homeowners must consider the extensive labor involved. While you might save money, you’ll need to dedicate considerable time and physical effort. Successfully removing smoke damage requires knowledge of specific chemicals and techniques; for example, ozone treatments or employing antimicrobial agents may require careful handling that could pose health risks or exacerbate damage if misapplied. Relying on professionals ensures safety and efficiency as they bring their expertise and the right tools straight to your home.
Hiring professionals can mean less stress and risk as they handle the heavy lifting while you focus on recovery.
Now let’s further break down these considerations in comparison format.
Comparison of Professional vs. DIY
| Professional | DIY | |
|---|---|---|
| Cost | $$$ | $$ |
| Efficiency | High | Moderate |
| Equipment | Advanced | Basic |
| Expertise | Required | Not required |
| Time | Faster | Longer |
This table illustrates that while professional services may come with a higher price tag, they ultimately provide an expedited process with specialized equipment and expertise—resulting in potentially cleaner outcomes compared to DIY efforts.
Without a doubt, each approach has its pros and cons; thus careful assessment of your specific situation is essential before deciding on a course of action.
Ultimately, whether choosing professional help or going the DIY route, maintaining an honest evaluation of costs versus quality will be key to restoring your home safely and efficiently after experiencing smoke damage. Seek a solution that best fits your unique circumstances for peace of mind moving forward.