
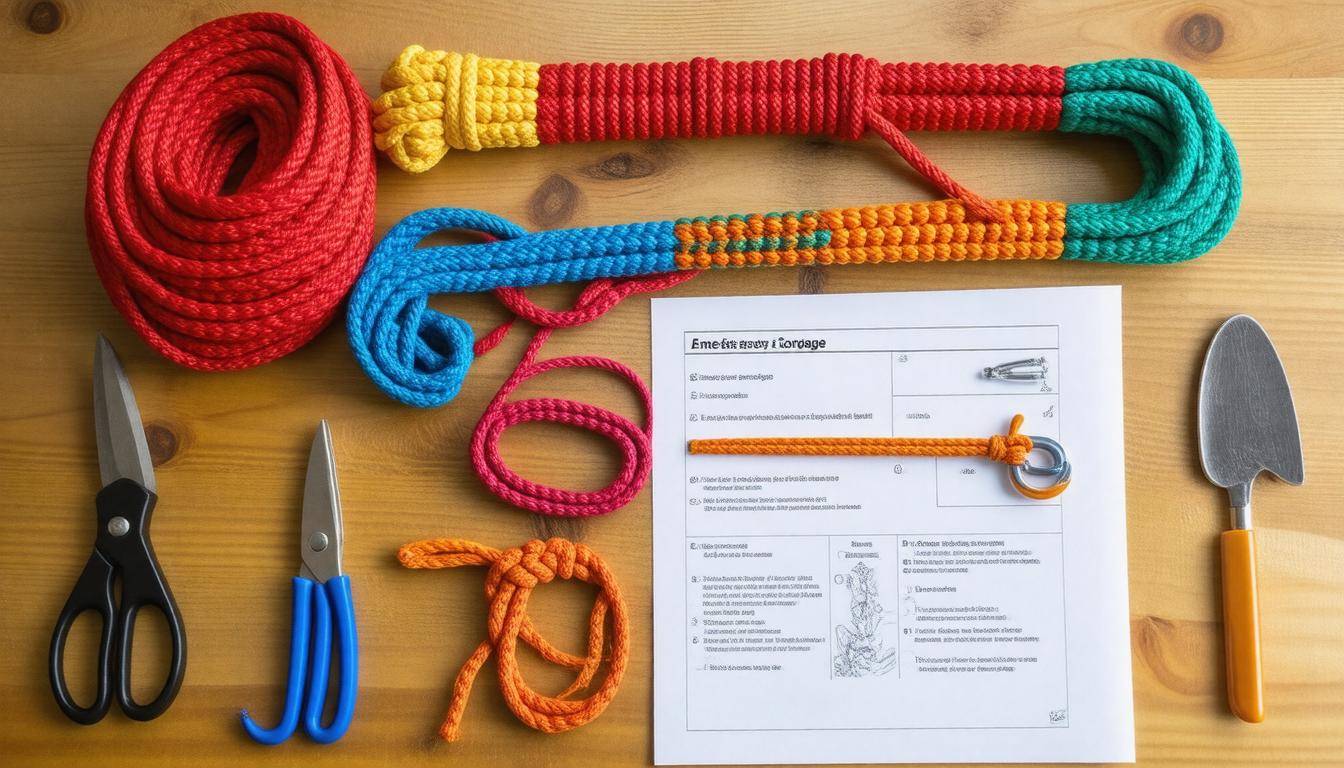
When the unexpected happens, having the right tools can make all the difference—and that includes knowing how to create your own rope. Imagine finding yourself in a tough spot, whether you’re hiking in the woods or facing an emergency at home, and realizing that you need a strong cordage to tie things up or build a shelter. This is where DIY emergency rope and cordage techniques shine. With just a few natural materials, like dogbane or milkweed, you can craft sturdy ropes that are not only effective but also sustainable. In this guide, we’ll dive into simple ways to gather and make your own cordage from what you find around you, ensuring you’re well-prepared for anything life throws your way. Let’s get started!
The DIY Emergency Rope and Cordage: Making Guide teaches you effective techniques for harvesting and crafting strong cordage from natural fibers, such as dogbane and milkweed. This guide includes step-by-step instructions on selecting plants, extracting fibers, and using different methods like the reverse wrap technique to ensure you have reliable cordage for survival situations.
Gathering Materials for DIY Rope
When it comes to making emergency rope and cordage, tapping into natural resources around you can be a game changer. Nature offers an array of options that are not just effective but often readily accessible. For instance, milkweed is a fantastic candidate; commonly found in open fields, milkweed stalks yield strong fibers after processing. Ceaselessly resilient, this plant rises tall and robust, rewarding your efforts with fibers that can be transformed into sturdy cordage.
Similarly, dogbane emerges as a versatile option. This formidable plant can grow up to four feet in height, featuring dark brown stalks that are perfect for extracting durable fibers necessary for making ropes.
Remember, using plants doesn’t just make use of their fibers; it reinforces the idea that survival skills can be interwoven with ecological knowledge. Understanding what to pick and when to harvest is equally important.
As you scout for these vital materials, consider exploring nearby trees too. The inner bark of certain trees—like cedar or white basswood—can serve as another excellent source of tough fibers. These tree fibers boast robust properties and are best harvested from fallen branches or dead trees to preserve the living environment. Just ensure you’re careful and respectful while gathering materials, being mindful not to harm healthy plants.
When searching for materials, keep an eye out for:
- Vines: These natural cords can be woven and twisted together.
- Grasses: Many grasses have long strands that can be braided or twisted.
- Tree Bark: Look specifically for soft yet durable inner bark like from cedar or tulip trees.
Of course, if nature isn’t generous at the moment or you’re in an urban environment, household items come to your rescue! Many people overlook common objects around them. Old t-shirts make great substitutes; simply cut them into strips and braid or knot them together to form makeshift rope. An ordinary towel can provide long strips as well; with a bit of effort, even plastic bags can be fashioned into durable cordage through braiding techniques. The beauty of these solutions lies in their accessibility; nearly everyone has something lying around that can be transformed into functional rope.
Once you’ve gathered your supplies—be it from nature’s bounty or your home—you’ll be prepared to explore innovative ways to utilize local flora effectively for crafting cordage. Let’s now look closer at the various natural plants that can serve this purpose beautifully.
Using Natural Vines and Plants
In the quest for creating strong cordage, one of the best resources at your disposal is nature itself. Understanding how to tap into the strength of natural vines and plants can make the difference between a successful survival experience and a frustrating struggle. Among the many potential sources of cordage, two of the most dependable are dogbane and milkweed, each offering unique characteristics that lend themselves to rope-making.
Identifying Suitable Plants
Not every plant makes the cut when it comes to cordage. To produce durable rope, you need materials with long, robust fibers. For instance, dogbane (Apocynum cannabinum) is an excellent choice due to its impressive fiber quality, thriving in partial shade and boasting tall brown stalks that can reach up to four feet. On the other hand, milkweed offers a softer alternative. Its fibers possess tensile strength comparable to synthetic string and are less likely to cause allergies, making it perfect for those sensitive to natural materials.
Before gathering, take a moment to evaluate your surroundings for fibers from tree inner bark as well. Trees like cedar or white basswood can provide coarse yet strong fibers if you harvest them from fallen branches.
Processing the Fibers
Once you’ve identified suitable plants, it’s time for processing. Start by harvesting your chosen plant while avoiding damage to the vital fibers within. A good rule of thumb is to look for stalks that are tall and free from pests; ideally, you’re aiming to collect one-year-old specimens for optimal fiber extraction.
After obtaining your plant material, you’ll want to peel away the outer layers carefully. This could feel somewhat tedious but is essential because only then can you access the inner fibers that will serve as your cordage. Another key step is soaking these fibers in water for a period—this not only softens them but also makes them more pliable for working. As they soak, envision how much easier it will be to twist them into strong cordage once they’ve relaxed.
Once soaked, let the fibers dry slightly before getting down to the fun part: tenderizing them. Rolling or gently pounding helps separate individual strands. This process significantly enhances usability; ask anyone who’s tried making rope without adequately prepared fibers! It’s well worth the extra effort as it creates a flexible material that blends seamlessly together when twisted into cordage.
After procuring and processing your natural materials, let’s explore some unexpected items from around the home that could serve as excellent substitutes for cordage in emergency situations.
Household Items for Cordage
Your home truly serves as a treasure trove filled with potential cordage materials just waiting to be discovered. Rather than relying solely on natural fibers, everyday items can be repurposed into surprisingly strong rope and twine. This creativity extends the lifespan of these items while serving a practical purpose in survival situations.
Common Items to Repurpose
-
Plastic Bags: These ubiquitous items are often seen as waste, but when cut into strips and braided together, they yield an incredibly strong cordage solution. The trick is to use multiple bags and pull hard while braiding to ensure a tight bond; this will result in a sturdy line capable of holding weight effectively.
-
Bed Sheets: Old bed linens might seem too flimsy at first glance, but torn into thin strips, they can be plaited together to form functional ropes. This method gives new life to worn sheets while providing a cleaner way to secure items without taking up much space.
-
Electrical Cords: Discarded electrical cords offer another excellent option. By stripping away the insulation, you’re left with strong inner wires that can be braided together for cordage. These wires are durable and can handle considerable tension, making them perfect for creating makeshift gear in emergencies.
-
Old Clothes: Fabrics like denim or canvas from old clothing can be cut into strips and twisted into usable cordage. This method reclaims fabric that would otherwise end up in landfills and provides exceptionally strong material thanks to the dense weave of these fabrics.
With these various options in mind, we can see how easily common household items can be adapted into robust cordage through creativity and crafting skill. Next, we’ll further explore the techniques involved in transforming these materials into reliable emergency solutions.
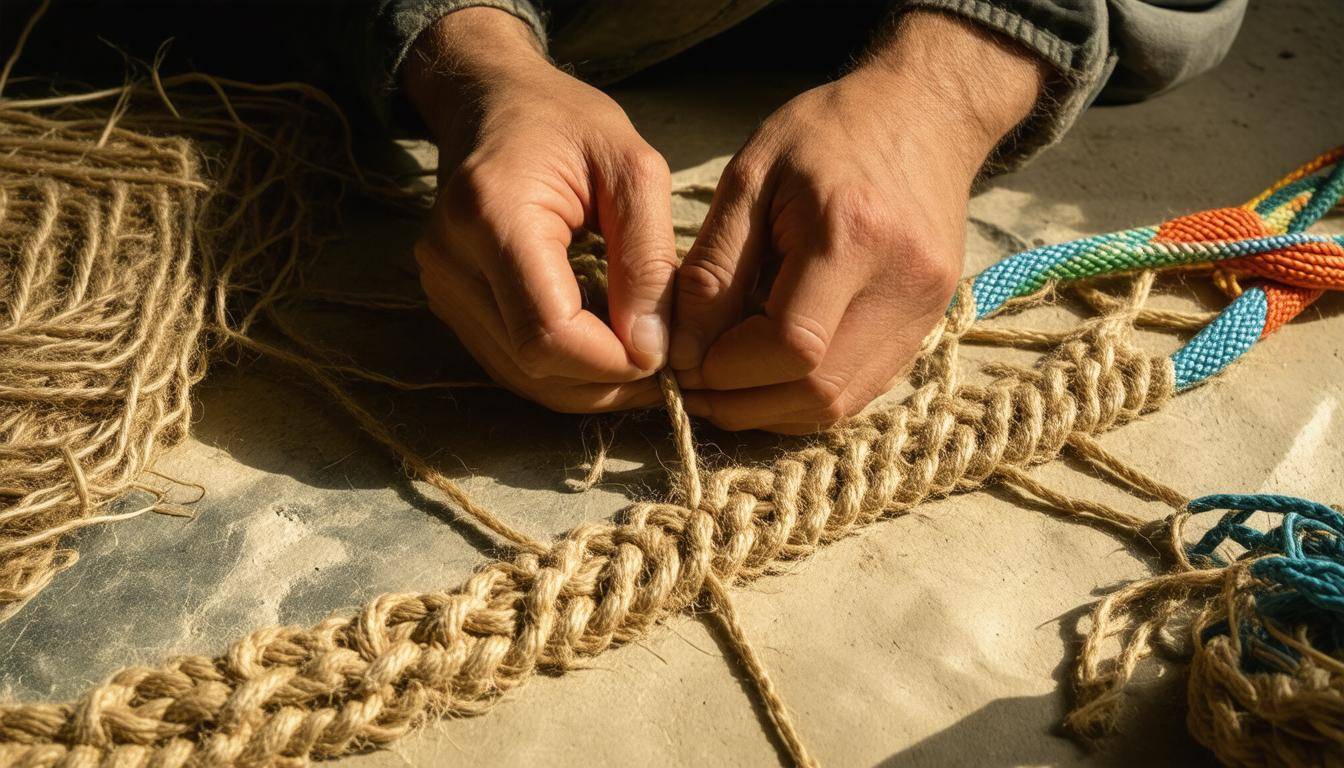
Techniques for Making Cordage
The effectiveness of your cordage often relies on the technique used in its creation. Two common methods stand out due to their simplicity and effectiveness: the Reverse Wrap Technique and Braiding. Each of these approaches enables you to create strong, reliable cordage that can serve a multitude of purposes—from setting snares to building shelters.
Reverse Wrap Technique
The Reverse Wrap Technique is particularly useful for producing tightly-bound rope. It involves taking two strands of fiber and twisting each strand in one direction while wrapping them in the opposite direction. This interlocking action maximizes strength while minimizing the risk of unraveling.
Here’s how it unfolds step-by-step:
- Hold one end of a strand between your thumb and index finger, then twist it away from you.
- Bring that twisted strand back over itself and continuously alternate the twisting motion as you add strands.
Think of it like making a pretzel; the way you twist creates both form and strength.
By using this method with fibers such as dogbane or milkweed, you utilize readily available resources while ensuring your rope has natural resilience.
Braiding
On the other hand, Braiding introduces flexibility into the mix. By utilizing three or more strands, this technique transforms simple fibers into a robust flat cord that handles stress without compromising integrity.
To braid effectively, start by laying out your strands side by side in an equal length formation. Then simply cross each strand over the next one; alternating continues until you reach your desired length.
Like weaving a tapestry, don’t rush through this process; consistency matters! A well-braided cord will outperform one created hastily. While braiding generally offers good strength, it may not match the tensile durability provided by the reverse wrap if excessive tension is applied during use.
By mastering these techniques, you expand your skill set for crafting various types of cordage suitable for different situations—an essential capability for any prepper looking to be resourceful and adaptable. As we continue, let’s explore additional methods that can further enhance the functionality of your handmade creations.
Twisting and Braiding Methods
Twisting is a technique that can dramatically enhance the strength of your cordage. This method is simple and effective, making it ideal for creating a strong single strand. Picture this: you take your material—be it fiber from dogbane or milkweed—and fold it in half. Then, with a steady hand, begin twisting each half in one direction. The key here is to maintain consistent tension as you wrap them around each other to form a robust bond.
This process builds not only strength but also flexibility, allowing your cordage to endure stress without breaking.
As you twist, think about your goal. If you’re creating fishing line or something that needs to bear weight, make sure that you twist enough to give it adequate tensile strength. If your goal is less demanding, a lighter twist will suffice. Trust me; finding that balance comes with practice.
Now that you’ve grasped twisting, let’s explore braiding—another powerful technique that can further amplify the capabilities of your cordage.
Braiding
Braiding involves interlacing three or more strands, creating a flatter or rounder cord tailored for specific needs. One of the most common and effective styles is the three-strand braid, perfect for achieving increased strength without complicating the process. To start, divide your material into three equal parts. Hold the right strand over the center strand, followed by placing the left strand over this new center, mirroring the action symmetrically.
Keep repeating this process until you reach your desired length, allowing yourself to feel the rhythm build with each pass—as if you’re entering a meditative state while working with nature’s fibers.
The strength gained through braiding can be quite significant; studies indicate that it may increase tensile strength by up to 30% compared to using a single twisted strand alone. This means that whatever you craft from this braided cordage—from fishing lines to snares—will be far more reliable in emergency scenarios.
With these foundational techniques mastered, you’re ready to further explore intricate patterns and methods for enhancing the functionality of your creations.
Weaving Techniques
At its core, weaving is all about interlacing materials to form something stronger than the individual components alone. Just think about how traditional textiles are made—a series of threads come together to create fabric, and this same concept applies when we weave cordage. When done correctly, weaving not only enhances the strength of the final product but also allows for versatility in its use.
Basic Weaving
To start with basic weaving, you’ll want to utilize a simple over-under pattern. Picture this: you lay out parallel strands of your chosen material horizontally. These will act as the backbone of your cordage. Then, take vertical strands and begin weaving them over and under each horizontal strand in consecutive moves. This method creates a solid structure that’s both strong and flexible, making it perfect for building mats, nets, or other larger constructs that might be needed in survival scenarios.
The over-under technique is straightforward, yet effective because it maximizes surface contact between the strands, enhancing grip and durability.
Advanced Weaving
If you’re looking to boost durability even further, consider advancing to a diamond weave. This technique involves weaving two sets of parallel strands at a 45-degree angle to each other, resulting in a diamond pattern across your cordage. The diamond weave not only adds strength but also distributes stress more evenly throughout the rope, making it particularly suited for applications that may involve significant strain—think fishing lines or securing shelter materials against harsh winds.
This innovative approach doesn’t just stop at survival; woven patterns like these can lead to aesthetically pleasing creations as well.
Once you’ve mastered these weaving methods, testing the strength and reliability of your rope is essential before putting it to practical use. Regular checks on your cordage will ensure that it maintains structural integrity and can handle whatever tasks you throw at it.
Testing Rope Strength
Before you place your trust in any DIY rope or cordage, assessing its strength and durability is essential. After all, you need to ensure that it can handle unexpected loads without fraying at a pivotal moment. Testing the strength of your rope involves both a stretch test and a weight test, each revealing important insights about its reliability.
Stretch Test
The stretch test serves as a straightforward means of checking how well your rope holds up under tension. To perform this test, secure one end of the rope firmly, perhaps fastening it to a sturdy post or tree. Then, pull consistently on the other end. This isn’t about yanking it suddenly; controlled force is necessary here.
Imagine gently tugging on a rubber band: when pulled slowly, you can see how far it stretches before reaching its limit. Your goal is to observe not only how much the rope stretches but also whether it shows signs of wear, such as fraying or tearing. If it stretches excessively, caution may be warranted—after all, too much stretch can indicate that it might not handle heavy loads well over time.
Weight Test
Once the stretch test is complete, move on to the weight test to better understand the load-bearing capacity of your rope. Gradually add weight in small increments until the cordage shows signs of strain. A practical method for doing this involves filling containers with water—this way you can easily measure each added increment.
Start with a modest amount, perhaps a few pounds, and incrementally increase until you find the maximum load it can carry before failing. Keep an eye on how the rope behaves as the weight increases; does it begin to fray? Does it feel weaker under pressure? Documenting these observations can help inform your expectations for future use and give you peace of mind down the line.
Remember, even if your DIY cordage passes these tests with flying colors, treat it with respect when storing or using it later on—if handled improperly or left exposed to harsh elements, its reliability will diminish remarkably.
As you’ve learned about testing rope strength, consider next how proper storage methods play a vital role in maintaining its integrity over time.
Storing and Using DIY Rope
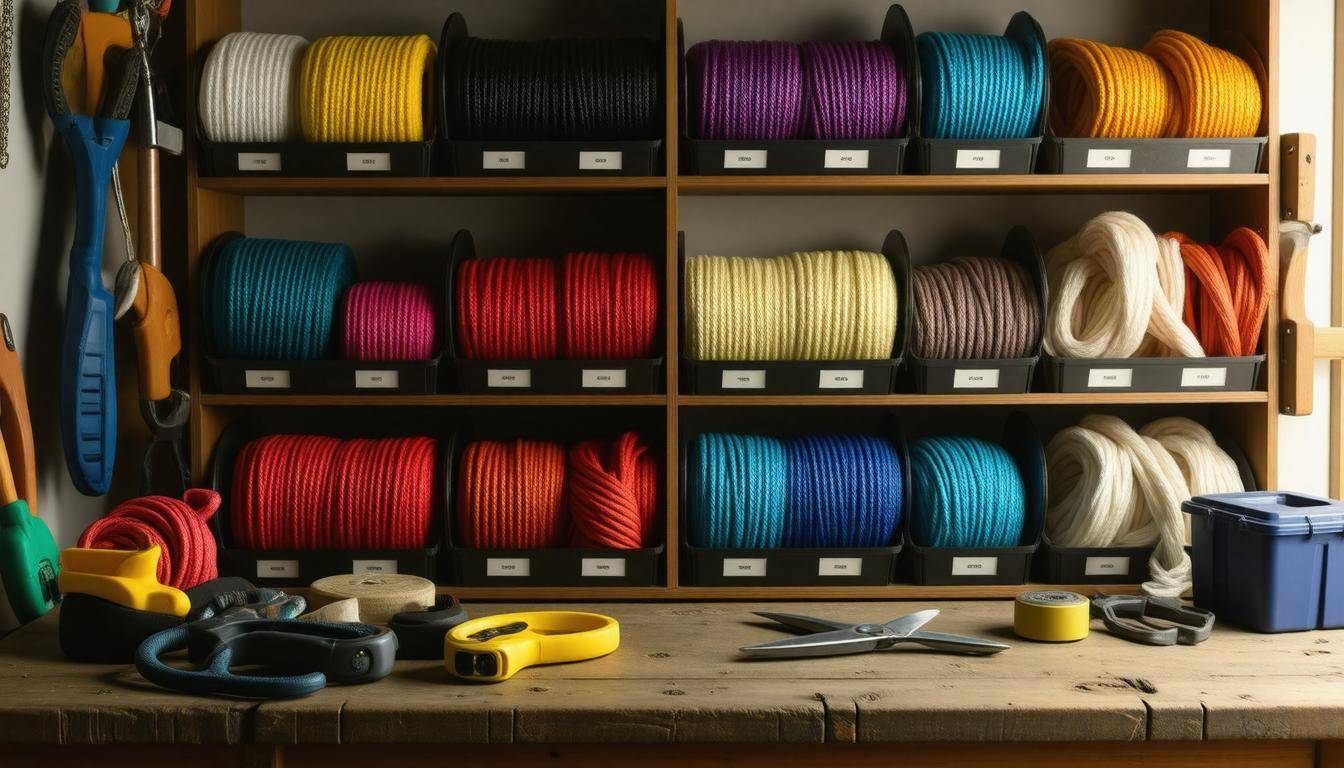
Proper storage is key to maintaining the longevity and reliability of your rope. It may seem insignificant, but how you handle your cordage will directly impact its performance in critical situations. Securing your rope in a cool, dry place is essential for preventing mildew growth or degradation, which can compromise its strength. For instance, keeping your ropes in a damp basement could lead to mold, weakening the fibers over time and rendering it unsafe for use.
Storage Tips
Here’s a quick guide on how to store your ropes properly:
| Ideal Storage Conditions | Benefit |
|---|---|
| Cool, Dry Environment | Prevents mildew and moisture damage |
| Away from Sunlight | Protects from UV degradation |
| Coiled and Hung | Maintains rope integrity |
It’s best to keep your ropes coiled — this not only prevents tangles but also helps retain their shape. To optimize space, consider using a wall-mounted hook or storing them inside an airtight container. This added protection keeps pests away while also shielding them from environmental factors that could cause deterioration.
“Rope that isn’t cared for can often let you down when you need it most.”
Knowing how to store your rope is only half the battle; understanding its practical applications makes it truly indispensable.
Practical Uses
Your DIY rope offers countless possibilities beyond simple utility. Imagine setting up a shelter during an unexpected rainstorm by tying tarps securely with your robust cordage, creating a barrier against the elements. Whether you’re securing tents, crafting fishing lines, or even fashioning makeshift clothing lines for drying gear, the versatility of well-made cordage cannot be overstated.
Think about those moments when you may need quick fixes — perhaps a friend has accidentally punctured their tent or you’re out camping and need to rig up a hanging system for cooking. Your homemade rope should be ready for such scenarios. Having reliable cordage in your survival kit prepares you for immediate challenges while fostering confidence in your ability to adapt and overcome obstacles posed by nature.
Always remember that reliance on natural materials like dogbane or milkweed provides strength comparable to synthetic options when processed correctly. This connection underscores why crafting these ropes is resourceful and essential for effective preparedness.
Regular checks and maintenance will ensure your ropes remain effective and ready for action whenever you need them.
In summary, proper storage and knowledge of practical uses transform DIY cordage into an invaluable resource for any prepper. Embrace these skills, and you’ll be better equipped for whatever challenges come your way.