
When life throws unexpected challenges your way, having a reliable source of clean water can make all the difference. Whether it’s a natural disaster, a sudden leak, or even just the inconvenience of a power outage—being prepared with enough water storage helps ensure safety and comfort for you and your family. You might think that emergency water storage is complicated or expensive, but it doesn’t have to be. In this guide, we’re breaking down practical, affordable solutions that anyone can implement easily. From using recycled containers to setting up DIY rain collection systems, we’ll show you how to keep your water supply safe and accessible when it matters most. Let’s dive in!
The Affordable Emergency Water Storage: Complete Guide outlines practical solutions for securely storing water during emergencies, emphasizing cost-effective methods, suitable container types, and purification techniques. It includes recommendations on various storage options, such as stackable containers, DIY solutions, and tips on ensuring your water supply remains safe and accessible in times of crisis.

Affordable Emergency Water Storage Options
When it comes to storing water affordably, you have several practical options that can set you up for success without breaking the bank. Understanding these methods not only ensures you have enough clean water during emergencies; it also allows you to take advantage of available resources and space in your home.
-
Recycled Food-Grade Containers: Using cleaned milk jugs or soda bottles can be a quick fix for short-term needs. Just remember to thoroughly sanitize them before use to prevent any harmful contaminants from affecting your stored water. A simple rinse with warm soapy water, followed by a soak with a solution of one tablespoon of unscented bleach per gallon of water, can go a long way in ensuring your containers are safe and ready for action.
-
Rain Barrels: These are not just cost-effective; they’re an eco-friendly choice as well! Many households utilize rain barrels to collect precious rainwater from their gutters. You can often find rain barrels through local government programs at little to no cost, and they can save you money on your water bill by reducing dependency on municipal supplies.
-
Water Bricks: These innovative, stackable tanks provide a great way to maximize limited storage space in homes where every inch counts. Typically priced around $20 each, their design makes them easy to store, transport, and access during emergencies while still meeting health regulations.
Keeping in mind how much water you’ll need is crucial—each person requires about one gallon of water per day for drinking and sanitation purposes. If you’re anticipating a household emergency, consider storing at least 30 gallons of potable water per two-person household for a week. This helps prepare you adequately and offers peace of mind.
It’s worth noting that long-term plastic storage may leach chemicals into your water over time; therefore, metal containers are sometimes the better alternative if feasible.
Additional Considerations
While assembling these solutions, remember that the diversity of storage options is essential. Mixing smaller containers with larger ones increases flexibility and accessibility when transporting or using the stored water later on. For example, combining stackable containers like Aquatainers with traditional 55-gallon drums gives you both ease of movement and sufficient supply for various needs.
Now that we’ve covered affordable storage solutions, let’s explore how to design your own personalized systems for gathering water efficiently within your environment.
DIY Water Collection Systems
Creating a DIY water collection system not only helps to save money but also plays a vital role in ensuring you have access to water during emergencies. This can be crucial when natural disasters strike or supply lines are disrupted. Knowing how to effectively collect and store rainwater prepares you for times of scarcity and becomes a reliable source of water for your household.
Step I – Plan Your Setup
The first step in building your rainwater collection system is planning where you will place it. This usually means finding an area directly under a roof gutter where rainwater naturally flows. Consider the location of your downspouts, as this will determine the most efficient spot for collecting rainwater.
It’s wise to calculate the potential water catchment area, which is typically based on the size of your roof. For instance, a 1,000 square foot roof can potentially collect about 600 gallons of water from just one inch of rainfall. Understanding these figures will guide your design decisions and ensure that you build a system adequate enough to meet your needs.
Step II – Assemble Your Materials
Once you’ve designated a location and calculated your catchment capabilities, it’s time to gather the materials needed for constructing your system. You’ll require rain barrels—typically available in various sizes, with larger barrels holding up to 55 gallons—along with PVC pipes for connecting pieces together and directing water flow.
Don’t forget a filtration screen; this is critical for keeping debris like leaves and twigs from contaminating your stored water. Basic tools like a drill and saw will also play a role in assembling everything together seamlessly. If you’re resourceful, consider visiting local hardware stores or garden centers, where you might find second-hand materials at lower prices.
Step III – Install the System
With your materials ready, the next phase involves installing the system itself. Begin by connecting the rain barrel to the downspout using PVC pipes. Ensure it’s securely attached to avoid any leaks that could waste precious water. Then, place a filtration screen on top of the barrel to act as a barrier against debris; this step is essential because it helps keep the collected water clean and usable long-term.
Ultimately, having a well-installed system can relieve worries about relying solely on municipal sources during droughts or emergencies.
Take John from Texas—a DIY enthusiast who shared his experience building an effective water collection system for less than $50. His setup has provided enough water not only for his garden but also as an emergency supply during dry spells. Stories like John’s illustrate how simple setups can create significant benefits without breaking the bank.
With your DIY water system in place, you’ll be better prepared for emergencies. Next, we will explore further measures that can enhance your home’s resilience against various water-related challenges that may arise.
Preparing Your Home for Water Emergencies
Preparation is more than just a wise practice; it’s an investment in your family’s safety and well-being. When thinking about water emergencies, visualizing your home as a fortress could be a productive first step.
Begin by inspecting your home for any potential leak spots. Pay close attention to areas around windows, doors, and plumbing fixtures where water might trickle through during storms or floods. Sealing these leaks can significantly reduce the risk of contamination and help safeguard your stored water supply.
In addition to sealing potential leaks, it’s crucial to identify your primary water shut-off valve. Knowing the location of this valve will allow you to isolate your home’s water supply quickly in case of a burst pipe or another emergency. This simple act can save you from extensive damage and ensure that your water reserves remain uncontaminated.
Remember, according to FEMA’s recommendations, each person needs at least one gallon of water per day for both drinking and sanitation. So, if you have a family of four, you should be aiming to store at least 12 gallons for just three days. It may sound like a lot, but with some sensible planning, it can fit seamlessly into your home.
With the understanding of how much water you’ll need stored, consider designing an inventory system. This can be something as simple as a spreadsheet logging what you’ve collected and when you last rotated the stock. Regularly check your stored water and replace it every six months to ensure freshness; stale water may not be dangerous, but it certainly won’t taste good!
As we transition from assessing our home environment and needs toward practical solutions, let’s explore options that will optimize storage efficiency for this essential resource.
Best Affordable Containers
Selecting the right containers can make a significant difference in the effectiveness of your water storage. One of the most popular options are 5-gallon buckets. These sturdy and versatile containers are inexpensive and widely available at hardware stores. However, it’s vital to ensure they are labeled as food-grade to prevent any harmful chemicals from leaching into your water. Additionally, a tight-sealing lid is essential, as it acts like a guardian protecting your precious water supply from contamination and evaporation.
55-Gallon Drums
Moving up in size, 55-gallon drums offer a fantastic choice for anyone looking to store larger quantities of water at a lower cost per gallon. Ideal for extended emergencies, they provide an efficient way to stock up; however, they do require adequate space, so plan where you’ll place them carefully. It’s worth noting that these drums generally come with features such as UV protection and corrosion resistance. This means they can withstand outdoor conditions if necessary, thus extending their lifespan.
| Container Type | Cost Per Gallon | Capacity | Durability |
|---|---|---|---|
| 5-Gallon Buckets | $0.80 | Low | Medium |
| 55-Gallon Drums | $0.50 | High | High |
| Water Bricks | $1.00 | Medium | High |
Another excellent option is water bricks, which boast a unique design allowing them to be stacked easily, thereby optimizing space—a boon for smaller storage areas. While their cost per gallon may be slightly higher than that of 55-gallon drums, their compact form factor helps to maximize space efficiency in any established storage situation.
Having established the types of containers suitable for your needs, the next focus will be on methods to ensure your collected water remains clean and usable for as long as possible.
Long-Term Water Preservation
Water stored for extended periods needs careful treatment to remain safe for consumption. One of the most effective methods involves adding unscented chlorine bleach as it works wonders in killing off bacteria that might contaminate your water supply over time. For every gallon of water, you should add about 8 drops of bleach. This may sound like a simple step, but it’s crucial: without proper treatment, your water could harbor harmful microorganisms that can make you sick.
According to the CDC, when treated correctly, stored water can remain safe for up to five years! However, this timeline doesn’t take into account all circumstances—the container’s material and how it’s stored play significant roles in longevity. For instance, keeping your storage in a cool, dark place helps preserve its quality. Temperature fluctuations can affect water stability, so aim for a consistent environment if possible.
You should keep in mind that not every plastic container is suitable for long-term water storage; it’s vital to choose food-grade containers specifically designed for this purpose. Regularly checking your stored water is also important—every six months is a good practice. If you notice any signs of cloudiness or strange odors, it’s best to discard that batch and replace it with fresh water.
Speaking of replacements, another effective way to safeguard your supply is by utilizing local resources during emergencies.
You can occasionally supplement your stored water with fresh sources like rain or melted snow. Just remember, it’s imperative to filter new sources before adding them to your supply! Using a reliable filtration system can help eliminate contaminants, giving you peace of mind about the safety of what you’re consuming. Being prepared means thinking ahead about where your water will come from and how to keep it safe for when the need arises.
All these tips ensure hydration during emergencies and contribute to overall water security in difficult times—setting up each household for resilience against various challenging scenarios. Investing time and consideration into every aspect of the long-term preservation process safeguards immediate needs while protecting your family’s health and well-being during times of uncertainty.
With these foundational approaches established, let’s explore practical, movable solutions for ensuring readiness when emergencies strike.
Portable Solutions for Emergencies
In scenarios requiring quick mobilization, lightweight and efficient water storage options become indispensable. Imagine being caught in an unexpected disaster—access to clean drinking water is vital. Ensuring you have portable systems at your fingertips can help safeguard your health. Compact water filtration systems, like the Sawyer Mini Filter, shine in these situations. Not only are they easy to pack, but they also provide an effective means of transforming questionable sources into drinkable water seamlessly.
While tools like the Sawyer Mini Filter stand out for their efficiency, other portable solutions deserve attention as well. For instance, consider the Lifestraw or portable UV purifiers. These devices allow users to drink directly from contaminated sources while using advanced filtering mechanisms to eliminate harmful pathogens. One key advantage of these systems is their simple operation—often requiring no more than drawing water through a straw.
Sarah’s experience during her backcountry camping trip offers a great testament to this reliability. She successfully relied on her Sawyer filter throughout a 3-day hike, easily accessing clean drinking water from streams that would otherwise be too risky without proper treatment. For her, this device wasn’t just a convenience; it was a lifeline that allowed her to focus on enjoying nature rather than worrying about hydration.
Having portable solutions is great but remember that you should also think about setting up a comprehensive home kit to amplify your overall preparedness further.
A well-rounded preparedness plan combines both portable options with robust home-based resources. Imagine establishing a support system where water storage tanks and filtration systems work alongside each other seamlessly. Assembling components such as the “Hippo” Water Storage System, which holds up to 2,000 gallons of potable water, complements smaller, portable filtration devices beautifully. Not only does it ensure you can access large volumes of clean water in case of emergencies at home, but it also equips you with the necessary tools if you need to evacuate quickly.
Striking a balance between portable solutions and more extensive home setups leads to comprehensive preparedness. With an understanding of what’s available and effective, you’ll feel ready and confident when faced with any situation that requires immediate response and action.
With this solid foundation in portable and home-based strategies, it’s time to explore how to effectively set up your own storage kit for every eventuality.
Setting Up a Home Storage Kit

Creating an efficient home water storage kit involves careful selection and organization of components that can make all the difference during an emergency. First and foremost, containers play a vital role in your setup. The goal is to diversify your storage options by incorporating various types.
For instance, using a combination of 5-gallon jugs for portability and accessibility alongside larger 55-gallon drums that can be stored in basements or garages maximizes your ability to gather enough water while keeping it readily accessible. Remember, the average recommendation is at least one gallon of water per person per day for a minimum of three days, which requires planning based on your household size.
Key Components
As you begin to choose the key components for your water storage kit, let’s look at what you’ll need:
-
Containers: Opt for food-grade plastic containers or barrels specifically designed for long-term water storage. Avoid any that previously held toxic substances, as they can contaminate your water supply.
-
Purification Tablets: These small yet powerful tablets are essential in ensuring that the stored water remains safe for consumption over time. It’s wise to keep a supply handy, as they are easy to use—just follow the instructions for effective water treatment.
-
Filtration Systems: A reliable filtration system like the Sawyer Mini is crucial, especially if sourcing from questionable areas. This compact filter can quickly clean large amounts of water, vital in emergencies.
-
Manual Pump: Adding a manual pump to your kit facilitates effective access to water from your larger drums. This tool simplifies the process and prevents you from struggling with heavy containers when supplies run low.
-
Towels and Spare Clothing: Don’t underestimate the usefulness of having some towels and spare clothing at hand. These can be useful during collection and for any spills that might occur while maneuvering with full containers.
Once you’ve gathered these items into your kit, maintaining them properly becomes equally important. Regularly rotating your stored water will ensure freshness while allowing you to stay prepared without facing unpleasant surprises down the line.
Water should ideally be changed every six months to one year—even if kept under the best conditions—so plan periodic checks on your supplies as part of your home maintenance routine.
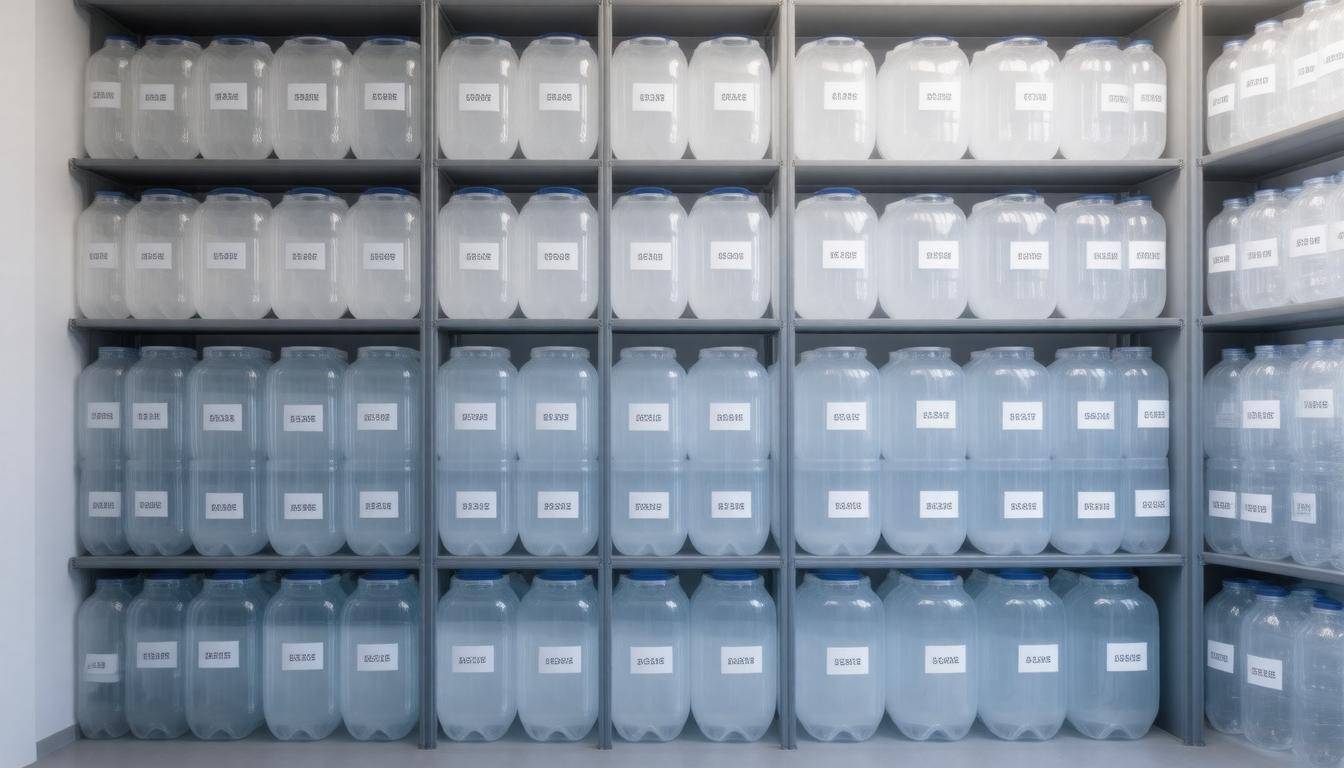
Additionally, keeping clear labels on each container regarding its contents and date ensures an organized approach and simplifies upkeep. By taking these proactive steps, you enhance safety and peace of mind—the essence of true preparedness during any situation that may arise.
With a well-organized setup in place, knowing how to maintain these resources effectively is crucial for long-term readiness.
Tips for Maintaining Water Storage
Regular maintenance ensures your emergency water is always safe to use, and it doesn’t have to be a strenuous task. It can even be as simple as creating a reminder in your calendar. By scheduling routine checks, you can easily keep your water storage in pristine condition.
Routine Checks
One of the most effective tips for maintaining your water storage is to rotate your stored water every six months. This not only helps keep the water fresh but also allows you to inspect the containers for any signs of leaks or contamination. Look for clarity; if the water appears cloudy or has an unusual odor, it’s time to empty that container and refill it with clean water.
According to the American Red Cross, checking and rotating your stored water every six months ensures maximum safety. Mark it on your calendar as a gentle reminder—it’s easier than waiting until an emergency strikes!
Sanitation
Cleaning your containers before refilling them is crucial in maintaining hygiene. Use a solution of one teaspoon of bleach per quart of water for cleaning, ensuring all surfaces are wiped down thoroughly before storage. After cleaning, rinse the containers well with potable water to remove bleach residues.
This step is paramount because contaminants can easily slip through if proper sanitation practices aren’t followed. Each time you refill your container, think of it as offering a newly prepared meal: clean preparation leads to better results!
Additional Maintenance Tips
Don’t forget to store your water in a cool, dark place. Light can promote algae growth and cause degradation of plastic containers over time, leading to leaching of chemicals into your precious stored water. It might seem like common knowledge, but out of sight often means out of mind—regularly check these hidden spots to make sure everything is secure and undisturbed.
Additionally, if your household relies on municipal water sources, keep an eye on local advisories regarding any potential water quality issues during emergencies. Having alternative sources handy, such as rainwater collection systems or portable filters, can provide peace of mind.
By implementing these tips into your regular routine, you’ll ensure that your emergency water is ready when unexpected challenges arise, allowing you to face uncertainties with confidence and preparedness.
As a final thought, maintaining a comprehensive emergency water storage plan not only safeguards against unforeseen circumstances but also enhances overall preparedness for any situation life throws at you.