
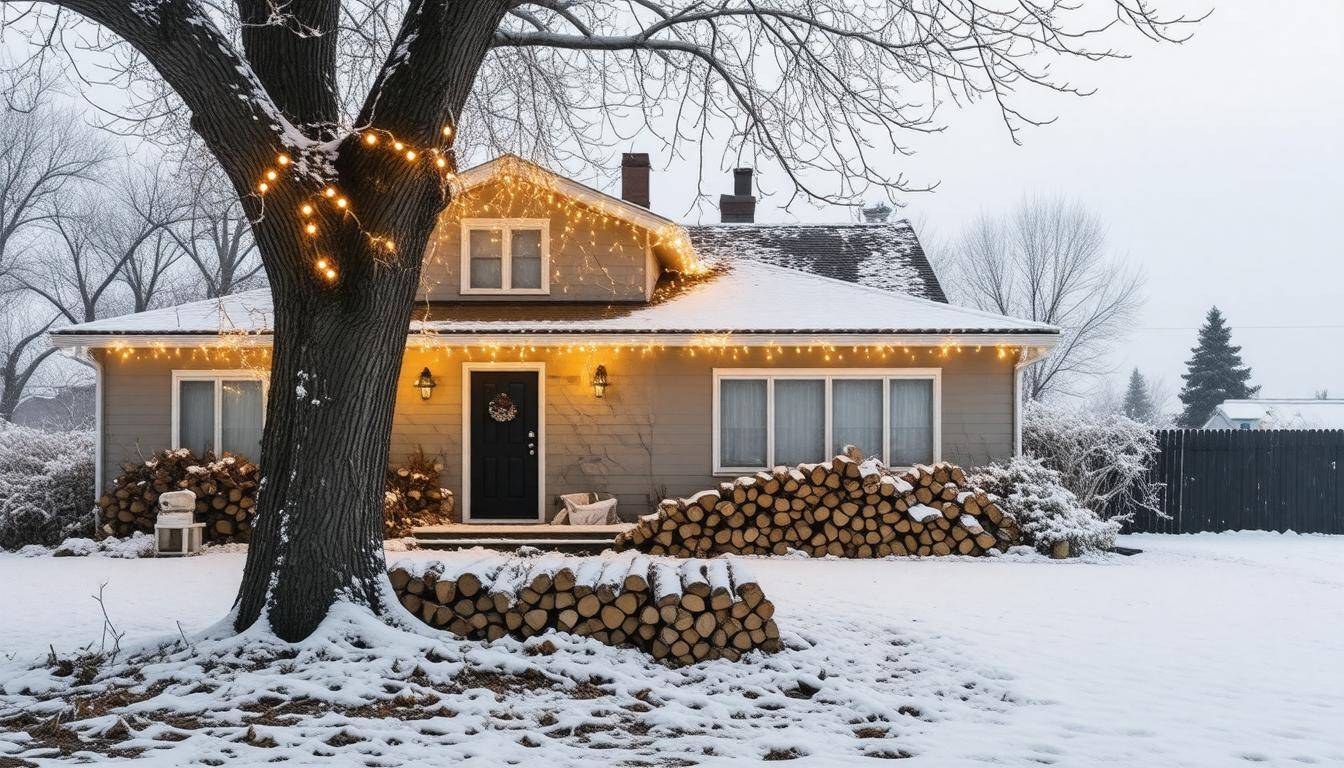
As winter approaches, the thought of braving frigid temperatures may send shivers down your spine—literally. Preparing your home for a cold snap isn’t just smart; it’s essential to keep your family comfortable and safe during those bitterly cold months. From heating systems to insulation and emergency supplies, there are numerous steps you can take to ensure your home stands strong against the chill. Trust me, after experiencing my own share of winters with plumbing disasters and drafty rooms, I know how vital these preparations can be. So, let’s dive into this complete winter checklist that’ll help you tackle the cold head-on!
Your Cold Snap Home Protection checklist should include vital preparations such as insulating outdoor faucets, keeping cabinet doors open for warmth access to pipes, stocking up on essential supplies like food and water, and ensuring your heating system is functioning optimally. Additionally, consider implementing safety measures like having extra blankets available and preparing an emergency kit to stay safe during extreme cold weather conditions.
Ensuring Your Heating System is Ready
A crucial first step in preparing your heating system involves scheduling a professional inspection. By engaging a certified HVAC technician, you can benefit from a comprehensive checkup that covers everything from cleaning the furnace to assessing all components for potential malfunctions. An expert will look for issues like gas leaks or faulty electrical connections—problems that are often unnoticed by the untrained eye. The importance of this step cannot be overstated; an inefficient system might not only leave you shivering in the cold but can also lead to unsafe conditions in your home.
After ensuring that your heater has been properly inspected, the next task on your checklist is replacing the filters.
Regularly changing your furnace filters is a straightforward yet vital maintenance task. Ideally, these filters should be replaced every three months; however, homes with pets or higher dust levels may require more frequent changes. When filters become clogged, they restrict airflow and decrease efficiency. This means your heating system must exert more effort to maintain the desired temperature, leading to unnecessary wear and tear—and we all know that breakdowns often occur at the most inconvenient times!
With clean filters in place, it’s time to ensure that your thermostat functions correctly.
Testing your thermostat is another significant step in optimizing your heating system’s performance. You want to confirm that it’s accurately reading your home’s temperature and communicating effectively with your furnace. Furthermore, consider upgrading to a programmable or smart thermostat if you haven’t already; these modern devices can considerably enhance energy efficiency by adjusting their settings based on your daily schedule. Being able to control temperatures remotely may also help reduce energy expenses while keeping you cozy during those chilly nights.
And as we optimize our systems, we should pay close attention to any leaks and drafts that could undermine their performance.
Sealing duct leaks is an often-overlooked aspect of ensuring an efficient heating system. Any gaps present in your ductwork can result in warm air seeping out before it reaches its intended destination, leading to wasted energy and discomfort throughout your living spaces. Especially in older homes, duct leaks are quite common. Use metal tape or mastic sealant for a durable fix, and be sure to address any visible gaps around vent registers. By taking these steps, you’re not just sealing ducts; you’re also sealing in comfort and giving your heating system the support it needs to perform efficiently.
Each of these actions—inspection, filter replacement, thermostat testing, and duct sealing—works together harmoniously to prepare your heating system for whatever winter throws at us. Now let’s explore how improving insulation around critical areas of your home can fortify your defenses against the cold.
Insulating Walls, Windows, and Doors
When it comes to keeping the cold at bay, your walls are the unsung heroes of insulation. Using fiberglass or foam board insulation can significantly reduce heat loss, especially in areas like attics and basements where cold air tends to invade and warm air escapes. If you’re planning on tackling this project yourself, be prepared for some heavy lifting and a sprinkling of DIY finesse. However, not everyone is cut out for such tasks—sometimes a professional touch can ensure the job is done right.
Step I – Wall Insulation
To start insulating your walls effectively, check the R-value of your insulation; it’s a measure of thermal resistance. For instance, fiberglass batts can have an R-value ranging from R-11 to R-38 depending on thickness and application. The thicker the insulation, the better it performs against heat loss. Proper installation is crucial because even the best insulation can underperform if it’s not fitted snugly to prevent gaps where heat might escape.
After the walls are taken care of, window insulation becomes the next focus.
Step II – Window Insulation
Next up are your windows; they often make up a significant portion of energy loss in a home. To tackle this challenge, employing multiple strategies is key. Start with draft stoppers—they’re effective and easy to use on any window sill. Adding window insulation film offers another layer of protection, creating an almost invisible barrier that helps insulate without compromising your view.
For those looking to invest long-term, consider installing double-glazing windows which can significantly reduce heat escape. Although this will require professional installation, the benefits you’ll reap in comfort—and potentially in lower energy bills—are well worth it.
Alongside windows, doors are another area that needs attention.
Step III – Sealing Doors
Just as windows are vital to maintaining warmth, so too are your doors. A simple yet effective way to seal gaps around your doors is by applying weather stripping around the door frames. This adds an incredibly effective barrier against drafts sneaking in when you least expect it. Installing door sweeps at the bottom of doors acts as shields against drafts trying to enter through that small gap underneath.
These steps complete a significant part of improving your home’s insulation.
The Final Touches
Remember that insulation isn’t just about materials; it’s about strategy too. Make sure that any potential sources of heat loss are addressed—including checking for gaps around outlets or vents where cold air might infiltrate. It’s a combination of thoroughness and thoughtful application that leads to a cozy refuge during biting winter months. Taking these proactive measures now helps create a warm environment regardless of how fiercely winter tries to creep inside.
Let’s explore further measures focused on comprehensive strategies to safeguard your home during severe cold spells.
Cold Snap Checklist for Your Home
A comprehensive checklist can ensure all parts of your home are ready for cold weather, preventing unnecessary headaches when winter strikes. One of the first items on your checklist should be to inspect your roof and gutters. Over time, harsh weather can cause damage to shingles, leading to leaks inside your home. Clogged gutters can create ice dams that prevent proper drainage, potentially causing water to back up under shingles. Clearing these out allows melting snow and rain to flow away from your home and helps maintain the integrity of your roof.
After you’ve ensured your roof is in good shape, it’s essential to turn your attention to safety measures throughout your home.
That brings us to checking your alarms—making sure smoke and carbon monoxide detectors are operational is a small task with huge implications. Did you know that nearly 50% of fire-related deaths occur in homes without functioning smoke detectors? Replace batteries regularly, especially before the winter months, and test them monthly to ensure they respond promptly when needed. Having fresh batteries may mean the difference between life and death during an emergency.
As we move outside, it’s wise to consider the impact of nearby trees on your property.
Take the time to trim nearby trees so that no limbs are hanging over your roof or near power lines. Heavy snowfall can weigh branches down, making them more susceptible to breakage. By cutting back these limbs, you’re not just protecting your home’s structure but also minimizing the risk of losing power during storms—a frequent concern for those living in areas with harsh winters.
Ensuring warmth within your home is also important as temperatures plunge.
One effective method is to reverse your ceiling fans. Many people don’t realize that setting ceiling fans to rotate clockwise pushes warm air down from the ceiling, where it tends to accumulate, creating a more cozy environment while reducing energy costs. This small adjustment can help keep rooms evenly heated and comfortable.
Alongside these preparations, examining the seals around windows and doors cannot be overlooked.
Inspecting weatherproofing is key during this time because gaps and cracks allow precious heat to escape, causing your heating system to work overtime—and that’s not energy efficient! Apply weather stripping or caulk where needed to keep those drafts at bay. Loss of heating efficiency can increase utility bills by 10-20%, so this is an investment that pays off quickly!
Finally, keeping safe paths around your home makes a big difference in navigating winter’s challenges.
Don’t forget to stock up on de-icer and salt ahead of time! When rain turns into ice overnight, having these materials on hand for managing walkways can prevent falls—not only for you but also for guests visiting during the holidays. Consider purchasing them in bulk before winter sets in so you won’t need to rush out when supplies run low mid-storm.
Each preparation step serves an essential purpose in shielding both you and your home against frigid conditions. With each precaution taken, you’ll be better equipped for the cold challenges ahead.
Protecting Pipes from the Cold
Frozen pipes are more than a nuisance; they can lead to costly damages and disruptions in your home. A little proactive maintenance can go a long way in safeguarding your plumbing against the harsh winter chill. The first step in this effort is often pipe insulation. Unheated spaces like garages, basements, or crawl spaces are where cold snaps hit hardest. By covering exposed pipes in these areas with foam insulation sleeves, you provide an extra layer of protection that drastically reduces the risk of freezing.
Research has shown that properly insulated pipes can retain heat better, preventing the formation of ice crystals that lead to blockages and potential bursts.
However, even with insulation, circumstances beyond our control can still put pipes at risk. This is where the practice of dripping faucets comes into play.
Allowing faucets to drip during extreme cold spells keeps water moving through the pipes. This small trick may seem minor, but it is especially useful for pipes situated in exterior walls where temperatures drop rapidly. Movement prevents the buildup of ice that could restrict flow and pressure inside the pipes; it’s like giving your plumbing a safety valve by maintaining a constant flow—even if it’s just a trickle.
Yet, there’s more to winterizing your plumbing system than just keeping faucets dripping.
An essential step involves shutting off exterior faucets. Disconnecting garden hoses and turning off the water supply to these faucets ensures no remaining water sits within them ready to freeze. Once the supply is shut off, draining any residual water from the faucets becomes crucial. Removing leftover water reduces the chances of expansion and bursting caused by freezing temperatures.
As we navigate through these winter preparations, there’s one more impactful step—opening cabinets near exterior walls.
Leaving cabinet doors open under sinks allows warm air from your home to circulate around those vulnerable pipes. It’s a simple action that can make a significant difference. Of course, always remove any hazardous materials such as cleaning supplies or chemicals if you have children or pets nearby. This careful balance between safety and prevention helps keep both your loved ones and plumbing secure during frigid months.
Embracing these strategies adds layers of defense against nasty surprises when the weather turns cold while ensuring warmth flows through your home rather than sitting stagnant in potentially perilous plumbing systems.
With these critical protective measures in place, we can now shift our focus to ensuring that our roofs and gutters are equally prepared for the challenging winter conditions ahead.
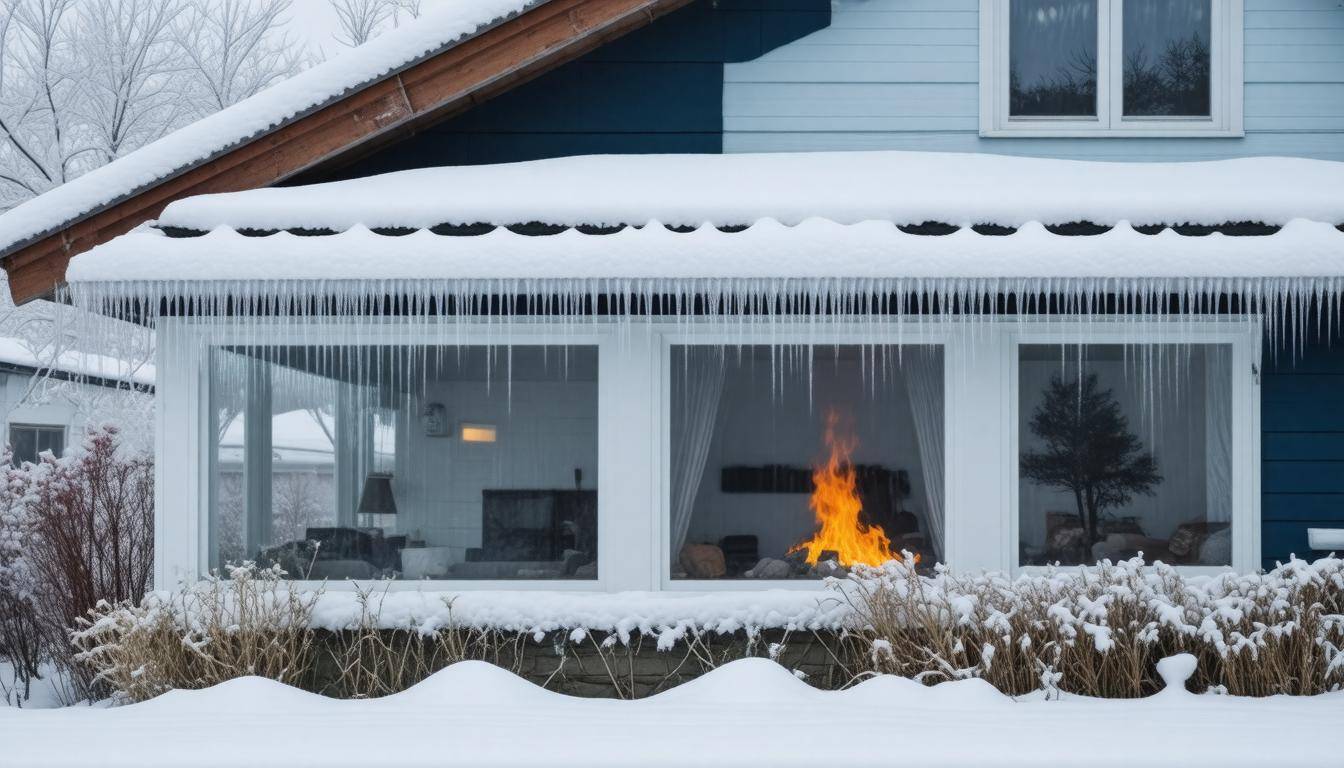
Preparing Your Roof and Gutters
Proper roof and gutter maintenance can prevent severe damage during a winter storm. A well-maintained roof protects your home from leaks and supports the structural integrity of your entire residence. Therefore, taking the time to inspect and prepare these areas is essential.
Beginning with the roof, you should gracefully climb up there or enlist professional help to ensure that your shingles are in good shape. Inspecting for loose or damaged shingles is vital—while it might seem straightforward, some residents overlook this task at their peril. Missing shingles can allow snow and rain to infiltrate beneath, ultimately leading to costly repairs inside your home. If you’re uncomfortable with heights, it’s wise to hire a professional. They have the expertise and safety equipment to manage these tasks efficiently.
After addressing the roof, it’s necessary to focus on the gutters—the unsung heroes of winter protection.
These channels play a crucial role in directing water away from your foundation, so it’s paramount that they remain clean and free of debris. During fall, leaves can quickly clog gutters if not cleared out regularly. This clogs may lead to ice dams that form as snow accumulates, resulting in stagnant water that can seep into your walls and ceilings. To prevent such issues, clear out leaves and other debris from both the gutters and downspouts before winter truly sets in. Clogged gutters can cause significant structural issues down the line; investing a few hours now will save you headaches later.
Step I – Roof Inspection
As you conduct your roof inspection, look closely for any signs of wear besides just missing shingles, such as curling edges or loss of granules which indicate aging shingles. If noticing significant deterioration or mold growth, it might be necessary to consider a full replacement instead of just repairs. This diligence can prolong the life of your roof by several years.
Step II – Clean the Gutters
If you’ve noticed that your gutters haven’t been serviced in a while or show signs of blockage, grab a ladder (safely) and start cleaning! Be sure to wear gloves as you clear them out; you never know what might be lurking in there. Additionally, flush them with water once cleaned to ensure proper drainage.
Step III – Install Gutter Guards
To make ongoing maintenance easier, consider installing gutter guards after giving them a thorough cleaning. These guards can significantly reduce the amount of debris that enters your gutters during future storms and seasonal changes. Not only do they save you effort in future seasons, but they also contribute to better drainage year-round.
Step IV – Remove Snow Buildup
Finally, don’t forget about snow buildup on your roof after heavy storms. Using a roof rake allows you to effectively remove accumulated snow without risking damage to roofing materials themselves. Excessive snow weight can lead to ice dams or even structural damage if it bends or breaks elements of your roof frame.
By being proactive with your roof and gutters, you’re safeguarding against leaks and potential health hazards caused by water infiltration within the walls of your home during harsh winter conditions. Such preparation not only enhances safety but also allows you to focus on other essential aspects of winter readiness.
Emergency Winter Supplies
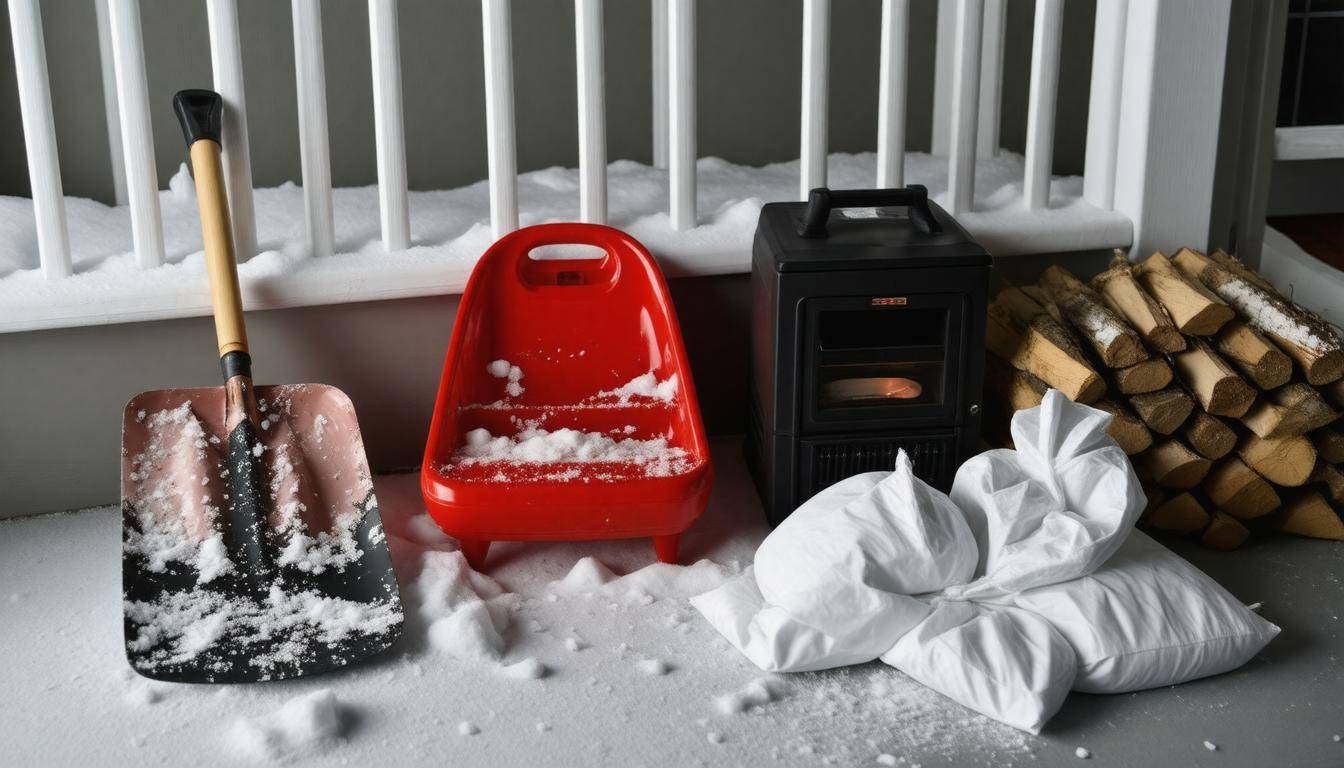
Preparing a stash of winter supplies can truly make a significant difference during prolonged cold snaps or unexpected power outages. Imagine waking up in the middle of a freezing night with temperatures plummeting outside and the electricity suddenly goes out. Having your emergency supplies organized and easily accessible could be the key to staying warm and safe rather than feeling helpless in an uncomfortable situation.
First on the list are blankets and sleeping bags. These aren’t just for camping trips; they can be lifesavers during an emergency. I recommend having several thick thermal blankets at hand—not only do they retain body heat effectively, but they also serve as great improvisational bedding if you need to sleep in one room together as a family. On that note, sleeping bags can provide excellent insulation and are easy to store.
Next up is food, because no one likes to feel hungry when it’s cold outside.
Stocking non-perishable food is a crucial part of your preparation plan. Think about canned goods, granola bars, dried fruits, or even freeze-dried options; items that don’t require cooking or immediate refrigeration. When you stock these items, always opt for foods that your family enjoys and that provide good nutrition. If you’re ever in need, it makes all the difference when you’re not eating just beans out of a can!
- Canned Soups: High in nutrients and only require heating—perfect for cold nights!
- Granola Bars: Quick energy boosters.
- Rice or Pasta: If you have access to water for cooking in an emergency, these are invaluable staples.
Alongside food, ensuring hydration is paramount during cold snaps.
That’s why storing several gallons of drinking water is essential. The general rule of thumb is to keep one gallon per person per day for a minimum of three days—but if you can aim for a two-week supply, that’s even better! In my experience, the Wolverine Tuff Bottle 20L is fantastic; it holds a significant amount while being durable enough for various conditions. Also, remember to replace your stored water every six months for optimal freshness.
Another aspect we often overlook is illumination during power outages.
That brings us to flashlights and batteries—these cheap yet invaluable items can make navigating your home much safer when electricity is out. I suggest keeping multiple flashlights throughout your house with fresh batteries stored nearby; this way they are easy to grab in case of an emergency. Rechargeable batteries with solar-powered flashlights can also offer peace of mind during long-term outages.
- LED Flashlights: They last longer and consume less power.
- Extra Batteries: Always have an assortment on hand.
- Candles: Make sure to use them safely—never leave them unattended!
Furthermore, preparing for health and safety emergencies cannot be overstated.
As part of your essentials, maintaining a well-stocked first aid kit is vital for addressing minor injuries that may occur while waiting for help or just around the house during emergencies. This kit should include band-aids, antiseptic wipes, adhesive tape, and any necessary prescriptions you might need during winter storms (like allergy medicine!). Keeping this kit handy prevents unnecessary trips outside in hazardous conditions.
Staying connected with loved ones can’t be ignored either.
This leads us to portable phone chargers; these little devices ensure that you can maintain communication lines open before the power goes down entirely. Whether it’s texting friends for updates on road conditions or calling emergency services if needed, staying connected can save lives.
We also need tools that help us access our essential supplies.
Don’t forget about the importance of a manual can opener! After all that preparation with canned goods and other non-perishables, you’ll want something simple nearby to access those foods without relying on electricity—imagine trying to open cans without it!
Finally, providing warmth through alternative sources cannot be overlooked.
Lastly, consider getting a portable heater; battery-operated or propane heaters can give much-needed respite from frigid temperatures indoors should central heating fail you. Just take care when using them indoors and ensure proper ventilation—to avoid carbon monoxide buildup if using combustion-based units!
Navigating winter’s challenges requires creativity and resourcefulness—staying informed about other best practices ensures you’re fully equipped for whatever may come your way.
Safety Tips for Extreme Cold
Personal safety is paramount during extreme cold conditions; therefore, knowing essential safety tips helps protect you and your family. The first step is dressing in layers. Wearing multiple layers of clothing traps heat effectively, but it’s important to avoid tight garments that restrict blood flow.
Opt for loose-fitting pieces that provide both insulation and comfort. Start with a moisture-wicking base layer, add insulating middle layers like fleece or wool, and finish with a weatherproof outer shell to guard against wind and precipitation.
Next up is the need to stay indoors as much as possible. While it may be tempting to enjoy winter activities outside, limit your time spent outdoors to ensure your well-being. If you must go out, make it brief and always bundle up properly. Wear hats that cover your ears, thick socks, and insulated boots to keep warmth from escaping.
Now that you’re dressed appropriately for the cold, it’s vital to remain informed about changing conditions. By monitoring weather alerts, you can stay ahead of any threats posed by sudden drops in temperature or incoming winter storms. Utilize reliable sources such as NOAA or local news channels to receive timely updates so you can make necessary adjustments to your plans.
When it comes to handling the cold at home, be mindful about your heating methods. Avoid using stoves or ovens for heating purposes; this can pose serious fire risks or create dangerous carbon monoxide levels inside your home. Instead, consider using safe options like space heaters equipped with automatic shutoff features that turn off when they tip over or reach an unsafe temperature.
Lastly, remember to stay hydrated despite the cold weather. Drinking warm fluids not only keeps you hydrated but also helps maintain your internal body temperature. Be cautious about consuming alcohol, as it can ironically lead to an increase in heat loss rather than retention—an important distinction when trying to keep warm.
Implementing these safety tips will help ensure both your personal security and comfort during those extreme cold snaps. Taking these proactive steps allows you not only to safeguard yourself but also sets the stage for focusing on other critical aspects of winter preparedness, particularly in relation to your vehicle.
Vehicle Winter Readiness
Preparing your vehicle for extreme cold can prevent breakdowns and significantly improve safety when you’re out on the road. One of the primary steps you should take involves ensuring that your tires are equipped for icy conditions. Installing winter tires provides better traction on snow and ice compared to all-season tires.
However, merely having winter tires isn’t enough; it’s crucial to ensure they are properly inflated since cold temperatures can cause tire pressure to drop significantly. Conducting regular checks on your tire tread’s depth helps guarantee that you maintain optimal grip when navigating winter roads.
Another essential aspect of vehicle readiness is inspecting the battery. Cold weather can be brutal on batteries, draining their power quickly, especially if they are older or already struggling. Make it a habit to check your battery’s condition by looking at the terminal connections and removing any corrosion that might be present. If you’re uncertain about its reliability, consider taking it to a professional for testing or replacing it proactively. After all, no one wants to find themselves stranded in sub-zero temperatures due to a weak battery.
Furthermore, keeping your fuel tank full serves multiple purposes during the winter months. Not only does it help avoid moisture buildup in your gas line—which can freeze—but it also ensures you have enough fuel for unexpected delays should you find yourself stuck in traffic or need to run your heater if necessary.
Prepare an Emergency Kit
To enhance your winter preparedness, packing an emergency kit is a must. Essential items such as blankets, a first aid kit, bottled water, and non-perishable snacks should definitely be included in case you get stranded.
A well-thought-out emergency kit goes beyond basic needs; add items like a flashlight to illuminate dark areas after dark and jumper cables if you need assistance starting your engine again. An ice scraper is another handy tool—one that you’ll thank yourself for having when faced with sudden frost-covered windshields.
It’s also wise to keep an eye on your vehicle’s antifreeze levels. This fluid is essential in maintaining the temperature within your engine block; therefore, ensuring that these fluids are topped up and at appropriate levels is vital for avoiding freezing issues. Regularly checking both antifreeze levels and the mixture type suited for your climate can save you from significant repairs down the line.
By taking proactive measures now—like installing winter tires and assembling an emergency kit—you’re not just safeguarding your vehicle but also enhancing your overall safety during those challenging winter months ahead.
In summary, preparing your vehicle for winter involves careful planning and attention to detail. From tire readiness to packing an effective emergency kit, each step contributes significantly to ensuring a safe driving experience in harsh weather conditions.