
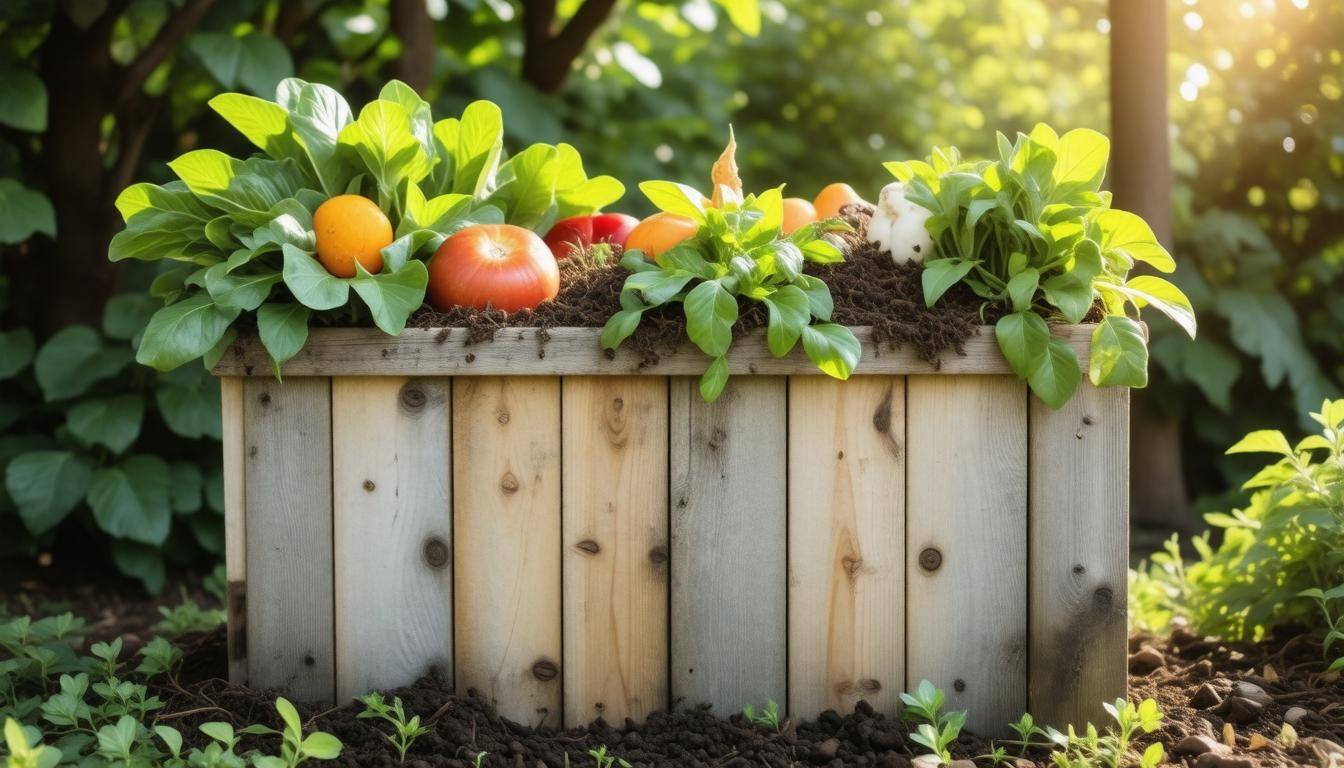
In times of crisis, having a reliable source of food can make all the difference. That’s where emergency gardens come in handy. But what if there was a way to make those gardens even more productive without relying on expensive fertilizers or resources that might be hard to come by? Enter composting! By turning your kitchen scraps and yard waste into compost, you not only create nutrient-rich soil for your plants but also recycle organic materials that would otherwise end up in the trash. Whether you’re new to gardening or looking for ways to make the most of your emergency setup, understanding the basics of composting can empower you to grow your own food sustainably, no matter the situation. So let’s dig in and explore how easy it is to start composting for your emergency garden!
The Composting Basics for Emergency Gardens guide covers essential practices such as choosing the right location for your compost pile, balancing carbon-rich ‘browns’ with nitrogen-rich ‘greens’, and understanding how to maintain the ideal temperature and moisture levels. In emergency gardening situations, efficient composting can help maximize limited resources by recycling organic waste into nutrient-rich soil amendments, thus enhancing food production and sustainability.
Setting Up Your Emergency Compost Site
When you’re preparing your emergency compost site, start by ensuring that it meets certain criteria to promote ideal composting conditions. First, choose a well-drained location in your yard that won’t become a swamp during storms but can still retain some moisture when needed. Consider where rainwater typically flows; you want your compost to stay dry enough without losing the necessary moisture to aid decomposition. A spot that is slightly shaded works wonders too—this helps regulate temperature and prevents your compost from drying out too quickly under the hot sun.
Imagine having a corner of your yard that receives partial sunlight throughout the day, perhaps next to your vegetable beds. This not only makes it convenient for transferring materials as you prepare your garden but also allows easy access whenever you need to check on the progress of your compost pile. You would be surprised how much easier it is to maintain your yard when the tools—and materials—are right within reach.
Factors to Consider
Among the various factors to weigh, drainage stands out as paramount. Waterlogged compost tends to break down anaerobically, leading to unpleasant odors and attracting pests. If your site tends to pool water, consider raising the compost pile by using a bin or building it on top of wooden pallets or a sturdy mesh frame. Not only will this improve drainage, but it will also allow air circulation, which is essential for aerobic decomposition.
Accessibility should never be overlooked either. Choose a location that is easily reachable during all seasons; after all, you don’t want to trek through snow or mud just to add kitchen scraps to your pile! It’s worth investing a little time upfront to pick the right spot based on your daily activities and gardening habits.
Another significant consideration is the space allocated for your compost heap. Depending on how much material you generate—kitchen scraps or yard waste—you will need enough room for everything to break down effectively without overflowing. A space of about 3 feet wide by 3 feet tall is recommended; this size allows optimal aeration and heat retention. If you plan on expanding or need additional capacity later, consider an area that can accommodate this growth.
With an ideal location selected based on drainage, accessibility, and adequate space in mind, it’s time to focus on constructing the structure of your compost system.
Building Your Compost Heap
Constructing a functional compost heap involves several essential steps that require thoughtful execution. To begin with, ensure the base of your compost pile is in direct contact with the soil. This allows for natural drainage and gives microorganisms unrestricted access to break down organic materials more efficiently.
Depending on your available space, compost bins made from recycled materials like wood pallets or wire mesh are excellent choices for beginners. They provide structure while allowing air circulation, which is vital for the aerobic decomposition process.
Step I – Laying the Foundation
Start by laying down coarse materials like small branches, twigs, or straw at the bottom of your compost bin. This practice facilitates airflow and drainage, crucial for maintaining a healthy composting environment. Imagine constructing a sturdy house; the foundation must be solid. Similarly, this coarse layer creates a ventilated base that supports robust microbial activity as it decomposes.
It’s about creating a thriving ecosystem in there. As materials at the bottom decompose, they create heat beneficial for breaking down upper layers more quickly. Furthermore, this airflow helps combat odors that can arise from poorly aerated heaps.
Step II – Layering the Compost Materials
Next comes one of the most exciting parts: layering your compost materials! You’ll want to alternate layers of green (nitrogen-rich) and brown (carbon-rich) materials to achieve balance. Greens include things like vegetable scraps and grass clippings—adding moisture and nitrogen to your compost. Conversely, browns consist of dry leaves, straw, and cardboard—acting as carbon sources while also helping to aerate the mix.
Here’s a quick example:
You might begin with a layer of vegetable scraps (green), followed by a layer of dry leaves (brown), and then perhaps add a layer of grass clippings (green) on top again.
| Layer Type | Example Materials |
|---|---|
| Green Layer | Kitchen scraps, fresh grass clippings |
| Brown Layer | Dry leaves, straw, cardboard |
Each layer plays an important role in facilitating decomposition. The greens fuel the microbes responsible for breaking everything down, while the browns prepare adequate ventilation within your compost heap. Moreover, this layered approach improves airflow and helps control moisture levels—a wet mess complicates matters more than you’d think.
With the heap constructed in an optimal way, attention should now focus on selecting the right mix of ingredients that will yield black gold—the rich compost you’ve been dreaming about!
Essential Ingredients for Compost
As you dive into the world of composting, knowing what goes in your pile can make all the difference. Achieving that ideal carbon-nitrogen ratio—two to three parts brown materials to one part green materials—is crucial for fostering an environment where microorganisms thrive. This organic magic transforms restaurant scraps and yard waste into nutrient-rich compost, which is pure gold for your garden.
Brown Materials
When we talk about brown materials, think of those dry, carbon-rich components like dry leaves, cardboard, or straw. These items are essential because they provide a strong structure for airflow within the compost pile, promoting optimal decomposition. Even shredded newspaper makes a wonderful addition; just remember to avoid glossy paper which doesn’t break down well. The rough texture of these dry additions allows air to flow freely throughout the compost pile, keeping it aerobic—and this is key; without enough oxygen, you’ll find yourself with a smelly mess rather than rich compost!
Green Materials
On the flip side, we have green materials—those nitrogen-rich goodies that include kitchen scraps such as vegetable peels, grass clippings, and coffee grounds. These lush ingredients contribute to the vibrant microbial activity necessary for breaking down organic matter. However, it’s wise to steer clear of adding meat scraps and dairy products. Not only do they attract unwanted pests like raccoons and rodents, but they also tend to putrefy instead of decomposing properly within your home system. Keep the smell of your compost pleasant and pest-free by sticking to fruits, veggies, and plant-based materials!
Once you grasp the importance of balancing these ingredients in your compost pile, you’ll be on your way to nurturing healthy soil. Understanding these basics sets the stage for exploring how the decomposition process actually works and how you can optimize it for your gardening needs.
The Composting Process
The composting process is a fascinating transformation where organic materials are broken down by microorganisms into nutrient-rich compost that significantly enhances your garden soil. Every step in composting plays a vital role in nurturing healthy soil.
Composting hinges on the work of bacteria, fungi, and other microorganisms thriving in an aerobic environment—meaning they need oxygen to function effectively. During the initial stage, known as the mesophilic phase, these microorganisms spring into action at moderate temperatures, typically between 68°F and 113°F (20°C – 45°C). During this time, they diligently break down simpler organic materials like fruit scraps and grass clippings into smaller particles. This early decomposition sets the stage for more complex breakdown processes.
As your compost pile begins to heat up—reaching temperatures around 131°F to 160°F (55°C to 71°C)—the thermophilic microorganisms take over. These heat-loving organisms are extremely efficient at decomposing tough materials like wood chips or dried leaves much faster than their cooler counterparts. Their activity helps speed up decomposition and destroys pathogens and weed seeds within the compost pile that could otherwise hinder plant growth when added back to the garden.
To maintain a successful composting process, it’s essential to monitor temperature and moisture levels. If the temperature drops below 130°F (55°C), it may signal that your pile needs more nitrogen-rich ‘greens’ or additional aeration to reinvigorate microbial activity.
Throughout this active phase of decomposition, which generally lasts from three to six weeks, keeping your compost pile turned every week or so is vital. This aeration boosts oxygen levels, encourages even breakdown of materials, and reduces unpleasant odors that might arise due to anaerobic conditions if not properly managed. Think of it like stirring a pot; you’re ensuring everything cooks evenly while preventing any spoiled ingredients from ruining your dish.
Finally, after several months of careful attention and maintenance, your compost pile will enter the curing stage. This stage can last anywhere from six months to a year depending on environmental factors and the original materials used. During this period, beneficial microorganisms continue to break down remaining particles into humus—dark, crumbly material rich in nutrients that help aerate soil and improve its structure.
Understanding these processes not only enhances your skills in creating valuable garden amendments but also leads you to appreciate further aspects of sustainable practices that support optimal growth and health for your plants.
Maintaining Optimal Conditions
When it comes to composting, three key factors need to be monitored closely: temperature, moisture level, and aeration. Each plays a critical role in how quickly and effectively organic matter decomposes into nutrient-rich compost. Ignoring any one of them could lead to a slower decomposition process or worse, create unpleasant odors or attract pests.
Temperature Control
First on the list is temperature control. Ideally, your compost pile should reach a temperature between 130°F to 160°F. This heat is generated by microbial activity as they break down the organic materials. A compost thermometer can be incredibly handy here; it not only helps you monitor the internal temperature but also allows you to adjust conditions if needed.
For instance, if your pile gets too cool—below 130°F—it may indicate insufficient nitrogen-rich materials, lack of moisture, or inadequate aeration. Maintaining that sweet spot optimizes decomposition and even helps eliminate pathogens and weed seeds.
Moisture Level
Next is managing the moisture level of your compost. Think of it as being similar to a wrung-out sponge—not too dry, but not dripping either. The ideal moisture content should usually be around 40% to 60%. If your compost appears too dry, adding water during dry spells becomes crucial. Conversely, if you notice excess moisture resulting in a soggy pile, incorporate more carbon-rich “browns” like dry leaves or cardboard to absorb additional liquid.
Keep in mind that an overly wet compost pile can create anaerobic conditions—meaning it lacks oxygen—causing foul odors and potentially attracting unwanted pests.
Aeration
Finally, don’t overlook the importance of aeration. To keep the microbial inhabitants happy—and active—turn your compost pile every two weeks or so. Use a pitchfork or a specialized compost turner for this task. Turning the pile reintroduces oxygen into the mixture, which is vital for aerobic decomposition. Skipping this step causes lower layers to suffocate and slows down decomposition tremendously.
A well-aerated compost heap is not just effective; it’s also less likely to emit those nasty smells associated with poor composting techniques.
With careful attention to these elements, you’re well on your way to creating rich soil amendments for your plants and gardens. As we explore further, consider how best to integrate this finished product into your gardening practices.
Using Your Finished Compost
Once your compost has transformed into a dark, crumbly form, it’s like uncovering a secret treasure for your garden. This nutrient-rich material is not just waste repurposed; it’s a living ecosystem packed with beneficial microorganisms and essential nutrients that can dramatically improve soil health. When properly applied, finished compost can enhance water retention, aeration, and overall fertility, creating an ideal environment for your plants to thrive.
How to Apply Compost
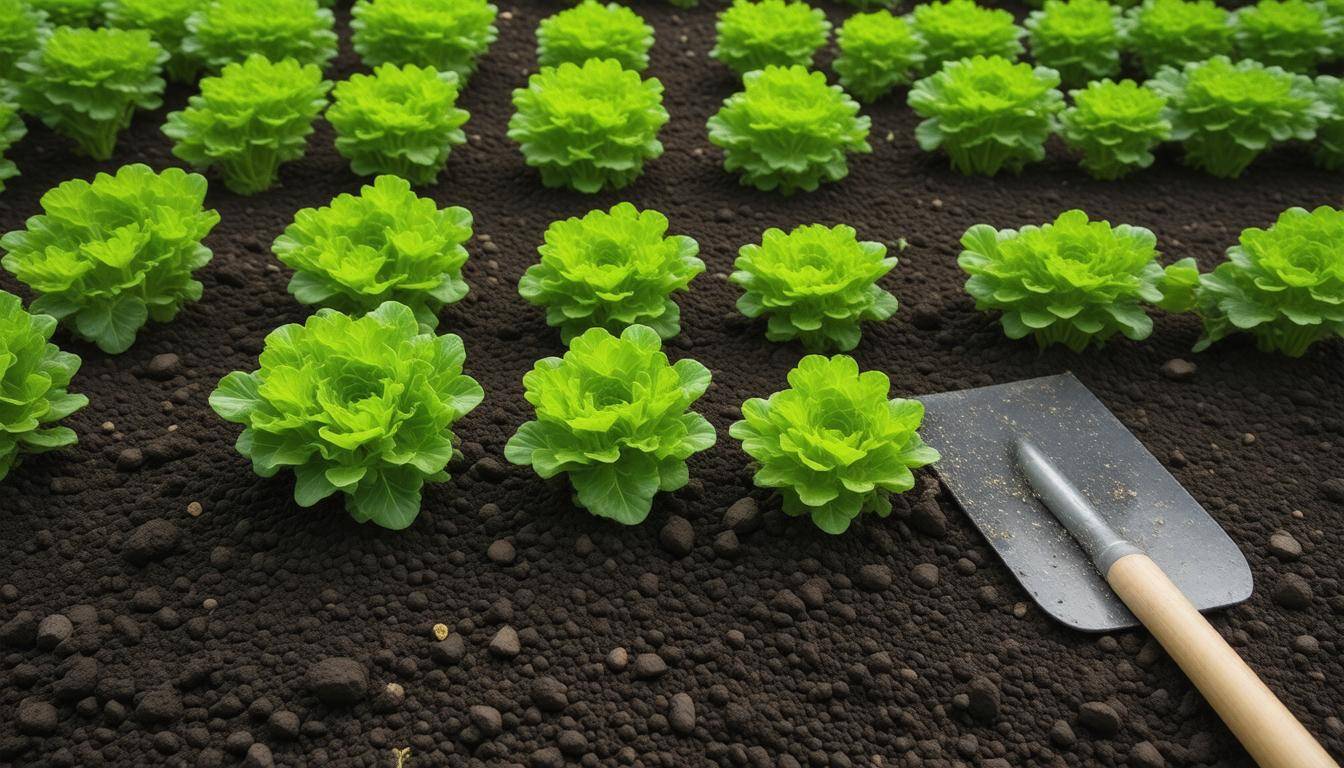
To reap these benefits effectively, spread a 2-3 inch layer of finished compost over your garden beds. The idea here is almost like giving your garden a cozy blanket for the cold months ahead or a refreshing drink in the hot summer days.
You’ll want to mix it into the top few inches of soil—think of using a garden fork or tiller for this task. By incorporating the compost deeply into the soil, you’ll allow the nutrients to mingle comfortably with what already exists beneath. This nourishes your plants and also improves soil structure, ensuring good drainage and air flow.
In doing so, you’re setting up your garden’s roots for success, providing them with a more fertile foundation from which they can draw nutrients effortlessly. This process transforms soil from being compacted and lifeless to rich and loamy, akin to turning clay into beautiful pottery ready for a masterpiece.
When to Apply
Timing is crucial when it comes to adding compost. Ideally, apply it in early spring before planting new seeds or transplants. You want to give your crops every advantage right from the start! If done correctly, the integrated nutrients foster plant growth throughout their development. Applying compost in the fall ensures that any leftover nutrients will be absorbed by the earth over winter.
Applying at these specific times allows nature to work its magic, letting microbial activity break down and integrate vital nutrients before the growing season begins anew. Imagine how satisfying it will feel watching your vibrant garden flourish as you’ve strategically timed nutrient application.
While utilizing finished compost elevates gardening practices significantly, it’s also essential to be aware of potential challenges that may arise during subsequent efforts to maintain rich soil conditions.
Troubleshooting Common Issues
Even with diligent care, issues may occur during the composting process. Identifying these problems early on can save time and frustration. One common issue is odor problems in your compost pile. A foul smell often indicates an imbalance; typically, this suggests too much nitrogen-rich material or insufficient oxygen. You can remedy this by adding more brown materials—think dried leaves, twigs, or straw—and turning the pile regularly to introduce air, which supports aerobic decomposition.
Another frequent occurrence is slow decomposition, which can leave you waiting longer for that rich compost. This issue often arises from having insufficient levels of nitrogen-rich green materials like vegetable scraps or grass clippings. To kick-start the breakdown process, evaluate the ratios in your pile. A good rule of thumb is to maintain about a 30:1 carbon-to-nitrogen ratio. If it seems off, simply add more greens and check the moisture level; it should feel like a wrung-out sponge—not too dry and definitely not soggy.
Maintaining proper moisture levels plays a crucial role in effective composting as this helps foster an optimal environment for microbial activity.
Pests are another problem area that many new composters face. If you start noticing little critters around your pile, it could be due to inappropriate materials like meat or dairy products attracting them. Avoid these types of waste to keep pests at bay and cover any food scraps with a layer of browns. Not only does this help deter pests, but it also adds a protective layer that prevents odors from escaping.
Each of these issues has straightforward solutions, and knowing how to troubleshoot effectively can lead to a thriving compost system that enriches your garden while reducing waste. By addressing problems as they arise and making simple adjustments, anyone can ensure their compost pile remains a valuable resource.
Armed with these troubleshooting techniques, you’ll approach composting with renewed confidence, setting the stage for exploring the numerous advantages that come from integrating this practice into your gardening routine.
Benefits of Composting in Emergency Gardens
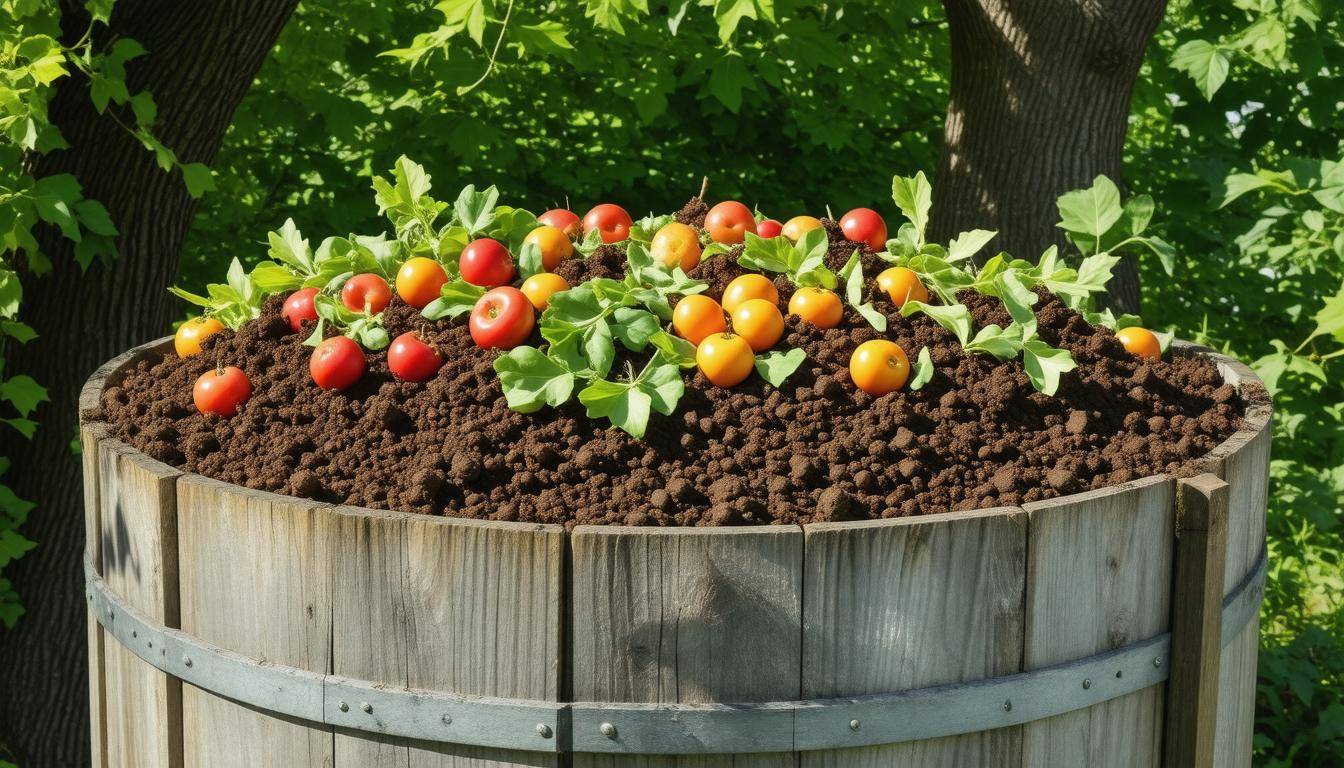
One of the most notable advantages of composting is its ability to provide nutrient-rich soil. When you add compost to your emergency garden, you’re not just tossing in some organic matter; you’re weaving a tapestry of life into the earth. This enriched soil is packed with essential nutrients that feed your plants, promoting healthier growth and enhancing the flavor of your fruits and vegetables. Imagine biting into a home-grown tomato that bursts with flavor—this transformation starts in the very soil you cultivate.
As we explore beyond nutrients, we find that compost also significantly contributes to improving soil structure. Compost acts like a magical potion for your soil, breaking down heavy clay and binding sandy soils together. This creates a looser texture that allows roots to stretch out freely while soaking up nutrients and moisture. Moisture retention increases by 20-30%, enabling your plants to thrive even during dry spells. At the same time, improved aeration lessens the likelihood of root rot—a common pitfall in gardening.
Beyond direct benefits for your garden, composting has a remarkable environmental impact as well. According to studies by the EPA, composting can reduce landfill waste by up to 30%. This reduction translates to lower greenhouse gas emissions and a smaller carbon footprint. By diverting organic waste from landfills, where it would otherwise decompose anaerobically (without oxygen) and release methane, composting reflects our commitment to sustainability.
“Composting has transformed the soil in my emergency garden, making it rich and fertile,” says Jane Doe, a sustainable gardening enthusiast. This firsthand experience echoes how many others feel after they embrace this eco-friendly method.
By regularly integrating compost into your emergency garden practices, you’ll foster resilience within your gardening efforts while contributing positively to the planet. Understanding these benefits makes it clear why composting is such a valuable practice for emergency gardens and sustainable living.
In summary, adopting composting methods not only enhances garden productivity but also supports environmental sustainability, creating a win-win for gardeners and the planet alike.
How do I troubleshoot common composting problems, especially when resources are limited?
To troubleshoot common composting problems with limited resources, start by ensuring a balanced mix of greens (nitrogen-rich materials) and browns (carbon-rich materials)—a ratio of about 30:1 is ideal. If your compost is too wet, add more browns like shredded cardboard or dried leaves; if it’s too dry, sprinkle water or incorporate fresh kitchen scraps. Monitor the temperature; a hot compost pile (130-160°F) decomposes faster, so turn it regularly to aerate. According to studies, maintaining proper balance can improve decomposition rates by up to 50%, making your efforts more efficient even when resources are scarce.
Can I use kitchen scraps and yard waste together in my emergency garden compost?
Yes, you can absolutely use kitchen scraps and yard waste together in your emergency garden compost! Combining these materials creates a well-balanced compost that accelerates the decomposition process. Kitchen scraps, rich in nitrogen, complement the carbon-rich yard waste, helping achieve the ideal carbon-to-nitrogen ratio of about 30:1. This mixture not only reduces food waste significantly—approximately 30-40% of household waste—but also improves soil fertility, promoting a healthier emergency garden.
How can I set up a composting system quickly and efficiently during an emergency?
To set up a composting system quickly and efficiently during an emergency, start by selecting a dry, shady spot in your yard or balcony for composting. Use a simple container like a bin or even a pile on the ground. Collect kitchen scraps (like vegetable peels), yard waste (grass clippings, leaves), and even paper products to layer. Adhering to the 30:1 carbon-to-nitrogen ratio, balance greens (nitrogen-rich) and browns (carbon-rich) for optimal decomposition. Turning the compost every few weeks can speed up the process, transforming waste into nutrient-rich soil within 4-6 weeks under ideal conditions. Remember, composting can reduce household waste by up to 30%, making it both efficient and sustainable during emergencies.
What are the benefits of composting for survival gardening in crisis situations?
Composting plays a crucial role in survival gardening, especially during crisis situations, as it enhances soil health and fertility, promoting robust plant growth. By recycling organic waste, gardeners can reduce reliance on chemical fertilizers, which may be scarce in emergencies. Furthermore, compost improves soil structure, increases water retention by up to 30%, and fosters beneficial microbial life, creating a more resilient ecosystem for food production. This sustainable practice not only maximizes yields but also minimizes waste, making it an invaluable strategy for maintaining food security when resources are limited.
What materials are best for composting in an emergency garden setting?
In an emergency garden setting, the best materials for composting include kitchen scraps like fruit and vegetable peels, coffee grounds, eggshells, and yard waste such as grass clippings and leaves. These organic materials are rich in nitrogen and carbon, essential for creating nutrient-dense compost quickly. For instance, incorporating a balanced mix of green materials (nitrogen-rich) and brown materials (carbon-rich) in a 2:1 ratio can promote faster decomposition. Studies show that effective composting can reduce household waste by up to 30%, making it not only beneficial for your garden but also a sustainable choice during emergencies.