
Clean drinking water is something many of us take for granted, but when faced with a camping trip, a natural disaster, or even a broken municipal system, that luxury can quickly turn into a challenge. Imagine standing near a fickle stream or murky pond, questioning if the water is safe to drink. That’s where a DIY water filtration system comes in handy—it lets you create your very own way to purify water using everyday materials. With just a few simple steps, you can transform questionable liquid into something more trustworthy for drinking. Not only is it practical, but this project allows you to learn about the fascinating science behind filtration while empowering you to stay hydrated safely in any situation. So, let’s dive right in and explore how to build your own easy and effective water filter!
To create a DIY water filtration system, start by gathering materials such as a plastic bottle, clean cloth, charcoal, fine and coarse sand, and gravel. Begin by cutting the bottom off the bottle to serve as your filtration container. Then layer the filtering materials starting with fabric at the bottom, followed by three inches of broken charcoal, two to three inches of fine sand, and a similar depth of coarse sand topped with gravel to secure everything in place. After filtering the water through this system, make sure to sterilize it by boiling or using sunlight exposure for six hours.

Gathering Your DIY Filtration Materials
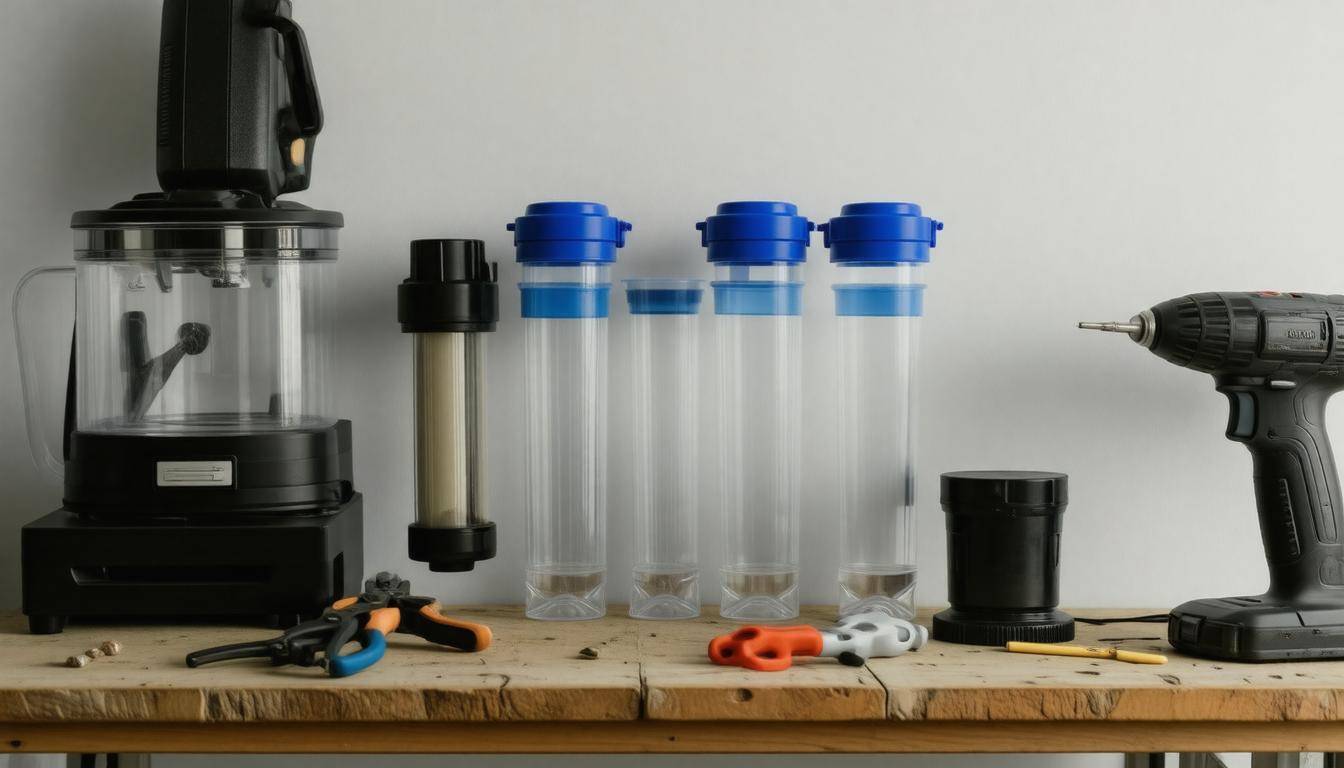
To make an effective water filtration system, it’s essential to collect key materials that are easy to find and common in most households. First and foremost, you’ll need a plastic bottle. A standard 2-liter soda bottle works perfectly as the main container for your filtration system. The shape allows for enough space to layer your filtration media effectively. It’s worth noting that you should thoroughly clean this bottle before using it—any remnants of sugary drinks can interfere with how well your filter performs.
Next up is a cheesecloth or coffee filter. This fabric acts as the initial barrier to prevent larger particles from passing through. Think of it like the bouncer at an exclusive club; it only lets in what’s deemed safe and acceptable. You’ll want to secure this cloth over the mouth of the bottle before pouring in other materials, ensuring that it stays in place and catches any bulky debris.
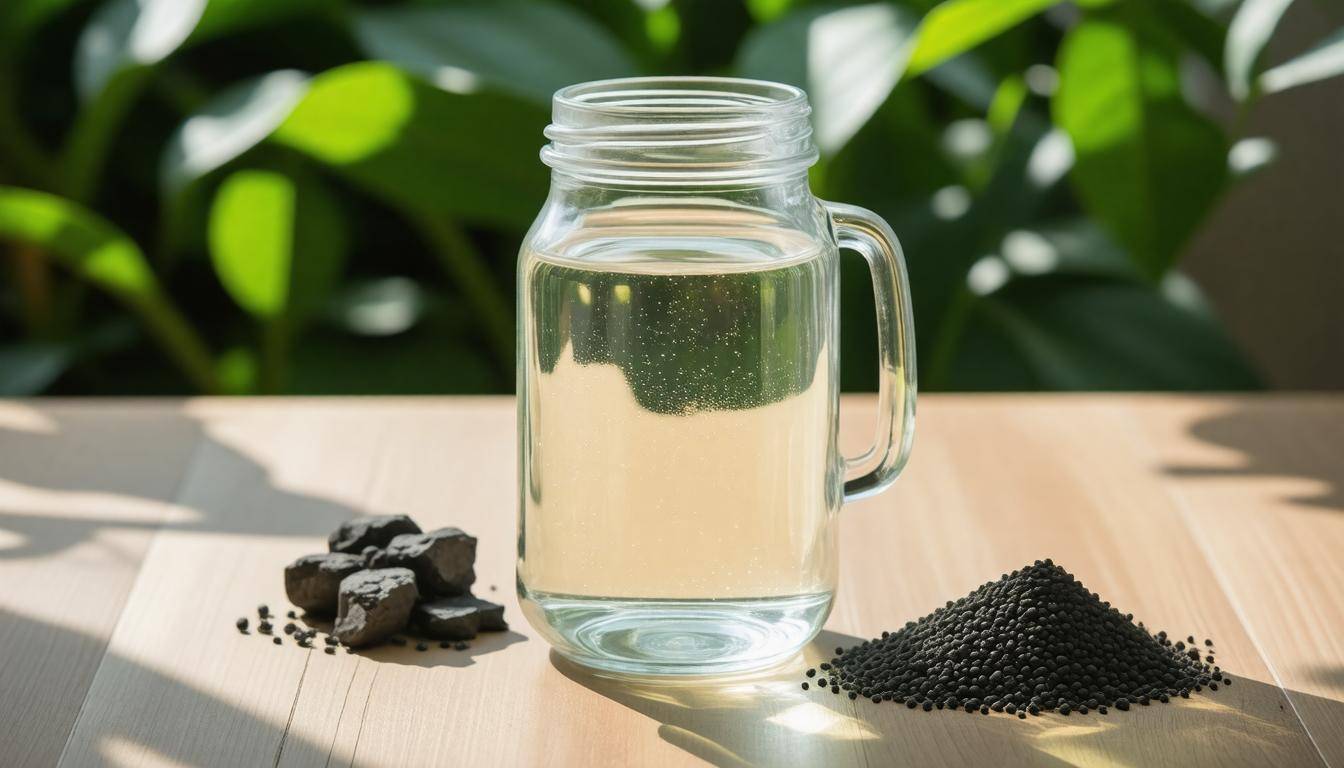
Now comes one of the most critical components: charcoal. Choose unscented activated charcoal; regular charcoal briquettes often contain additives harmful when dissolved in water. Activated charcoal is renowned for its ability to absorb impurities, making it a fantastic choice for improving both taste and safety. You’ll typically need about 1 to 2 cups of it—enough to form a solid layer within your bottle.
Other Essential Components
Following the charcoal, you will need fine sand. This helps capture small particulates and ensures that any contaminants left over are filtered out effectively. Aim for about 2-3 inches of fine sand atop your charcoal layer; this bit will work like a net, further cleansing your water as it trickles down. On top of the fine sand, layer some coarse sand, which should also be around 2-3 inches deep. Coarse sand acts as an additional buffer, trapping larger particles and preventing them from clogging the finer sand underneath.
But what holds all these layers together? Enter gravel! By placing about 1-2 cups of gravel at the top of your filtration setup, you ensure that everything stays put while allowing water to flow freely through the various layers below. It’s like creating a sturdy cap on your carefully constructed cake—that extra layer keeps everything from spilling out.
Gathering these materials prepares you for the next steps where you’ll transform these components into a functional filtration system capable of providing cleaner water for various situations.
Constructing the Filtration System
The first step in constructing your filtration system is to prepare your plastic bottle. Start by carefully cutting the bottom off a clean, sturdy bottle; this will serve as the main filtration container. Take your time while cutting to ensure you have a neat edge—this will help avoid any accidents later on. The opened bottom allows you to easily fill the bottle with different layers of filtration materials that work together to purify the water.
Once the bottle is ready, it’s time to create an outlet for the filtered water.
For this next step, if your bottle has a cap, grab a drill and poke several holes in it. This allows any filtered water to flow out smoothly. If you don’t have a cap or prefer a different method, you can cut more off the top of the bottle to create another opening. Just keep in mind that whatever option you choose needs to facilitate a free flow of water while keeping the filtration layers intact.
Now that we have an outlet, let’s focus on inserting our filtering fabric, which plays a crucial role in keeping sand from escaping into your purified water.
Take your cheesecloth or coffee filter and place it neatly at the bottom of the bottle. This acts as a barrier to catch larger particles and prevent excess sediment from slipping through with your filtered water. Think of this layer as the first line of defense against unwanted debris. It’s very important that this fabric is secured well at the base so it doesn’t move when you start adding heavier materials above it.
Now we’re ready to layer our filtration materials, each serving a specific purpose in ensuring that you achieve clean and safe drinking water.
Begin with a layer of activated charcoal, adding about two inches in thickness. This material is key because it absorbs impurities and odors from the water, so make sure you’re using food-grade charcoal—not match-light or instant type—which can introduce harmful chemicals.
Next comes fine sand; add another layer roughly two to three inches deep. This acts as a finer filter, capturing smaller particulates that may have slipped past the charcoal. Following that is coarse sand; again, add about two inches in depth. The coarser grains act like sturdy bouncers of this filtration party, catching larger debris before they can reach your precious drinking water.
Finally, let’s cap off our layering with gravel—an essential touch that holds everything in place and assists with drainage.
It’s time for gravel; pour approximately two inches worth on top of your sand layers. This layer not only supports all the ingredients below but also helps with drainage during filtration. Once all these layers are assembled neatly within your bottle, stack it above a clean collection container—perhaps your smaller plastic bucket—to harvest the filtered water below.
Following these steps carefully will yield an effective DIY setup that utilizes natural materials to convert potentially contaminated water into something drinkable.
Remember: this system does not eliminate all types of contaminants by itself; once you’ve filtered some water through this setup, don’t forget to sterilize it by boiling or exposing it to sunlight for at least six hours under clear conditions. Your health is paramount!
As we explore further into this process, understanding how layering filtration substances functions will enhance our ability to create efficient purification systems.
Layering Filtration Substances
When it comes to water filtration, the arrangement of materials can significantly impact the process’s overall effectiveness. Imagine your filter as a team where every member has a distinct role, working together to achieve a common goal: producing clean drinking water. The first layer begins with charcoal, which should be approximately three inches deep. This component isn’t just for decoration; charcoal is known for its incredible ability to absorb a variety of contaminants, making it vital in removing impurities and foul odors from the water, allowing it to taste much fresher.
Next up is the fine sand layer, which follows right after the charcoal. The fine sand—approximately 2 to 3 inches thick—works diligently to capture smaller particles that may have slipped through the charcoal layer. It acts like a safety net, ensuring that even the tiniest debris doesn’t make it into your drinking water. In essence, this layer serves as an additional defense, purifying the water further as it flows downwards.
After the fine sand, we introduce the coarse sand layer, measuring around 2 to 3 inches as well. This layer acts as a preliminary filtration stage, providing a cruder sieve to catch larger sediments that might still be present in the water. Think of coarse sand as a more relaxed bouncer at an exclusive club; it lets in those who are fit enough while keeping out larger contaminants that could wreak havoc on your filter’s performance.
As we approach the end of our layering, we top it all off with gravel, which serves both aesthetic and practical purposes. The gravel holds all those previous layers in place beautifully while also providing yet another filter for larger debris. By acting as a capstone for our filtration setup, it prevents disturbance from any moving water above while ensuring everything stays intact during use.
With this carefully orchestrated sequence, you can rest assured that your DIY filtration system will effectively cleanse dirty water before it reaches your glass. Now that we’ve arranged our filtration layers, let’s explore how each component contributes specifically to transforming murky liquid into safe drinking water.
How the Filtration Process Works
This might seem complicated, but it’s simple once you break it down. The water filtration system you’ve created relies on a methodical layering process, where each layer plays a crucial role in ensuring that the water is as clean and safe as possible before it reaches your drinking glass.
Filtration Layers
Each layer serves to progressively filter out different types of contaminants, almost like a play where every actor has a specific role that contributes to the overall performance. The journey of the water begins with the gravel layer at the very bottom, which serves as the first line of defense. Acting like a bouncer at an exclusive club, this layer captures large debris—think leaves, twigs, or even small pebbles that may have made their way into your source water. Without this initial barrier, larger particles could clog up your system and compromise its efficiency.
Moving up in our filtration system, we encounter the coarse sand layer.
This layer takes over by removing larger particulates that slipped past the gravel. By being finer than gravel but coarser than your beach sand at home, it acts more delicately, sifting through and catching anything from small bits of sediment to even some larger bacteria. If this layer isn’t effective at its job, you’ll likely see cloudy water emerging from your filter—a sign it needs attention.
But wait, we’re not done yet; the next stop for our water is the fine sand layer.
This is where things get serious. The fine sand aims to target smaller particles—stuff you can’t see with your naked eye yet could be harmful if ingested. Imagine it as a safety net designed to catch those sneaky little contaminants that the previous layers missed. Essentially, it acts like a sponge absorbing unwanted materials while still allowing clean water to trickle through.
Finally, we reach one of the star players of our entire filtration system: the charcoal layer.
Here is where things become quite interesting! Charcoal performs chemical filtration by absorbing chemical contaminants and odors within your water supply. Its porous nature means that toxins and impurities adhere to its surface, making it incredibly efficient at eliminating unpleasant tastes often associated with chlorinated municipal supplies. Think of it as having a specialized team member dedicated to enhancing the flavor profile of your water while ensuring its safety—like adding the perfect seasoning to a dish.
After passing through this thorough cleansing process, it’s essential to remember that filtered water must be sterilized to eliminate any remaining pathogens.
Once you’ve filtered your water using this layered system, it’s crucial to boil it or expose it to direct sunlight for a minimum of six hours on a clear day. This last step ensures that you’ve tackled any microbial threats lingering in your water supply.
With a solid understanding of how these elements work together for purification, let’s transition into what steps are necessary for gathering and preparing your water effectively.
Collecting and Filtering Water
The process of collecting and filtering water is not just about convenience; it’s about ensuring you have access to safe drinking water when you need it most.
To start, identify the right source. Look for clear, flowing sources like streams or rivers, avoiding stagnant water bodies that may harbor harmful bacteria. Using a clean container is crucial, as any contaminants from a dirty vessel can compromise your efforts. Ideally, use food-grade plastic or stainless steel containers since they are less likely to leach hazardous substances.
Once you have gathered your raw water, pouring it into the DIY filtration system requires careful attention to preserve the integrity of the filter layers.
Step 1 – Collect Raw Water
When you finally locate a suitable water source, approach it with the intent of minimizing contamination. Use a container to scoop water closer to the surface rather than plunging directly into the depths where debris settles. If you’re collecting rainwater, ensure that your collection surface is clean—this might mean setting up a tarp or another surface that is free of dirt and pollution.
Having collected your raw water means you’re just a step closer to enjoying clean water through effective filtration.
Step 2 – Pour Slowly
As you prepare to filter the collected water, be deliberate and pour slowly into your DIY filter. This is crucial because sudden movements can disturb the carefully layered filtration materials you’ve integrated into your device. Picture this process akin to a gentle pour over coffee—your goal is to allow gravity to do its job while keeping those layers intact. If too much turbulence occurs, sediments can slip past the top layers and clog up your finer materials underneath.
Now that the initial filtration has begun, we need to ensure we collect that precious clean water effectively.
Step 3 – Collect Filtered Water
Once you’ve poured the raw water into your filtration device, you’ll notice the purified water starting to seep through. Patience is key here; let gravity work as the cleaner particles drip down into your clean container positioned below. Ensure this container is dedicated solely to storing your filtered product and avoid any cross-contamination by using clean utensils when transferring from one vessel to another.
Remember that while this DIY filtration system greatly improves water quality, it does not eliminate all pathogens and impurities permanently. Therefore, it’s vital to follow up with proper sterilization methods afterwards; boiling the collected filtered water for at least one minute is an easy way to kill potentially harmful microorganisms.
With these steps in place for efficient collection and filtration, you’re equipped to tackle potential water challenges head-on while exploring further methods to enhance safety and quality in your drinking supply.
Ensuring Water Quality
Ensuring the purity of your water goes beyond just filtering; it’s essential to eliminate any potential pathogens that remain after the filtration process. This step is non-negotiable, especially if you’re using water from uncertain sources.
Two readily available and effective methods stand out: boiling and sunlight exposure.
Boiling is one of the most foolproof ways to make your water safe for drinking. Simply bring your filtered water to a rolling boil and let it simmer for at least five minutes. This duration ensures enough heat penetrates to kill off harmful bacteria, viruses, and parasites. If you’re at higher altitudes, where water boils at lower temperatures, extend your boiling time by a couple of minutes.
Likewise, using sun exposure can be an efficient method in certain conditions. On a clear day, fill a clean, clear plastic bottle with your filtered water and place it in direct sunlight for a minimum of six hours. The UV rays from the sun help inactivating microbes that could threaten your health. It’s a simple approach but incredibly effective when done right.
When utilizing these methods, having the right materials on hand is vital. For boiling, you need access to a reliable heat source, whether it’s a stove or campfire. On the flip side, sunlight sterilization requires clear weather—so plan accordingly! Moreover, always remember that clear plastic bottles are ideal; colored or cloudy containers won’t allow sufficient UV penetration.
Both methods work synergistically to provide additional layers of safety, transforming previously contaminated water into clean drinking water. Practicing these sterilization techniques enhances your DIY water filtration efforts, ensuring every drop is not just clear but also free from dangerous microorganisms that could affect your health.
As we explore more about ensuring safe drinking water, it’s imperative to consider measures that support ongoing use and regular upkeep of these systems for optimum reliability.
Safety Precautions and Maintenance
Regular maintenance of your DIY water filtration system is not just about ensuring clean drinking water; it’s crucial for your safety. When constructing your filter, always use food-grade materials to prevent contamination—that’s your first line of defense against unwanted chemicals leaching into your water supply. Think of it this way: just as a chef wouldn’t want harmful substances in their cooking, you definitely don’t want anything tainting the water you consume.
One of the most vital steps is to conduct regular cleaning. Disassemble and wash each component—charcoal, sand, and gravel—to remove any accumulated debris or contaminants. This is similar to how you might take care of a favorite kitchen appliance; consistent upkeep will produce better results over time.
Every six months is a good general rule for replacing filter media like charcoal and sand, especially if you start noticing sluggish water flow or odd tastes. It’s like changing the oil in your car—neglecting this can affect performance.
Pause here for a moment to consider how even small particles can impact the quality of your filtered water. Many people are unaware that contaminants like bacteria or chemicals can build up if the filters are not maintained properly. So stay vigilant!
Additionally, avoid using your filter for processing industrial run-off or sewage; these loads often come with harmful contaminants that surpass what your DIY setup can handle. This notion emphasizes the importance of understanding the limitations of your filtration system.
To ensure that you’re on top of all these aspects, consider checking the filtration system monthly for any signs of wear or blockage. Imagine inspecting a beloved piece of equipment; you wouldn’t want it to fail during a critical moment! Just like changing batteries in your smoke detector is essential for safety, regularly inspecting your filter for leaks helps maintain its reliability.
As an extra step, you might find it beneficial to test the quality of your filtered water periodically using a simple water testing kit. This practice allows you to confirm that contaminants are effectively removed and gives you peace of mind knowing that your efforts in maintaining your filtration system are yielding safe water.
With these safety considerations highlighted, the next focus should be on identifying potential concerns and solutions that may arise while using your filtration system.
Common Issues and Troubleshooting
Let’s face it: even the best-laid plans can go awry. When it comes to your homemade water filtration system, several common issues can arise, but fear not! With some vigilance and a few strategic adjustments, you can keep your filter functioning effectively.
Slow Filtration Rate
A notable problem many encounter with their DIY water filters is a slow filtration rate. If you notice that clean water isn’t flowing through as quickly as it should, don’t panic.
First, check for clogged layers. Over time, particles will build up within the sand or gravel, restricting water flow. Cleaning these layers can often resolve this issue—simply remove them and rinse under running water to get rid of the debris.
Also, ensure that your filter materials are arranged correctly:
| Layer Position | Material |
|---|---|
| Bottom | Gravel |
| Second | Coarse Sand |
| Third | Fine Sand |
| Top | Activated Charcoal |
Each layer has a purpose that ensures smooth operation.
Is your filtration system still sluggish? Check for blockages in the outlet area. Sometimes debris may get stuck around the cap or spout where filtered water flows out, slowing everything down further. A quick cleaning in this area can work wonders.
Poor Water Quality
If you’re experiencing poor water quality—maybe it tastes off or has visible particles—this indicates another area needing attention. One culprit could be saturated charcoal; over time, it absorbs contaminants but reaches a point where it can no longer do so effectively. Replacing it should be a regular part of your maintenance routine, typically every 1-3 months based on usage.
Moreover, if you’re still concerned about water purity after filtering through your system, consider adding an extra filtration pass through either more charcoal or utilizing chemical treatment options like purification tablets to ensure any remaining pathogens or contaminants are neutralized.
Remember: relying solely on one method might suffice in good conditions but taking extra steps during uncertain times brings peace of mind when it comes to safety.
By maintaining awareness of these issues—slow filtration rates or compromised water quality—and proactively addressing them, you’ll be ahead of the game in keeping your DIY water filtration system dependable and safe for drinking. Ongoing observation and simple troubleshooting can make all the difference in ensuring you have clean and safe water when needed most.