
Floods can unleash chaos—not just to our homes but also to the electrical systems that keep our lives running smoothly. Imagine wading through murky water, holding your breath as you think about the impact on the wires and circuits hidden behind your walls. With so much at stake, it’s easy to feel overwhelmed. That’s why conducting a thorough electrical inspection after a flood is essential for both safety and security. It’s not just about checking off a to-do list; it’s a way to protect yourself and your loved ones from potential hazards lurking beneath the surface. This guide is crafted to walk you through the critical steps needed to assess any damage and implement necessary repairs, ensuring your home is safe and sound once more. Let’s dive in!
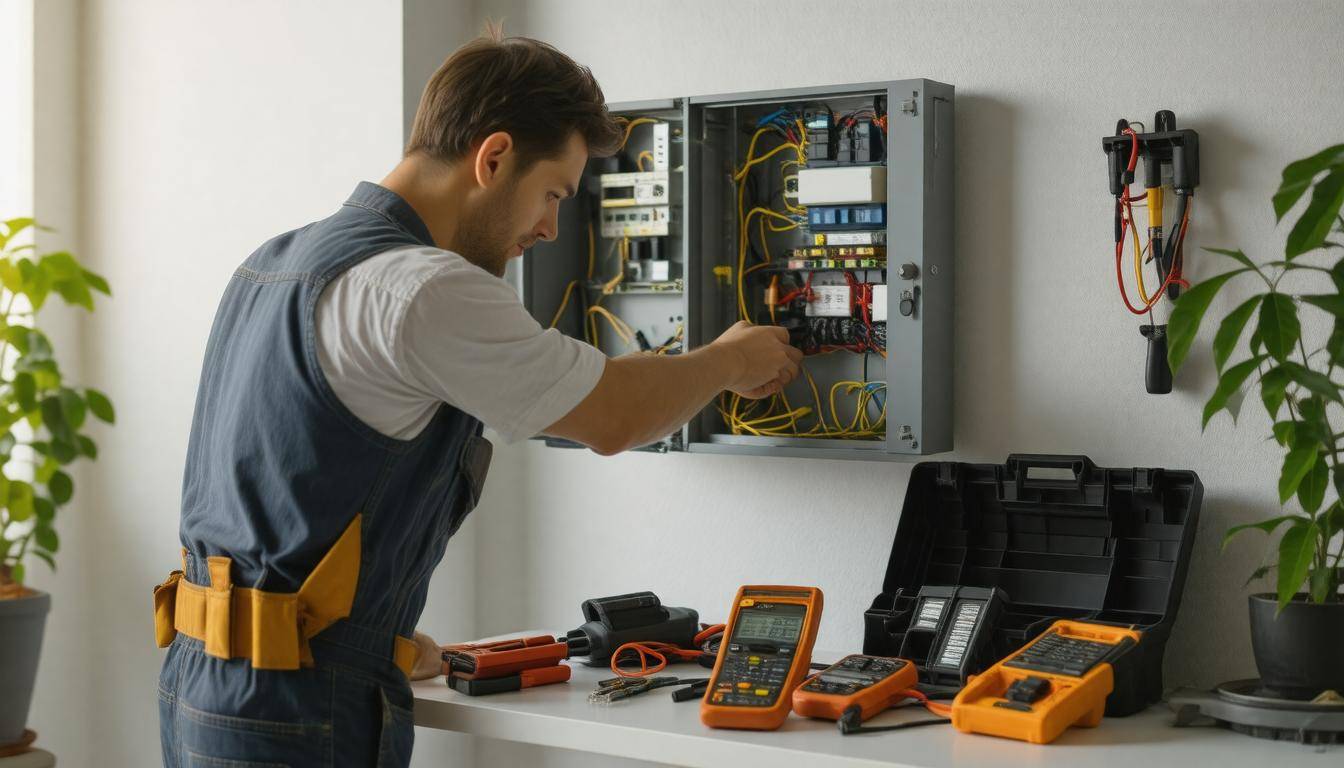
After a flood, it is crucial to have a qualified electrician inspect your electrical system for any damage. Ensure that the power supply is turned off before the inspection and look for signs of water damage or corrosion, particularly in circuit breakers, outlets, and wiring; do not attempt to use any electrical equipment that has been submerged until it has been evaluated and deemed safe by a professional.

Assessing Flood Damage on Electrical Systems
Flooding is often a chaotic experience, both emotionally and physically. However, a methodical approach to evaluating the extent of electrical damage can make a significant difference in restoring safety. It’s not just about replacing wires; it’s fundamentally about protecting lives and property. Focus on key areas where damage is most likely due to water exposure during the electrical assessment.
Identifying Extent of Damage
According to the National Electrical Manufacturers Association, approximately 80% of homes that face flooding encounter some level of damage to their electrical systems, often going unnoticed until problems arise later on. A systematic evaluation is vital as it doesn’t just safeguard the present; it ensures long-term viability.
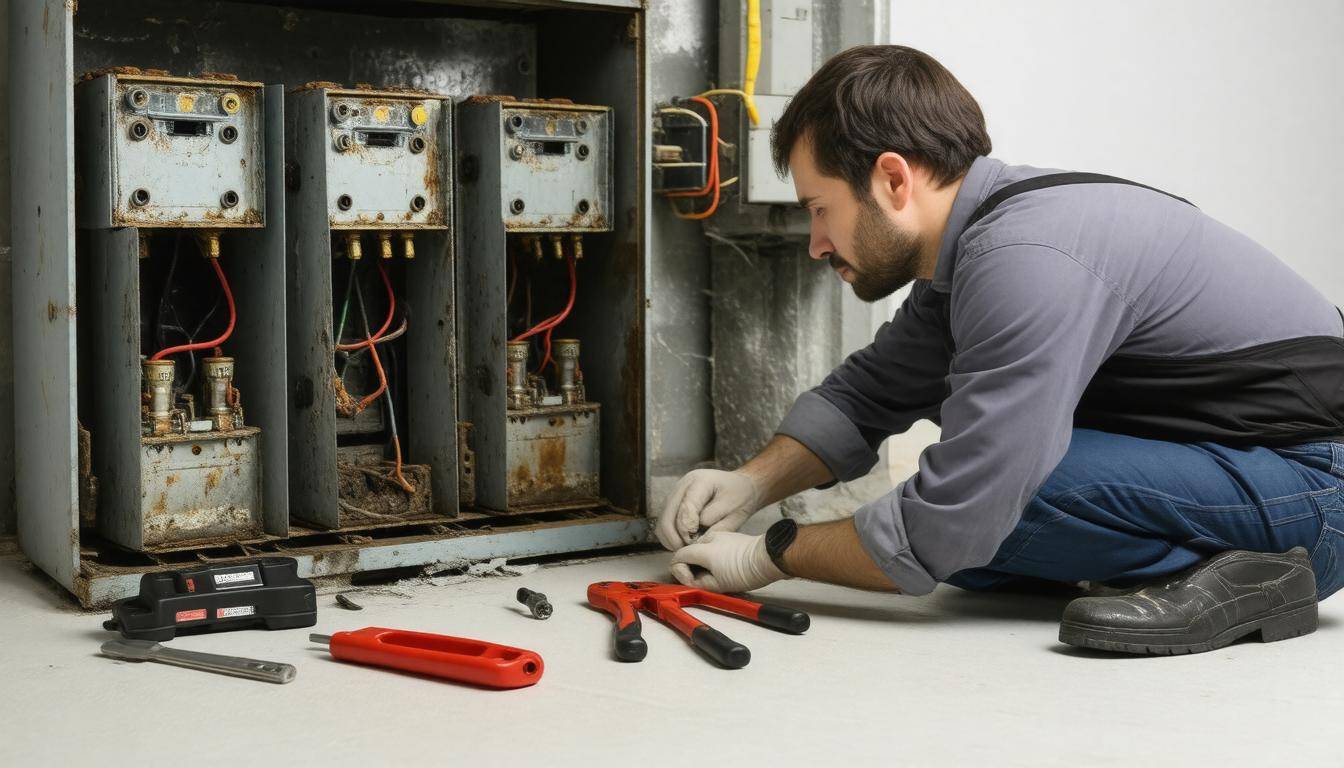
Begin with a thorough visual inspection. Look at electrical panels first, checking for signs like corroded wires or rust within breaker boxes. Pay particular attention to junction boxes or outdoor outlets, as these are often exposed to the elements and susceptible to water damage. If you detect any moisture inside, consider it a red flag; moisture can create short-circuit hazards that pay no heed to power sources.
Testing Circuits
After the visual inspection, the next step involves testing circuits. Using a multimeter helps identify issues such as shorts and continuity in circuits, allowing accurate measurement of voltage levels across different parts of your home. Practice caution when using your multimeter; always ensure power is off and double-check connections before powering back up—small oversights can lead to sparks or worse.
Next come appliance checks. This isn’t just about inspecting devices like refrigerators or ovens; it’s about diligence. Open appliances, look for water within them, and inspect cords and plugs for signs of corrosion or damage. Appliances exposed to water should be thoroughly inspected and may require replacement if they’ve absorbed significant amounts of moisture.
Grasping this process of damage assessment not only enhances personal safety but translates into efficient recovery steps as well. The subsequent considerations regarding how to address these problems will depend on what you’ve identified during your inspection.
Safety Precautions Before Inspection
First and foremost, disconnecting the power to your home is non-negotiable. It’s an easy step that can save your life. Flicking the main switch off isn’t just a precaution; it’s a necessity to prevent any chance of electrical shock while you wade through potentially hazardous waterlogged areas. Always double-check that the electricity is indeed off by using a voltage tester.
Protective gear is another vital layer of safety you shouldn’t overlook. It might feel cumbersome to wear rubber gloves and boots, but they protect you from electric shocks and safeguard against mold or contaminants. Flooded areas are often breeding grounds for unseen dangers that can have a lasting impact on your health.
Beyond protective gear, consider the tools you’ll be using during this inspection. Always opt for insulated tools that are rated specifically for electrical work. This simple choice can provide added protection when handling wiring or equipment because, in unexpected scenarios, exposed metal can conduct electricity. You don’t want to learn about equipment ratings at the wrong moment!
Having suitable gear and tools is essential, but let’s not forget about the environment you’re working in.
Assessing structural safety is another crucial precaution before starting your inspection. After a flood, there’s a chance that the structural integrity of your home may have been compromised, particularly near affected walls or ceilings. Look for visible signs of damage like cracks, warping, or sagging structures. If anything seems amiss, it’s wise to call in a professional to evaluate any potential risks.
These steps serve as guardrails—keeping you safe while navigating potentially hazardous circumstances. Preparing properly can avoid serious accidents and provide peace of mind as you proceed with assessing flood damage to your home’s electrical systems.
With these fundamental precautions in place, understanding when to seek outside expertise versus tackling the task yourself becomes paramount for ensuring both safety and efficacy in your assessment process.
Professional Help vs. DIY Inspection
The choice between hiring a professional electrician and attempting a DIY inspection is layered and nuanced, resting on factors like your skill level, comfort with electrical systems, and the severity of the flood damage. If you have experience working with electrical systems or feel confident in your abilities, a DIY inspection might be worth exploring.
However, even minor mishaps can lead to complications, transforming a manageable situation into a costly nightmare.
Professionals come equipped with specialized tools designed to detect hidden problems that may not be immediately visible to the untrained eye. They often have extensive training and certification, allowing them to identify potential hazards effectively. While their expertise is invaluable, their services typically come at a premium. For example, professional electricians commonly charge between $50 and $100 per hour for labor alone. This expense can escalate rapidly if comprehensive repairs are needed.
Consider this: investing in professional help diminishes uncertainties and enhances peace of mind since they’ll assess risks you may overlook due to inexperience.
To illustrate the potential pitfalls of undertaking this task without sufficient knowledge, consider comparing it to deciding to perform home surgery; both scenarios harbor significant dangers if you lack the necessary skills and tools. Just as one would seek a medical professional’s advice for health concerns, it’s wise to adopt a similar approach with your electrical system.
However, diving into the DIY realm does not come without merits. You might find satisfaction in saving money while gaining insight into your home’s inner workings—and that’s not an insignificant benefit. It’s crucial, though, to take a well-structured approach when proceeding with inspections yourself.
If you decide to embrace the DIY route, understanding proper procedures and common safety protocols will serve as your guiding light in conducting an effective inspection before moving on to learn practical steps involved in ensuring everything is in order.
Step-by-Step Electrical System Inspection
The process begins with an Initial Evaluation. This crucial first step involves making a comprehensive list of all electrical components that encountered water during the flood. Having a documented inventory not only streamlines your inspection but also helps prevent any overlooked elements. A detailed list includes outlets, switches, wiring, circuit breakers, and junction boxes—all potential spots for damage that must be scrutinized.
Once you have your list in hand, the next logical step is to thoroughly inspect the wiring throughout your system.
Step 2 – Inspect Wiring
During the wiring inspection, the first focus is on insulation. Moisture can severely affect it, leading to fraying or deterioration that could expose wires. Be vigilant here; insulation that appears damaged should raise red flags regarding safety. If you find wires that seem compromised, it’s imperative to either replace them entirely or consult an electrician for proper repairs.
The next aspect involves checking circuit breakers. These are your electrical system’s first line of defense against faults and short circuits. Each breaker should be tested for functionality. This might involve resetting them and noting which ones fail to engage properly. If a breaker remains unresponsive or shows signs of physical damage—such as cracks or burns—it will need immediate replacement to avoid future risks.
With the wiring checked, attention shifts to larger critical components within your system.
Step 3 – Inspect Panels and Junction Boxes
Opening every electrical panel and junction box is necessary at this stage. Here, you’ll be looking for moisture accumulation, rust, or corrosion that could impact performance and safety. Any signs of these issues mean it’s vital to clean and dry the components thoroughly. Ensure that these enclosures are not only free of moisture but also devoid of any loose connections in order to maintain operational integrity.
Now that you’ve assessed the panels and junction boxes, it’s time to shift gears towards evaluating outlets and switches within your home.
Step 4 – Test Outlets and Switches
Testing each outlet and switch isn’t just about ensuring they turn on or off; it’s about confirming their operational reliability. Utilize a multimeter for a precise functionality check on outlets—this device will help you identify any discrepancies in power flow. If an outlet fails this test or reveals other signs of damage—like charred marks or a loose cover plate—it’s imperative to replace it right away.
Conducting these inspections diligently will prepare you for the further actions needed for safe recovery from flood damage. Maintaining a methodical approach protects your home from unnecessary hazards while reinforcing a commitment to a safe living environment.
With a comprehensive assessment behind you, it’s essential now to look closely at how you can effectively address any flood-related damage in your electrical components.
Repairing Flood-Affected Electrical Components
When it comes to repairing electrical components that have been victim to floodwaters, precision and care are paramount. The stakes are high—faulty repairs pose a safety hazard and risk further damage down the line.
The first step in recovery is to ensure that all power sources are completely shut off before beginning any assessment or repair work. Safety should always be your primary concern. Just like a ship’s captain navigating through stormy seas, you must approach the situation wisely, harboring no delays that could jeopardize your wellbeing.
Common Repairs
One common repair involves replacing wires. Floodwaters often compromise wires faster than you can say electrical hazard; water weaves its way into the insulation, leading to potential short circuits or shocks. Always opt for new, weather-resistant wires as replacements—they provide better long-term durability. This proactive choice can make all the difference in preventing future issues. If you ever doubted the importance of opting for quality materials, consider this: even one exposed wire can cause a catastrophic failure.
Oftentimes, when homeowners overlook damaged wiring, they find themselves in an endless cycle of repairs.
Next on the repair list is fixing or replacing panels. Panels are essentially the command centers for your electrical system; if they become corroded or damaged due to moisture exposure, the entire system’s functionality is at risk. Unfortunately, corroded panels often require complete replacement to ensure energy integrity and reliability. Think of them as the heart of your electrical system; without a healthy heart, other parts struggle to function effectively.
John from Texas has experienced this firsthand. He recalls how “After the flood, I had to replace nearly all my electrical wires and install a new breaker panel. It was a considerable expense but worth the peace of mind.” His experience underscores an essential truth: investing in thorough repairs often saves more problems down the road.
All repairs should be documented meticulously from start to finish; this will help you keep track of what was done and aid future inspections or insurance claims if necessary. Additionally, don’t shy away from consulting professionals who specialize in flood damage recovery if the task feels overwhelming.
Relying on expert help doesn’t signify weakness; rather, it displays wisdom in prioritizing safety and quality over haste.
Focusing on these critical repair areas ensures that your home remains resilient against future threats while laying a solid foundation for understanding how best to address subsequent challenges that may arise with corrosion and moisture management.
Managing Corrosion and Moisture
Moisture and corrosion can quickly cause significant issues within your electrical system, often leading to failures that may result in power outages or fire hazards. Addressing these problems promptly after a flood is essential. One of the first steps is to thoroughly dry out all affected components, as trapped moisture creates a breeding ground for corrosion. I recommend setting up dehumidifiers in the area while also employing fans to promote airflow; this dual approach can significantly improve the drying process.
It’s important to give special attention to areas where the most moisture tends to accumulate, such as basements or corners where air circulation may be limited.
Once everything has dried, the next phase is preventing corrosion. Applying anti-corrosion sprays or coatings can be particularly beneficial for exposed metal parts like wires and terminals. However, ensure that any products used are safe for electrical applications. Using inappropriate substances can lead to further complications down the line. Always read labels and consult with a professional if you’re unsure.
Moreover, understanding which specific components might need replacement versus mere cleaning can guide your approach effectively.
| Component | Action Needed | Products Recommended |
|---|---|---|
| Wires | Replace or dry out | Weather-resistant wires, dehumidifiers |
| Breaker Panels | Replace if heavily corroded | Anti-corrosion sprays, new panels |
| Electrical Outlets | Clean and test or replace | Multimeter, moisture absorbers |
Each entry in the table offers insight into maintaining the integrity of your electrical system post-flood. For instance, if wires show signs of wear due to corrosion, it’s best not just to dry them but rather to replace them entirely with weather-resistant options that will withstand future challenges. Similarly, breaker panels must be monitored closely; any significant corrosion will likely warrant a complete replacement.
It’s always wise to keep in mind that an ounce of prevention is worth a pound of cure—proper management of corrosion and moisture cannot be overstated for maintaining your electric system’s longevity and efficiency.
We often overlook how serious moisture management can be until it’s too late, affecting both performance and safety in ways we don’t immediately see. Now is the time to take action before you encounter more severe issues.
As we shift gears from practical assessments of physical damage, it’s crucial to understand the implications involving coverage and responsibilities following such incidents.
Insurance and Legal Concerns
Navigating the aftermath of a flood can feel overwhelming, especially when it comes to understanding your insurance coverage. Many homeowners believe they have adequate protection, only to discover that critical components of their claims may be denied simply because they are unaware of specific details in their policies. This is where knowing what your flood insurance entails becomes crucial, particularly in light of statistics from FEMA indicating that nearly 20% of flood insurance claims originate from low-risk flood areas.
To avoid this pitfall, it’s vital to take proactive measures before tragedy strikes. One helpful way to start is by meticulously documenting everything related to the damage caused by the flood. Photographs can serve not only as visual proof but also provide a clear timeline of events. A comprehensive inventory of damaged electrical components should accompany these visual aids; having detailed records can prove invaluable when negotiating with your insurance company.
An essential aspect of preparing for a potential claim is to review your policy thoroughly. Don’t just glance over the coverage limits—take note of exclusions, waiting periods, and any conditions that must be met for claims to be processed. This understanding allows you to set realistic expectations about what you might receive after filing a claim. It’s common for homeowners to overlook clauses or stipulations in their policies that could affect a payout; awareness here can save you stress down the line.
If you find yourself feeling overwhelmed or if the claims process seems too intricate, consider engaging a public adjuster. While they do charge a fee for their expertise, their knowledge in navigating complex insurance terms can often lead to maximizing your payout. Having someone who can advocate on your behalf can relieve some pressure during this stressful time.
As you work through these insurance considerations and legalities, remember that being informed now sets a foundation for stronger protective measures moving forward.
Preventive Measures for Future Floods
Implementing preventive measures can significantly reduce the risk of future flood damage to your electrical system. One of the most effective steps is to elevate electrical installations. This means raising crucial components like electrical panels, outlets, and switches above potential flood levels. Think of it as placing your valuable electronics on a high shelf; you wouldn’t leave them on the floor during a storm, would you? Elevating such installations reduces the chance of water absorption, ensuring they remain functional when you need them the most.
Alongside elevation, consider installing sump pumps around your property. These devices are lifesavers in managing excess water. By diverting floodwater away from your home’s foundation, sump pumps can prevent inundation that could lead to major electrical issues and costly repairs. Imagine having a trusty guardian at your front door, ready to whisk away rising water before it even reaches your threshold.
While those measures are substantial, it’s also wise to check local regulations about flood-resistant building materials when making updates or renovations. Using materials like water-resistant drywall or specialized sealants can act as an additional barrier against moisture intrusion.
Additional Suggestions
In addition to these core recommendations, you might also want to install flood barriers. Homeowners in regions prone to flooding have reported success with various types designed to protect doorways, windows, and other vulnerable points in their homes. These barriers create an extra line of defense against rising water.
Moreover, ensure that your landscaping directs proper drainage away from your home. Plants and grading can help manage runoff away from your foundation. A little bit of nature often provides surprisingly powerful protection!
By investing time and resources into these preventive steps, you’re not merely protecting your electrical system; you’re enhancing the safety and longevity of your entire home.
Ultimately, staying proactive with preventive measures is essential for safeguarding both your electrical system and the structure of your home from the potential devastation of floods.