
In moments when accidents happen, having the right knowledge and tools to stabilize injuries can make a world of difference. Picture yourself on a hiking trail, surrounded by nature, when suddenly someone twists an ankle or worse—falls and hurts a limb. Your heart races as you wonder: How can I help? This guide dives into the essential materials and techniques needed for effective emergency splinting, whether you’re in the wild or at home. With personal stories and practical tips woven throughout, we’ll explore everything from trusted products like the SAM Splint to improvised solutions using everyday items. You’ll be ready to handle unexpected injuries with confidence!
The Emergency Splinting Materials: Complete Guide offers insights into essential splinting tools, their proper usage for stabilizing fractures and sprains, and recommendations on custom first aid kits tailored to personal needs. Additionally, it includes information on specific products, statistics regarding their effectiveness, and tips for ensuring proper preparedness in outdoor or austere environments.
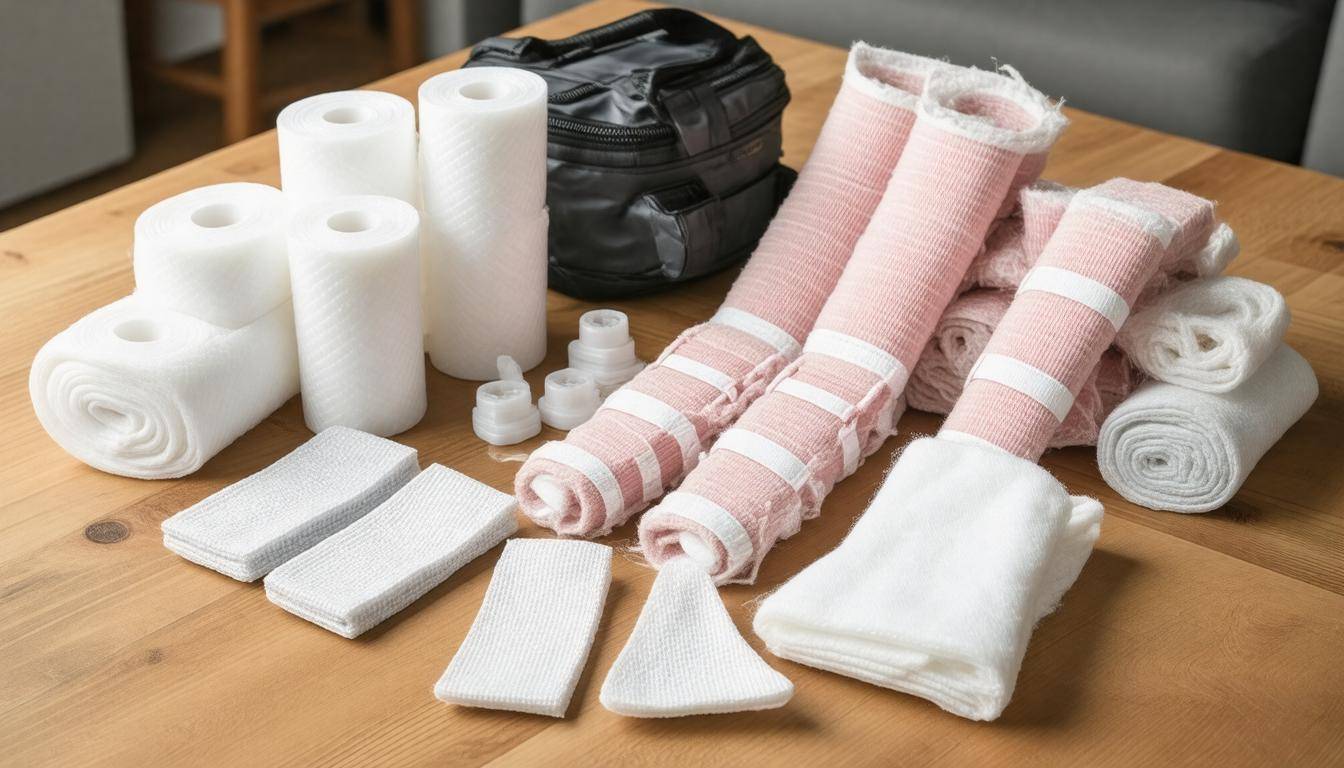
Common Emergency Splinting Materials
One of the standout materials you’ll encounter is the SAM Splint. This innovative product consists of thin aluminum encased in a layer of soft foam, allowing it to mold easily to the contours of an injured limb. Its lightweight design makes it incredibly portable, essential when outdoor adventures take unexpected turns. When I first used one during a hiking trip, I was amazed at how quickly I could shape it around a sprained ankle—saving both time and discomfort before professional help arrived.
Another versatile addition to your splinting kit is rolled gauze. Not only does it assist in securing splints, but it also provides padding and compression to minimize swelling. In my experience, having several rolls on hand can help when dealing with multiple injuries; they’ve played a crucial role in stabilizing everything from wrists to legs, especially when combined with other materials.
Equally important are triangular bandages, which can serve multiple purposes. Whether you need to create a sling or secure a splint, these cotton or similar fabric triangles are both lightweight and easy to use. Remember that quick access is key—storing triangular bandages atop your first aid kit can save precious seconds when treating an injury.
- SAM Splint: Lightweight and malleable for various injuries.
- Rolled Gauze: Essential for padding and securing splints.
- Triangular Bandages: Versatile for slings or splint stabilization.
- Adhesive Tape: Useful for securing splints in place.
- Wooden Sticks: Commonly employed for immobilization.
- Plaster Splints: Effective for creating rigid structures around fractures.
While these well-known materials provide excellent support, knowing how to utilize improvised items found around you can be just as critical in an emergency situation.
Items like stickers, strips of plastic, or even firm cardboard can serve as makeshift splints if necessary. Just think back to the last camping trip you took; perhaps all that was needed was a nearby branch or two. It’s remarkable what everyday objects can turn into life-saving tools. During one incident, I witnessed someone using trekking poles secured with jacket strips to stabilize a knee—they were certainly resourceful!
Importantly, the primary purpose of any splinting material is stability and immobilization of the affected area until further medical assistance is available. Utilizing these materials appropriately not only aids in injury management but significantly enhances the chances of recovery without worsening the condition.
As we explore further into this topic, it’s vital to consider how adaptable materials can be effectively employed in various scenarios.
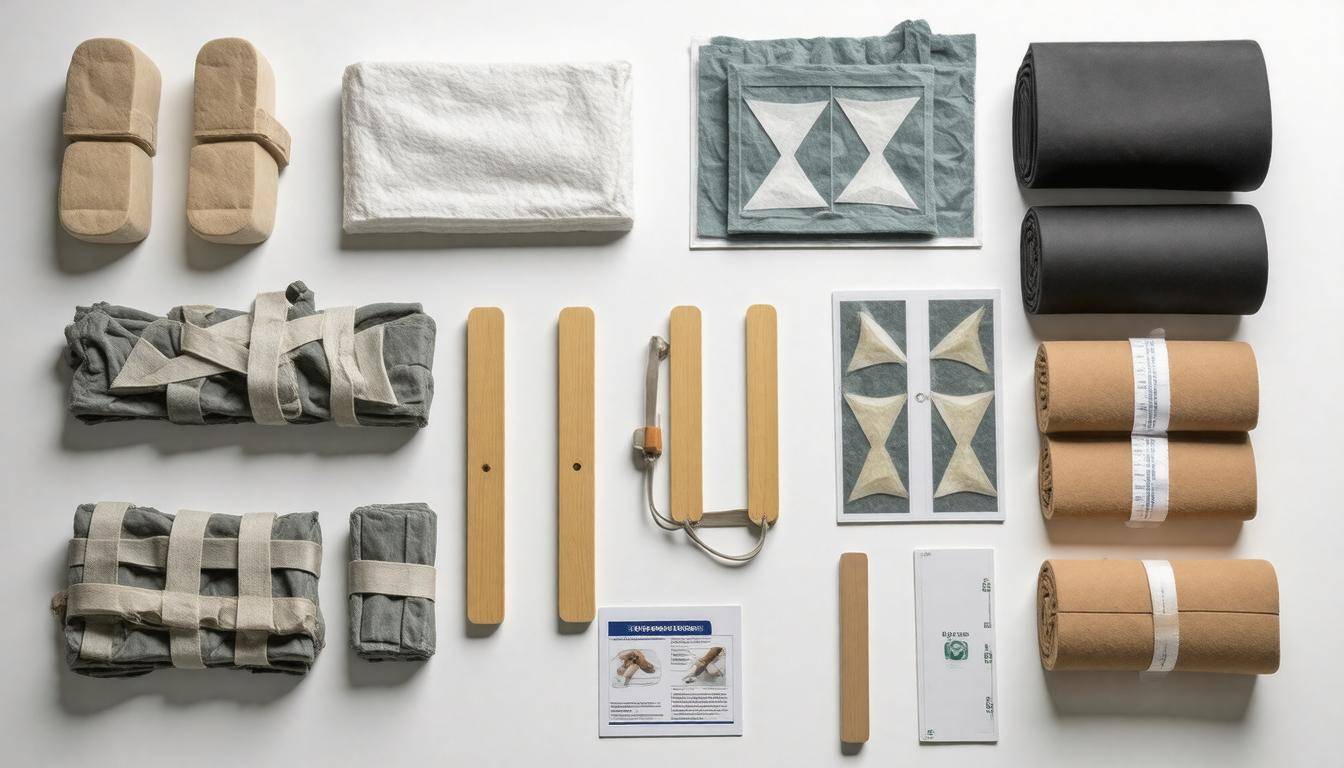
Using Available Materials for Splints
Everyday items around us can serve as effective splinting materials in times of need. Imagine you’re out hiking and someone sustains an injury—what do you do? You don’t need professional-grade equipment to stabilize a fracture; instead, you can look around and find useful materials just lying about.
For example, a rolled-up newspaper or magazine is not just your typical reading material; in a pinch, it can provide the rigidity needed for temporary arm or leg support. Picture using a sturdy stick, like a hiking pole or even a broom handle, to stabilize a larger bone fracture. These common household items can be lifesavers if used properly and thoughtfully.
When utilizing such items, ensure you create a solid structure. For additional comfort and to prevent further injury, wrap these makeshift splints with cloth or a towel. This padding helps disperse pressure on the skin and minimizes discomfort. Remember, the goal is to immobilize the fracture effectively while ensuring that the person feels as comfortable as possible under distressing circumstances.
Here are some common materials you might find around you and how they can be utilized:
- Newspapers or magazines: Rolled tightly, they offer rigidity for small, localized fractures.
- Sticks or poles: Great for larger fractures impacting stability.
- Towels or blankets: Useful for cushioning and wrapping around sharper splint edges.
Naturally, it’s essential to assess what you have available at the moment, engage creativity, and think outside the box for proper improvised splints.
One critical consideration when using improvised splints is ensuring they extend sufficiently beyond the joints above and below the injury. This guarantees that the injured area remains stable and does not move during transport. A splint that’s too short may allow motion at the fracture site, which could worsen the injury.
Beyond selecting appropriate materials, understanding various techniques for applying splints can enhance your ability to respond effectively in emergencies. Grasping these applications will help ensure that injuries are stabilized properly while awaiting professional assistance.
Types of Splinting Techniques
Different injuries require different splinting methods, and that’s why knowing multiple techniques is beneficial. Each method has its own advantages and suitable applications, which can greatly improve patient outcomes in emergencies.
Rigid Splints
Rigid splints are designed to immobilize fractures using hard materials like wood, plastic, or metal. This technique is particularly effective for significant fractures, as it helps maintain a stable position during transport. The nature of a rigid splint allows for minimal movement, significantly reducing the risk of further injury.
According to a survey from the American Red Cross, over 60% of first responders prefer rigid splints due to their durability and ease of use. This kind of splint can be quickly fashioned from available materials in many outdoor and austere situations.
For anyone who has dealt with the chaos of an injury scene, finding rigid materials—like branches or even a sturdy shoebox—can mean the difference between safety and aggravating an injury.
Soft Splints
In contrast, soft splints utilize padded materials such as pillows, folded blankets, or even clothing, providing flexibility and cushioning. These splints are ideal for managing injuries that benefit from minimal pressure, making them perfect for sprains or soft tissue damage. When swelling is present, soft splints accommodate changes in the injured area rather than constricting it. EMT Mike Johnson emphasizes that “soft splints are particularly effective in situations where swelling is present,” underscoring their importance in effective emergency care.
Imagine you’re on a camping trip and someone twists their ankle; using a soft splint not only provides relief but also prevents unnecessary clampdown during mobility issues.
Anatomical Splints
Another efficient method involves anatomical splints, which cleverly use parts of the body for stabilization. A well-known example is buddy taping—wherein an injured finger is taped to its neighboring uninjured finger to provide support without requiring extra materials. This technique prioritizes comfort and simplicity while still offering effective support in less severe injuries. It’s advantageous because it requires minimal resources while ensuring that mobility does not exacerbate the injury.
Picture this: a group hiking when one person falls and injures their finger. Instead of scrambling for materials or making complex arrangements, taping that finger to the next one keeps things simple and allows everyone to continue enjoying their time outdoors.
Understanding how and when to apply these various techniques effectively prepares you for real-life emergencies. Let’s now focus on what actions to take for successful implementation in critical moments.
Steps for Effective Splinting
The first step in applying a proper splint is to assess the injury thoroughly. This means evaluating both the type and severity of the injury you’re dealing with. Look for key indicators: Is the limb aligned? Is there significant swelling or any open wounds? Observing these signs early on can inform how you proceed. A misalignment could suggest a fracture, while a wound might require additional attention before you focus on immobilization.
Once you have a clear picture of the injury, it’s time to gather your materials.
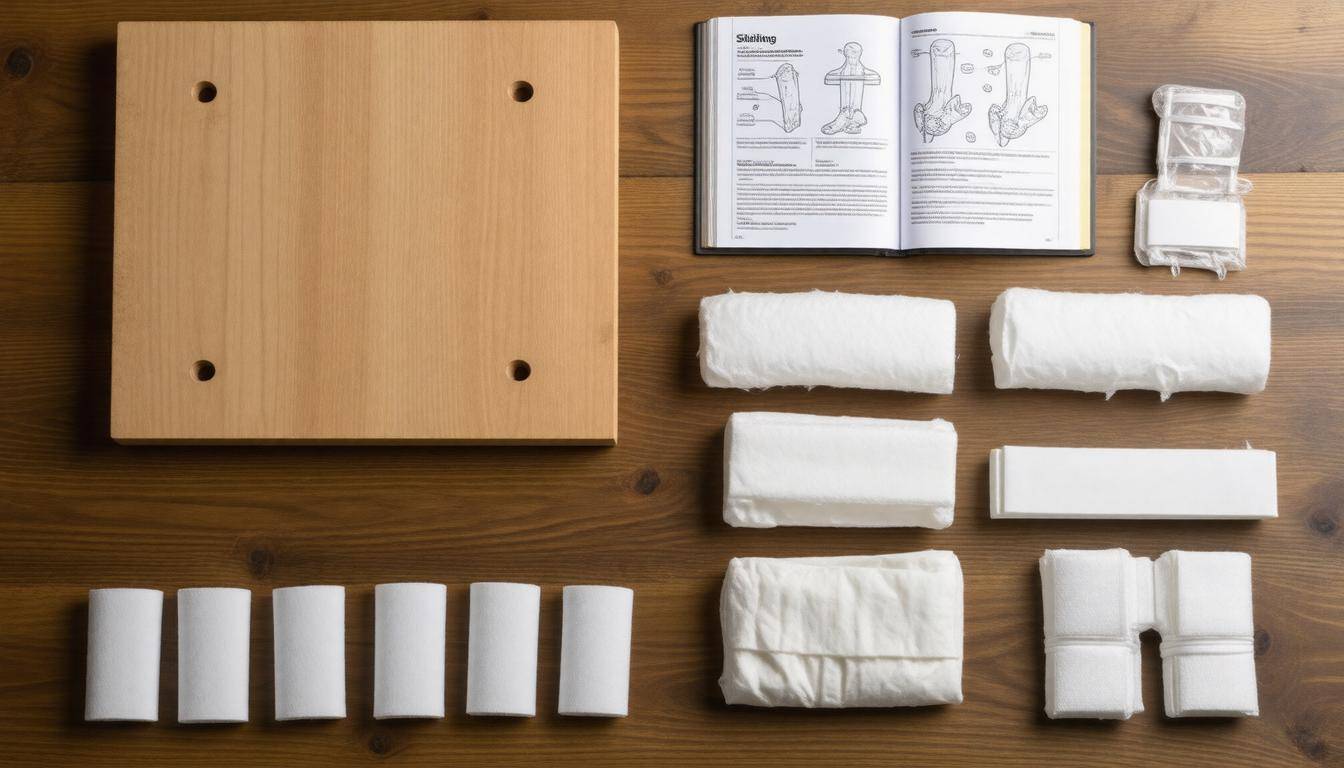
Keeping all necessary items within arm’s reach streamlines the process and reduces stress during an emergency situation. Essential splinting materials typically include:
- Rigid splints made from wood, metal, or plastic
- Padding like gauze or cloth
- Bandages—whether elastic or adhesive—to secure everything in place
Having these supplies at hand increases your efficiency and helps maintain control in otherwise chaotic situations.
After you’ve gathered your materials, the next crucial step is to apply padding to that injured area.
Utilizing soft materials serves a dual purpose: they provide comfort and help minimize any further risk of injury when securing the splint. Imagine trying to fit a hard surface against an already tender spot; it only adds to discomfort and could exacerbate the injury. The padding acts as a buffer between the skin and the rigid splint, absorbing shock and reducing pressure points that could lead to complications later on.
Now that you’ve prepared with padding, it’s time for the actual application of the splint.
When applying the splint itself, ensure it’s placed alongside the injured limb in a way that extends beyond both joints above and below the point of injury. This immobilization is pivotal; it should be secured firmly but not tightly enough to restrict blood flow—an essential balance to strike. Too loose, and you risk movement that could worsen the injury; too tight, and circulation problems may arise.
Finally, once the splint is securely in place, your job isn’t over yet; checking for circulation is critical.
Take a moment to monitor the injured area for signs of proper circulation which include numbness, changes in skin color such as pallor, or temperature variations compared to the unaffected limb. Failing to do this could lead to severe consequences if there’s an overlooked issue with blood flow. If any alarming signs appear, adjust your splint as needed or seek medical assistance immediately.
With each step executed carefully, you’re effectively positioning yourself for success in addressing injuries and ensuring better outcomes moving forward. Now let’s examine techniques essential for enhancing security through specific methods of protection.
Padding and Immobilizing Methods
Proper padding and immobilization can significantly reduce pain and prevent further injury. Consider the way a cushioned seat makes a long road trip bearable; similarly, when addressing an injury, good padding acts like a supportive cushion around the damaged area, ensuring comfort and stability for the patient.
Importance of Padding
Studies indicate that adequate padding reduces pressure points and enhances comfort, which is crucial when transporting injured individuals. Imagine if you were in a car accident; applying something like soft foam that is at least one inch thick around the injury creates a protective barrier against jarring movements. The choice of material matters too—soft foam often suffices, but rolled gauze or cotton padding can also be effective. These materials conform to the body’s shape and absorb moisture, making them excellent options for tackling injuries like sprains or fractures.
Using these materials doesn’t need to be complicated or expensive either. Simply wrap the chosen padding securely around the injured area; this prevents friction and helps maintain heat and comfort. The key is ensuring that this padding does not press too tightly against the skin, as that could lead to pressure sores and additional complications down the line.
Using Immobilizers
Beyond mere padding lies the critical component of immobilizers, such as splints, which play a pivotal role in stabilizing an injury. Commercial immobilizers, including air splints, can be particularly useful owing to their adaptability and ease of use.
| Type | Advantages | Limitations |
|---|---|---|
| Foam Padding | Lightweight, easy to apply | Less rigidity |
| Air Splints | Adjustable, lightweight | Can cause discomfort in heat |
| Cloth or Towels | Readily available | May not provide full immobilization |
You’ll notice air splints offer versatile support—they can be inflated to achieve varying degrees of firmness based on the patient’s needs. However, it’s important to remember their limitations; they may not always provide adequate rigid support in hot weather due to potential expansion discomfort.
Choosing the proper tools and techniques requires careful consideration of various factors, influencing how to best assist individuals with specific injuries while minimizing discomfort. As we explore further, we’ll examine how different types of injuries require unique approaches for optimal care.
Considerations for Different Injuries
Different injuries demand specialized splinting approaches to address their unique challenges. For fractures, it’s important to know that the splint should be long enough to extend beyond both ends of the broken bone—up past the nearest joint above and below. This ensures not only stability but also reduces pain by preventing movement at the fracture site. For example, if you encounter someone with a fractured forearm, your splint should reach from below the elbow to above the wrist. The aim here is to ensure that any motion within those ranges does not further aggravate the injury.
Sprains
When dealing with sprains, the requirements shift slightly. Instead of rigid immobilization, sprains need adequate support without completely restricting blood flow or causing additional damage. Soft splints or ACE bandages are fantastic choices here because they provide enough flexibility to allow for minimal movement while still offering support to swollen ligaments. The balance between support and mobility is crucial, as excessive rigidity can lead to stiffness and hinder healing.
Dislocations
Moving on to dislocations, these injuries are particularly sensitive and require extra caution. It’s vital to immobilize dislocated joints in the position found, avoiding any attempts to realign them yourself without professional medical help. Incorrect attempts at realignment can result in further harm or complications. The goal with a dislocation is stabilization; your best bet is to apply a firm splint around the area while keeping the joint in its current anatomical position.
Identifying the right approach can be challenging, hence it’s crucial to understand the advantages and limitations of various splints. Never hesitate to consult with a trained medical professional when you’re unsure of how best to handle an injury.
Each type of injury presents its own set of challenges; however, understanding the implications of various splinting methods allows individuals to respond effectively in emergency situations. Being informed about different techniques can greatly enhance your capacity to handle specific injuries as they arise.
Advantages and Limitations of Different Splints
Different splints offer unique advantages that cater to specific injuries, yet they also come with trade-offs that can influence their effectiveness in a given situation. To effectively support an injured limb, it’s vital to choose the right type of splint based on the nature of the injury.
Rigid Splints
Rigid splints are often the first choice among professionals due to their proven ability to support broken bones and ensure limited movement in injured areas. Their rigidity stabilizes fractures effectively, allowing for safe transport until medical assistance can be sought.
However, it’s important to note that these splints can add significant weight, making them cumbersome during extended use. The lack of flexibility can also lead to discomfort for the injured person, particularly if they’re waiting a long time for help.
Soft Splints
In contrast, soft splints are designed for comfort and flexibility. They excel in situations where swelling is present as they can adapt to changes in shape around an injury. Imagine wrapping a protective blanket around your ankle after a sprain; that’s similar to how soft splints function.
Yet, this adaptability comes at a cost; soft splints generally provide less immobilization, which may not fully support severe fractures. They might be ideal for minor injuries, but when dealing with complex fractures or dislocations, their effectiveness diminishes.
Anatomical Splints
Anatomical splints are another valuable tool in emergency scenarios, especially in situations with limited resources—think wilderness survival conditions. They utilize the body’s natural shapes, like a person’s own arm or leg, to provide support without needing extra materials. This means they are lightweight and highly accessible when other options may not be available.
However, because they rely solely on body positioning rather than external structures, they do not offer substantial support, making them unsuitable for major fractures or injuries demanding heightened immobilization.
With this understanding of different splint types and their advantages and limitations, we can shift our focus to the critical items necessary for assembling an effective emergency kit.
Essential Items in an Emergency Splint Kit
A well-rounded emergency splint kit isn’t just a collection of random items; it should be tailored to offer effective immediate treatment during critical moments. Think of it as your personal first-responder toolkit—reliable and comprehensive. Among the most vital components is the SAM Splint, which is lightweight and versatile. This handy item conforms to various body parts, making it perfect for immobilizing limbs in case of fractures. It’s particularly useful for wrist or lower arm support.
Another essential is rolled gauze. This plays a dual role in your kit—it’s invaluable not only for dressing wounds but also for securing splints in place. It provides stability and compresses areas that may be prone to swelling.
Similar in purpose yet distinct in function are triangular bandages, which serve multiple uses, including making slings or providing additional support for splints. They are remarkably versatile and can be adjusted to fit nearly any situation.
The inclusion of elastic bandages cannot be overstated either. These bands help provide compression, mitigating swelling following an injury. What’s more, they can secure splints, ensuring everything stays in place while waiting for professional medical assistance.
Alongside them, you’ll want to pack some medical tape. This is crucial for securely fastening dressings and stabilizing splints—a must-have for every emergency scenario.
As we gather our supplies, it’s clear that no kit would be complete without specialized tools, starting with padded aluminum splints. Their rigidity helps maintain effective immobilization while remaining lightweight and easy to pack, making them great companions on any outdoor adventure.
Adding a pair of small scissors also proves beneficial; trauma shears can cut through clothing and bandages effortlessly, allowing you to access the injury site quickly.
Cleanliness matters greatly in emergencies; thus, incorporating antiseptic wipes is essential. These wipes help clean the injury area, reducing the risk of infection before applying dressings or splints.
It’s these small touches that can make an enormous difference in how injuries are managed.
According to wilderness medic Sarah Thompson, “Having these essentials can make a significant difference in initial care. A complete kit ensures preparedness for various injury types.”
The insight gathered from experienced professionals emphasizes that having these necessary items allows anyone to respond effectively when faced with accidents or emergencies.
Therefore, assembling a thorough and well-considered kit can be life-saving during those critical moments, but maintaining the practice of regular checking and updating components based on the latest medical standards remains key.
When properly equipped, you’re ready to manage emergencies with confidence and efficiency.