
When disaster strikes, everything can feel chaotic and overwhelming. You might be wondering where to begin and how to piece your life back together. The first 24 hours are crucial for ensuring safety, reaching out for help, and starting the recovery process. During this challenging time, knowing what steps to take can make all the difference. Drawing from real experiences of those who faced similar situations, this checklist will guide you through essential actions to protect yourself and your loved ones while paving the way for recovery. Let’s take a closer look at what you can do when disaster hits.
In the first 24 hours post-disaster, it is crucial to ensure the safety of all family members and pets, seek help for any missing persons, and gather essential items from your go bag. Additionally, secure your property by making temporary fixes, document damage for insurance claims, and start obtaining necessary assistance through local resources or disaster assistance programs.
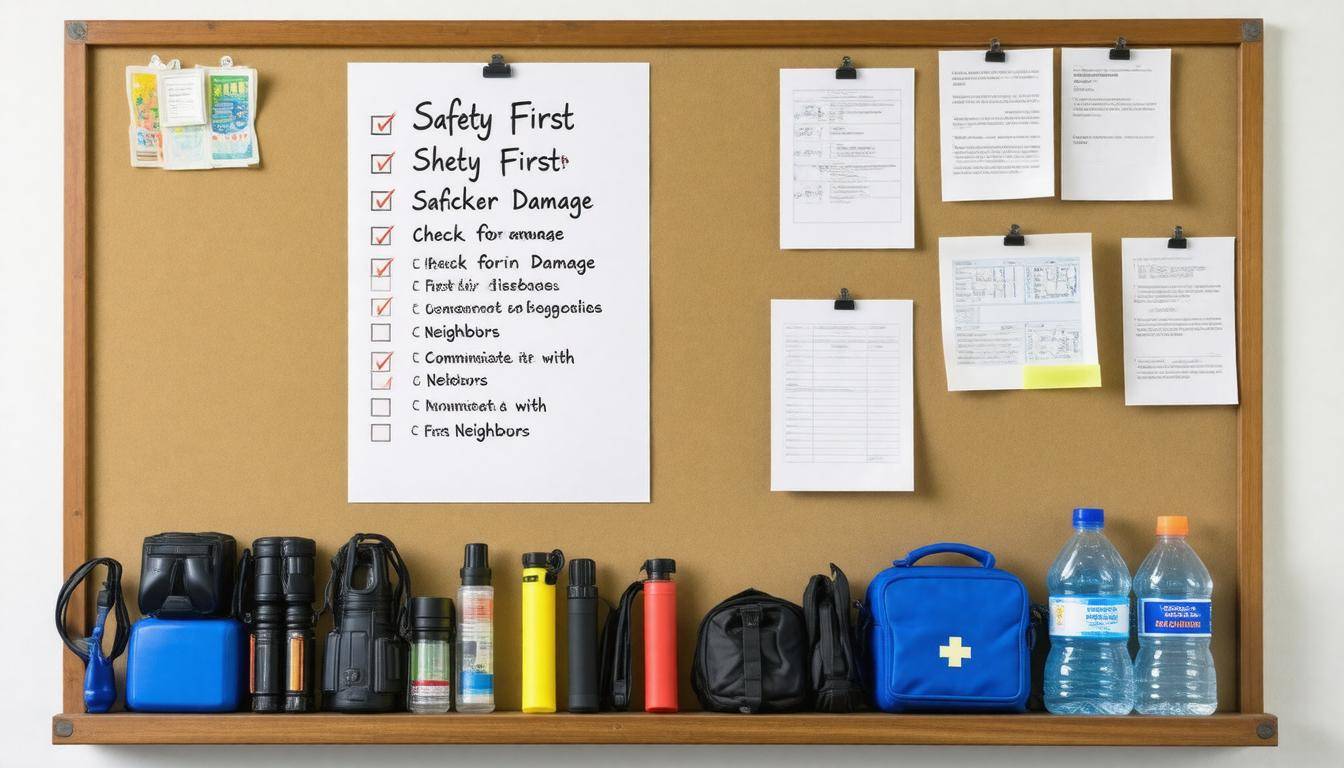
Immediate Safety Measures
As soon as a disaster strikes, your first concern should be safety—both your own and that of those around you. Conducting a thorough assessment helps identify potential hazards that could put you at greater risk. For example, after an earthquake, one might find themselves surrounded by crumbling walls or shaky ceilings. Therefore, checking yourself and others for injuries is crucial; a minor cut can quickly become serious without attention, so administer first aid as needed. Handling these immediate concerns reduces stress and helps to mitigate panic.
Understanding what to look for can make all the difference: Scan your surroundings for signs of instability, such as fallen debris or anything electrical that may be exposed. A gas leak presents an additional danger, so avoid striking matches or using candles—this is when flashlights become invaluable.
Once you’re sure everyone is safe, focus on securing the area. If you suspect the structural integrity of your home has been compromised, it’s better to evacuate to a safer location immediately. Just imagine needing to grab only what’s essential because you may not return right away; knowing where your emergency supplies are can simplify this process.
- Check yourself and others for injuries: This isn’t just about assessing physical wounds; emotional support is equally vital, especially for children who might feel frightened.
- Evacuate if necessary: If the smell of gas or signs of structural damage are evident, leave the premises without hesitation.
- Turn off utilities: If you suspect leaks from any lines, shut off gas, electricity, and water to prevent further complications.
- Use caution with lighting: Reserve candles for when it’s safe to do so, opting instead for battery-operated lights to minimize fire hazards.
It’s important to document any issues that arise—like snapping pictures of damage—because this will be useful later when it comes time to file insurance claims or seek assistance. Remember Martha’s experience during Hurricane Irma? Her quick thinking not only safeguarded her children but also allowed her family to stay organized amidst chaos. It’s stories like hers that remind us that even small fears can lead us toward safety with enough vigilance.
While securing personal safety lays a solid foundation, shifting focus towards how you’ll stay in touch becomes critical next; ensuring everyone knows best practices for connection will enhance your overall recovery efforts moving forward.
Establishing Communication
In the wake of any disaster, finding a way to communicate can feel daunting, yet it becomes absolutely essential. As soon as the immediate threat has passed, your first priority should be reaching out to family and friends to assure them that you are safe. The power of reassurance cannot be overstated; hearing from you can alleviate their worries and foster a sense of community support. A good example is John, who after the California wildfires in 2023, used a solar charger to get his phone back up and running so he could inform his loved ones he was okay.
The methods you choose for establishing communication can make all the difference in an emergency situation.
Key Steps to Reconnect
To maintain effective lines of communication during these crucial first hours post-disaster, consider several practical strategies. Start by utilizing text messaging instead of making phone calls whenever possible. Texts use far less battery power than voice calls and help ease congestion on cell networks that can become overwhelmed as everyone tries to contact their loved ones simultaneously. You might even find that your texts go through when calls do not.
Remember, preservation of your resources is key during this time. Operating on lower power modes or utilizing tools like external battery packs can really extend your connectivity.
In addition to texting, don’t underestimate the value of listening to local news broadcasts. Using a battery-powered or hand-crank radio allows you access to crucial information about recovery resources in your area. These broadcasts will often convey details about shelters, aid stations, and other important announcements that can help guide your subsequent steps in recovery.
Updating your social media status is another useful step. Though at times it may seem trivial, it serves as a rapid means to inform many individuals at once—especially extended family and friends who may be spread out. It creates a digital “check-in” system that reassures others without requiring individual notifications.
Engaging in community check-ins also plays an integral role in reestablishing connections after disaster strikes. Many local authorities or disaster response teams organize these gatherings for affected individuals to share their statuses and connect with one another. Participating in these events not only assures you remain informed but also strengthens community ties.
With a solid communication plan in place, attention must now shift towards securing safe shelter and gathering essential supplies necessary for rebuilding during this challenging time.
Seeking Shelter and Supplies
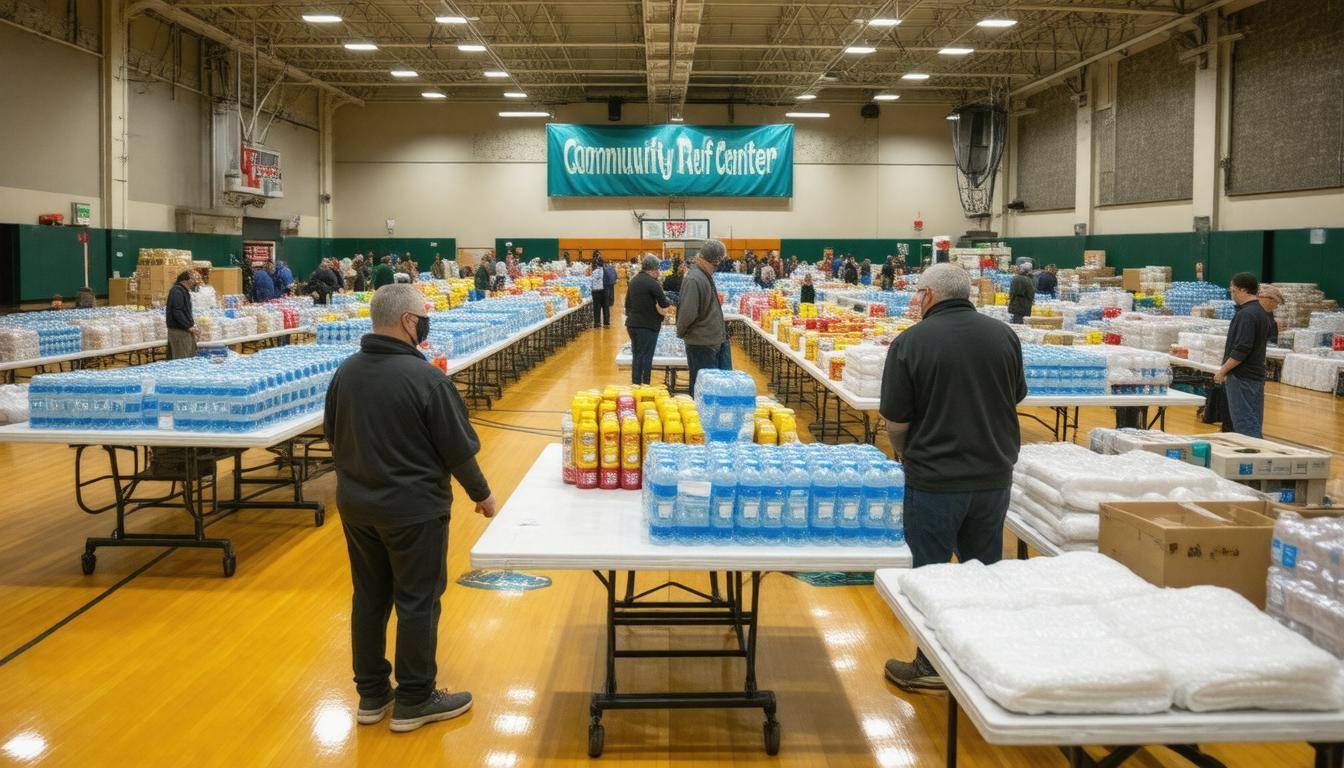
Securing shelter is your top priority following a disaster, providing safety and a space to regroup. Local emergency shelters open their doors for those seeking refuge during crises. Community centers, schools, and places of worship often transform into lifelines, offering safe spaces and food donations. Stay informed about local resources; emergency management agencies typically announce these temporary shelters through channels like local news or social media.
If you can’t find a nearby shelter, consider the mobile disaster units dispatched by organizations like the Red Cross. These units roam affected areas to provide food, water, and medical assistance. Knowing their locations is crucial; keeping an ear out for announcements can provide you with timely information.
Additionally, your vehicle can serve as an unexpected sanctuary. Often overlooked, cars are equipped with essentials—first aid kits stored in the trunk or extra blankets can offer warmth and security until more permanent arrangements are available. Just remember to park your car safely away from any hazards.
Critical Supplies Checklist
- Water: Aim for at least one gallon per person per day to stay hydrated.
- Non-perishable food items: Stock up on canned goods, energy bars, or ready-to-eat meals that require no heating.
- Medical kit: Having basic first aid supplies is imperative—include prescription medications and sanitary items you may need.
- Batteries and chargers: Ensure you have portable chargers or backup batteries for important devices like phones to maintain communication.
For instance, Sarah’s family was exceptionally well-prepared during the floods of 2020. They had pre-packed “go-bags” with all the essentials mentioned above, which made their evacuation smoother than many others who scrambled to gather supplies at the last moment. This highlighted the importance of immediate action and foresight in preparation.
Once you’ve established secure shelter and gathered critical supplies, your next step is to ensure access to power sources, which is vital in effectively navigating the ongoing disaster management process.
Managing Power and Resources
Power outages often follow a disaster, impacting everything from heating and refrigeration to essential communication. Restoring some semblance of daily life during these chaotic times relies heavily on effective resource management. By being proactive about power sources and conserving supplies, you can navigate these frustrating conditions while ensuring that you and your loved ones remain as comfortable and safe as possible.
Steps for Resource Management
The first thing you’ll want to consider is your emergency power sources. If you have access to a generator, use it wisely; place it at least 20 feet away from your home to avoid carbon monoxide poisoning. I remember the stress my neighbor faced during a storm when they miscalculated the distance of their generator, leading to anxious nights and uncomfortable decisions. For those without a generator, consider using solar-powered chargers or even hand-crank devices, which can be lifesavers for keeping communication lines open—especially if cell services are tied up or down.
Alongside securing power, conserving resources becomes paramount. When electricity is limited, try to limit your use of electronic devices strictly for essential communications or information. It’s tempting to scroll through social media to see what everyone else is up to, but saving battery life should take precedence. A small tip: store perishable items like medications in coolers packed with ice packs or frozen gel packs that you can make from freezer contents. This way, you can safeguard medicines and important items until the power situation stabilizes.
Another critical aspect of resource management is ensuring your drinking water remains safe. Post-disaster scenarios often result in water supply contamination; studies show that almost 50% of supplies can become compromised after an event. Therefore, consider boiling water if you’re able or invest in water purification tablets to guarantee that what you’re drinking is safe. After dealing with contamination fears post-storms myself, I’ve learned that boiling water not only purifies but also offers peace of mind.
“Every small step taken today leads to a smoother recovery tomorrow.”
Reflecting on past disasters reveals how families adapted through challenges. Take the aftermath of the 2024 Texas ice storm as an example; many relied on solar chargers and hand-crank devices to keep communication lines open when traditional outlets failed them. These experiences were invaluable lessons learned during adversity—a reality that highlights how being prepared can empower us during such trying times.
Once you’ve effectively managed immediate needs, shifting your focus toward gathering evidence of any damage will be crucial for facilitating insurance claims later on.
Documenting Damage
Thorough documentation of damage following a disaster is a crucial step that can significantly impact your recovery efforts. Right after the incident, it’s essential to gather evidence of the destruction caused. This isn’t just about snapping a few pictures; it’s about creating a detailed record that will support your insurance claims and any assistance you may need from disaster relief agencies.
How to Document Damage Effectively
First and foremost, taking detailed photos and videos is paramount. Aim to capture every affected area—don’t just focus on the most obvious damage but also include less visible impacts. For example, if there’s structural damage, zoom in on cracks or weaknesses. Taking photos from various angles can provide a fuller picture of the extent of the damage. Additionally, including timestamps or labeling the images can aid in categorizing the damage over time.
Here are some specifics to consider while you document:
- Focus on structural elements such as walls and ceilings.
- Don’t forget about personal property — include furniture, electronics, and appliances.
- Be sure to note hazardous conditions, like broken gas lines or exposed wires, which can be critical for safety reports.
Once you’ve collected visual evidence, create an inventory. This list should detail all damaged or lost items along with their estimated values and purchase dates. Not only does this inventory serve as proof for your insurance claims, but it also helps organize what needs replacing over time. Greater detail makes for better records: descriptions of conditions or models contribute valuable context to your claims.
While gathering documentation, securing witness statements can add depth to your report. Encourage neighbors or friends who witnessed the disaster to draft written accounts of what they saw. Their perspectives can confirm damages and bolster your claims when necessary. Aim for at least two to five supportive statements that enhance the validity of your claims.
In this age of technology, utilizing available resources can greatly simplify documentation efforts.
Many insurance companies now provide user-friendly apps designed specifically for documenting damage and filing claims efficiently. These apps often allow you to upload photos directly and input information about damages quickly. They can streamline the entire process, helping you avoid long waits when filing your claim.
When Alice’s home was flooded in 2023, her use of detailed photographic evidence combined with a meticulously crafted inventory expedited her insurance claim process, resulting in quicker financial assistance than she initially expected.
With comprehensive documentation in hand, reaching out to loved ones and local authorities will further assist recovery during this challenging time.
Contacting Family and Authorities
After a disaster strikes, the chaos that ensues can leave everyone feeling overwhelmed. One of the first things you should do is ensure that all your loved ones are safe and accounted for. This reduces anxiety significantly, not only for yourself but also for those who care about you.
An easy way to accomplish this is by using social media platforms to mark yourself as safe; many people rely on these systems during disasters. It allows you to quickly inform others that you are okay without making individual phone calls, which may be challenging due to jammed phone lines.
Besides social media, there are additional methods to communicate your safety status. Consider registering with local disaster relief services that perform welfare checks on individuals after significant events. These organizations often have resources at their disposal to help connect families and provide relief. If necessary, dial emergency hotlines specific to your region; they’re designed to assist people navigating through the immediate aftermath of disasters.
In dire situations, reach out to authorities such as the police or fire department for immediate assistance. These responders can provide guidance, resources, and even connect families with temporary shelters if needed. Having emergency contacts readily available ensures faster response times and better access to the support system you might need.
To illustrate how vital this communication is, consider the devastating earthquake in Haiti in 2021. Many families used WhatsApp to convey their situation to relatives abroad while coordinating rescues through on-the-ground NGOs—an amazing example of technology being leveraged effectively in dire circumstances.
Once you’ve reached out to family and officials, your attention will naturally shift to handling critical tasks related to recovery, including insurance claims and other financial considerations that come into play following a disaster.
Insurance and Financial Steps

Post-disaster, it’s easy to feel overwhelmed, but taking control of your financial matters can make the recovery process much smoother. Your first step should be to notify your insurance providers as soon as possible. This initial contact serves two important purposes: it alerts them to your situation and allows you to outline the damages you’ve experienced. Providing thorough documentation not only accelerates your claim processing but also sets a solid foundation for what you’re entitled to receive.
Remember, having all necessary information at hand—including policy numbers, details of damages, and any relevant photographs—will hasten the entire process.
Next up is an often-overlooked yet vital action: keeping receipts. Every receipt from temporary repairs, emergency purchases, or even transportation should be saved. These aren’t just slips of paper; they are critical pieces of evidence that substantiate your claim and can significantly influence the reimbursement decisions made by insurance adjusters. It can be daunting if you’re dealing with a chaotic environment post-disaster. Therefore, consider designating a “disaster folder” where you keep these records organized and easily accessible.
Alongside keeping tabs on receipts is understanding temporary housing costs outlined in your policy. Many homeowners don’t realize that their insurance might cover additional living expenses if a disaster forces them out of their homes. Read through your insurance policy carefully to understand the limits and ensure you’re claiming what’s rightfully yours. Knowing these details upfront enables you to assertively pursue compensation for accommodation like hotels or other arrangements during this transitional phase.
On another note, an urgent priority is to report lost credit or debit cards. In the early hours after a disaster, items can get damaged, lost, or stolen in the mayhem of trying to salvage what remains of your home. Notifying your bank immediately can protect you from potential fraud and help secure quick replacements so you can access funds when you need them most.
To emphasize the importance of these actions, consider this: According to the Insurance Information Institute, accurate reporting and thorough documentation can expedite claim processing by up to 30%. This statistic underscores how being proactive in these early moments post-disaster can significantly benefit you.
After managing financial tasks effectively, shifting your focus toward formal assistance will further strengthen your recovery strategy.
Registering for Disaster Assistance
Registering for disaster assistance is a crucial step in the aftermath of any calamity, whether it’s flooding, wildfires, or storms. It offers a lifeline that extends beyond immediate needs, providing support to help many get back on their feet. Federal agencies like FEMA, along with state and local departments, provide various forms of aid to cater to the diverse challenges faced by communities during recovery efforts.
Steps to Register for Assistance
| Step | Action |
|---|---|
| 1 | Collect Personal Information |
| 2 | Visit disasterassistance.gov |
| 3 | Fill Out Application Form |
| 4 | Submit Required Documentation |
| 5 | Await Confirmation and Next Steps |
The registration process might seem daunting at first glance, but breaking it down into manageable steps makes it easier. The very first thing you want to do is collect personal information such as your Social Security number, current address, financial details, and any other relevant information. Think of it like gathering your treasures before embarking on an adventure; you want to ensure you have everything you need at your fingertips.
Once you have your information organized, it’s time to proceed online or through other available avenues.
Next, visit FEMA’s disaster assistance portal at disasterassistance.gov. This website serves as a comprehensive hub where you can find all the resources needed to apply for assistance. Alternatively, if you’re not comfortable online, FEMA’s hotline is available at 1-800-621-FEMA (3362) to guide you through the process. Many people find that speaking with a representative can provide clarity and reassurance during such stressful times.
Upon reaching the website, you’ll need to fill out the application form. The layout is user-friendly; just follow the prompts carefully. After completing the application, submitting required documentation—such as proof of residence and damage reports—is critical to support your claim. Keeping these documents organized ahead of time will smoothen this process.
“The best part about registering online was having everything I needed in one place,” mentioned Sarah, a survivor who benefitted from federal aid after severe flooding last year.
The final step involves waiting for confirmation; however, maintaining open communication lines proves essential.
After you’ve submitted everything, all that’s left is to await confirmation of your application and further next steps from FEMA or your local agency. It’s a waiting game, but knowing that help is on its way can provide much-needed relief amidst chaos. Many individuals have navigated this process successfully and received timely support—some even within a week! If you encounter any challenges or have questions while waiting, don’t hesitate to reach out via phone or visit a local Disaster Recovery Center (DRC) for in-person assistance.
Registering for disaster assistance may seem like another task on an already overwhelming checklist post-disaster. However, it’s one of the most beneficial steps towards ensuring your recovery and rebuilding efforts are supported by essential resources tailored to your needs.
Taking these steps not only initiates your recovery journey but also connects you with vital resources that can help restore stability in your life after a disaster strikes. Make sure you prioritize registering as soon as possible for the assistance you need.
How can I assess damage to my home and property within the first 24 hours?
To assess damage to your home and property within the first 24 hours post-disaster, start by ensuring your safety and that of others. Check for hazards like gas leaks, downed power lines, and structural instability before entering affected areas. Document the damage with photos for insurance purposes, focusing on essential areas like roofs, walls, and basements—research indicates that approximately 60% of homes experience water damage following flooding events. Keep a comprehensive list of any personal belongings affected, as this can help expedite recovery efforts. Always consult local authorities or emergency services for guidance during this crucial assessment period.
What information should I collect for insurance claims after experiencing a disaster?
After a disaster, it’s crucial to gather detailed information for insurance claims, including photographs of the damage, a list of lost or damaged items with their values, receipts or proof of purchase, and any relevant policy details. According to a report by the Insurance Information Institute, documenting losses increases the likelihood of receiving appropriate compensation; homeowners who provide thorough evidence can reduce claim processing time by up to 30%. Additionally, maintaining communication with your insurance company throughout the process ensures you understand your coverage and claim requirements.
How do I contact family members and ensure everyone is safe in the aftermath of a disaster?
After a disaster, prioritize contacting family members through text messages or social media, as these methods often have a higher success rate than traditional calls due to congested networks. According to FEMA, establishing a family reunification plan is crucial; over 40% of families who experience a disaster have no clear communication strategy, leading to increased anxiety. Designate a pre-arranged out-of-town contact, so family members can relay messages and confirm each other’s safety, helping to ease concerns and streamline recovery efforts.
What are the immediate safety precautions to take after a disaster?
After a disaster, the immediate safety precautions include assessing your surroundings for hazards, such as downed power lines and unstable buildings. It’s crucial to turn off utilities like gas and water to prevent further risks. According to FEMA, over 70% of injuries post-disaster can be attributed to preventable accidents, emphasizing the importance of staying alert and avoiding unnecessary risks in the chaotic aftermath. Prioritize personal safety and check on neighbors, especially the elderly or disabled, to ensure everyone is safe.
What resources are available for emergency aid following a disaster?
Following a disaster, various resources are available for emergency aid, including governmental agencies like FEMA in the U.S., which can provide immediate financial assistance and support services. Additionally, non-profit organizations such as the Red Cross offer food, shelter, and medical care. According to recent statistics, these organizations help millions; for instance, FEMA alone has assisted over 2 million households after major disasters since 2010. Local community groups often mobilize quickly to provide immediate relief as well, highlighting the importance of coordinated efforts in recovery scenarios.