When an unexpected emergency strikes, the last thing on your mind should be worrying about spoiled food. Instead, imagine the comfort of knowing your pantry is stocked with preserved essentials that can keep you and your loved ones nourished. Food preservation methods not only help prevent waste but also enable you to enjoy tasty meals even when fresh ingredients are scarce. Throughout this article, we’ll explore practical techniques like canning, freezing, and dehydrating, so you’ll feel confident in securing your family’s food supply during uncertain times. After all, there’s nothing quite as satisfying as opening a jar of homemade sauce or biting into a crunchy pickle made from your own kitchen.
The Emergency Guide on Food Preservation Methods recommends techniques such as canning, smoking, salting, and cooking meats before spoilage to extend the shelf life of food during emergencies. Each method is designed to maintain food safety and quality without relying on refrigeration, ensuring you have access to nutritious options when needed most.
The Importance of Food Preservation in Emergencies
When faced with emergencies like power outages or natural disasters, the value of food preservation becomes significantly clear. Without proper preservation techniques, we risk losing not only the quantity of stored food but also its safety and nutritional quality.
For instance, imagine after that storm leaves you in the dark and without refrigeration; the perishable foods you’ve stored can quickly spoil, leading to potential health hazards and wasted resources. That’s why understanding methods such as canning, freezing, and dehydrating takes priority.
Think about this: when food starts to spoil, microorganisms like bacteria thrive on your resources. This isn’t just a pest problem—spoiled food can lead to serious foodborne illnesses that exacerbate stressful situations. During emergencies, when access to medical care might be limited, the last thing you want is for someone to get sick from something as preventable as spoiled food.
The Centers for Disease Control and Prevention (CDC) estimates that about 48 million people in the U.S. fall ill each year due to foodborne-related issues. That statistic underscores how important it is to practice effective food preservation techniques.
Maintaining a proper stockpile of preserved foods can be crucial for your family’s health during emergencies.
To mitigate these risks, it’s essential to keep a diverse stockpile of preserved foods that cater not only to caloric needs but also to nutrition levels. Consider including items that offer a mix of protein, carbohydrates, and vitamins—such as canned meats, dried fruits, and vegetables—coupled with wholesome comfort foods like granola bars or cookies. This variety keeps your emergency meals interesting while ensuring everyone’s dietary preferences are met.
Furthermore, ensure that you rotate your stock twice a year. By doing so, you’re able to maintain freshness in your non-perishable items, allowing you to have reliable supplies when it’s critical.
Effective food preservation is an ongoing practice rather than a one-time event. With careful planning and regular updates to your supplies, you can assure family nourishment even during the toughest circumstances.
As we navigate the landscape of preserving food effectively, it’s vital to recognize the tools needed for success in this endeavor.
Essential Equipment for Food Preservation
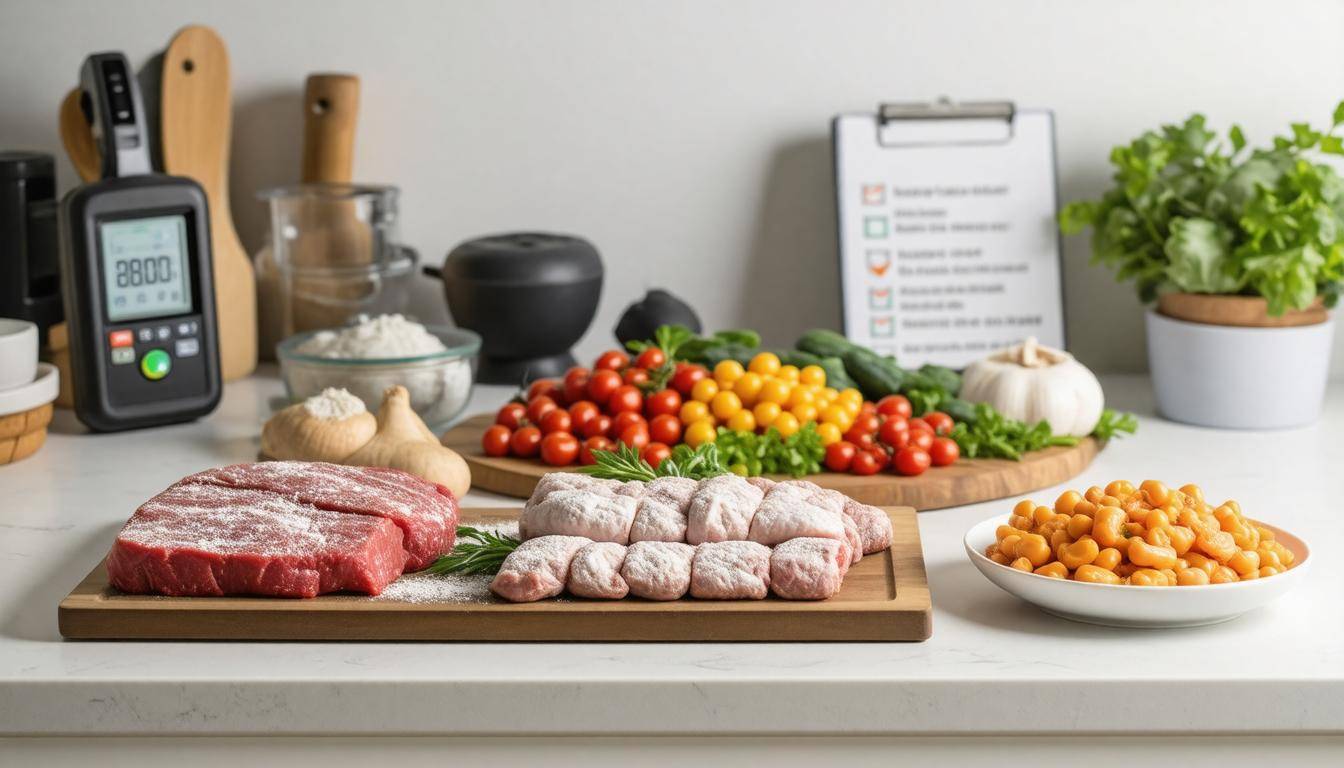
When venturing into food preservation, the right tools not only streamline the process but also enhance the quality and safety of your preserved foods. The first item on the list is the Pressure Canner. This device is particularly vital for canning low-acid foods such as meats and vegetables, which require higher temperatures to eliminate harmful bacteria.
Using a pressure canner ensures that these foods are safely sealed and stored, extending their shelf life significantly. It’s important to follow proper operating procedures to avoid any mishaps, as the pressure involved can be daunting for beginners.
Imagine the satisfaction of opening a jar of chicken stew in winter, knowing you’ve sealed in all those flavors while ensuring safety.
Next comes the Dehydrator, which allows you to dry fruits, vegetables, and even meats efficiently. Dehydrating food removes moisture that spoils food, thereby prolonging its usability. A good dehydrator will have adjustable temperature settings, allowing precise control over drying times. Additionally, with a dehydrator, fruits like apples or peaches transform into delicious snacks without added sugars or preservatives.
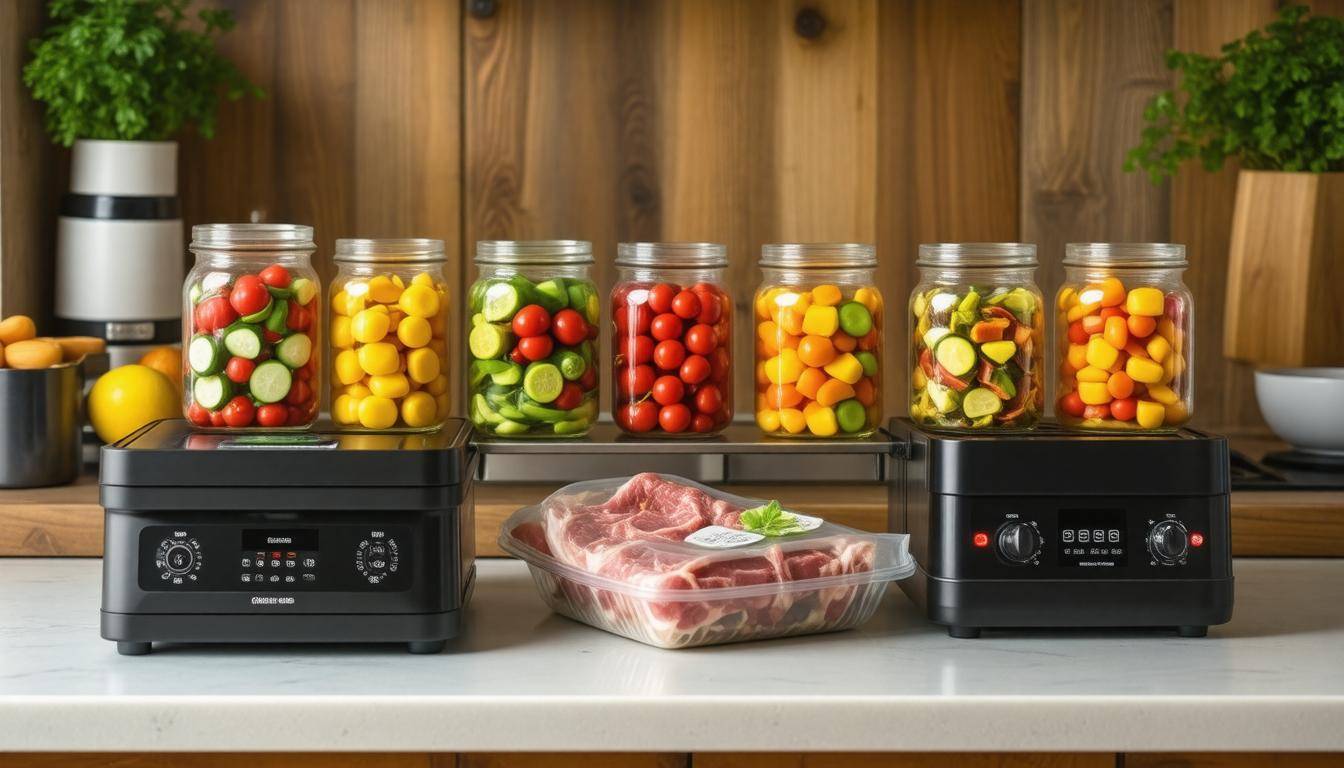
Following closely behind is the Vacuum Sealer, an indispensable tool for folks looking to preserve dried or frozen foods. By removing air from sealing bags, vacuum sealers inhibit oxidation, leading to spoilage. This method is perfect for bulk purchasing items like grains or meats and sealing them into manageable portions. I remember when I first used a vacuum sealer; I was amazed at how much longer my meals stay fresh in the freezer—it’s a game changer.
As we’re discussing preservation techniques that emphasize sustainability and nutrition, let’s not forget about fermentation—a process yielding some incredible health benefits.
Enter the Fermentation Crock: this special pot is used to create nutrient-rich fermented foods like sauerkraut or kimchi. Using a fermentation crock allows for controlled fermentation by keeping out unwanted airborne contaminants while encouraging beneficial bacteria to thrive. Just imagine how satisfying it feels to ferment seasonal vegetables into tangy delights that not only taste wonderful but also enrich your gut health!
Lastly, having Quality Jars and Lids is crucial for anyone serious about preserving their favorite foods. These jars must withstand changes in temperature during processing while maintaining an airtight seal. Investing in reliable brands minimizes concerns about breakage or spoilage after all your hard work in canning or fermenting.
Transitioning from essential equipment, understanding packaging options will further equip you for effective long-term food storage.
Best Containers for Long Term Storage
Choosing the right containers can make a significant difference in how well your preserved foods hold up over time. Each type of container has its strengths and weaknesses, but knowing how to leverage them will serve you well when preparing for emergencies or simply looking to stock your pantry efficiently.
Glass Jars
Among the many options, glass jars with airtight seals are truly invaluable. Their non-reactive nature means they won’t leach harmful substances into your food, preserving both flavor and safety. Mason jars are frequently favored because they come in diverse sizes and are widely available. That said, always ensure that the lids are new and undamaged—this is critical for maintaining an airtight seal. A broken lid could compromise all the hard work you’ve put into canning. When properly sealed, glass jars can keep contents safe for many years, allowing you to enjoy your harvested treasures long after their harvest season has ended.
As beneficial as glass jars are, there are other fantastic alternatives that also deserve recognition.
Mylar Bags
Mylar bags offer a unique advantage when it comes to storing dehydrated or freeze-dried foods. These bags excel at blocking out light, moisture, and air—three enemies of food preservation. However, simply placing food inside a Mylar bag isn’t enough; it’s wise to include oxygen absorbers within each bag. This practice greatly enhances the shelf life of stored foods while keeping them fresh and flavorful.
The impact of using Mylar bags cannot be overstated. By preventing air from interacting with your food, you’re creating an environment where freshness can thrive for years.
Now that we’ve looked at these two highly effective options, let’s not overlook another cornerstone of food storage strategy—the food-grade bucket.
Food-Grade Buckets
Tonya, a prepper from Texas, shares her strong preference for using food-grade buckets to store bulk grains such as rice and flour. These buckets are durable and designed specifically for storing food items safely. For those who want to take it a step further—using a Mylar bag liner along with oxygen absorbers inside the bucket dramatically maximizes freshness and shelf life. This combination helps ward off pests and moisture penetration that could compromise the integrity of stored items.
By layering these strategies—using glass jars, Mylar bags with oxygen absorbers, and durable food-grade buckets—you’re not just preserving food; you’re future-proofing your kitchen against uncertainties that may arise from supply chain disruptions or emergencies.
With these foundational storage methods in place, we’ll now explore specific techniques that can elevate your food preservation game even further.
Drying, Canning, and Pickling Techniques
Mastering drying, canning, and pickling techniques not only assists in preserving food but also provides the variety and nutrition needed during emergencies. Each technique offers distinct advantages and contributes to the longevity of your food supply.
Canning
When it comes to canning, safety is paramount. Low-acid foods like vegetables and meats require a pressure canner to ensure that harmful bacteria are destroyed.
Begin by sterilizing your jars and lids thoroughly, as this step significantly reduces contamination risks. Fill the jars with your chosen food items but remember to leave some headspace. This space allows for expansion during processing, which is crucial for preventing jar breakage or seal failure.
As you process the jars in the pressure canner, pay attention to specific guidelines based on the type of food you’re canning; for instance, green beans may require different processing times than carrots. Following these recommendations ensures a successful seal and a safe end product. Remember, keeping a precise temperature of 240°F (116°C) is essential to kill any bacteria lurking within those low-acid foods.
Drying
Shifting gears from canning, drying presents another effective method for preservation that has been used for centuries.
Whether using a dehydrator or utilizing natural sunlight, drying food is all about moisture removal. Complete dryness is essential to prevent mold growth—a common enemy of stored food.
For best results, slice fruits and vegetables thinly and lay them out evenly on the dehydrator trays. By ensuring uniform thickness, each piece dries at an equal rate. Monitor your items closely; they should be dehydrated until they snap rather than bend when applied pressure is exerted. Generally, fruits might take about 6 to 12 hours, while vegetables could average around 4 to 10 hours.
Once dried, store these treasures—in airtight containers—to keep moisture out and maintain their delightful flavors.
Pickling
Whether you’re looking for zesty snacks or preserving seasonal bounty, pickling offers a versatile approach to food preservation.
The pickling process involves soaking your selected foods in an acidic brine typically made from vinegar, salt, and sugar. Start by sterilizing your jars again—this simple action plays a significant role in determining the shelf life of your preserves. Pack those freshly harvested vegetables tightly into the sterile jars—think cucumbers or even carrots—and pour hot brine over them, leaving minimal headspace for expansion.
The brine usually consists of at least 5% acidity, so double-check your vinegar’s specification before proceeding! After sealing your jars, make sure to store them in a cool, dark place; this environment helps prolong shelf life significantly while enhancing flavor as the pickles mature.
Incorporating these preservation techniques into your routine creates not just security in food storage but also enriches meal plans with diverse flavors and textures. Each method opens up new possibilities for maintaining an adequate food supply during emergencies while also keeping meals interesting.
With these foundational techniques behind us, we now turn to explore innovative methods that further enhance our ability to store food effectively for future needs.
Freeze Drying and Freezing Methods
Both freeze-drying and freezing serve as effective methods of preserving food, but they achieve this goal in distinctly different ways.
Freeze-drying works through a fascinating scientific process that begins by freezing the food at an extremely low temperature. This initial freezing locks in vital nutrients while maintaining the food’s original flavors.
The next step involves creating a vacuum environment, which reduces air pressure around the frozen food. During this stage, water within the food sublimates—transforming directly from ice into vapor—effectively removing moisture without going through a liquid phase. This results in food that retains most of its nutritional value and has an impressively long shelf life of up to 25 years when stored properly.
In contrast, freezing is more straightforward and accessible to the average person.
Freezing simply involves lowering the temperature of food to keep it from spoiling. This method is widely recognized and commonly used because it requires less specialized equipment compared to freeze-drying.
However, it’s essential to note that while freezing maintains freshness for many foods, it can cause changes in texture and flavor over time. For instance, fruits might become mushy upon thawing, and some vitamins may lose their potency with prolonged storage. Therefore, while freezing is effective for short to medium-term use, it lacks the longevity and quality retention offered by freeze-drying.
This brings us to consider practical applications for both methods.
Think about your culinary needs: if you’re looking at bulk preservation or preparing for emergencies, investing in a freeze dryer like the Harvest Right model—a piece of equipment that operates on standard electrical outlets—could be well worth it. Although the upfront cost settled around $900, especially with seasonal discounts making it even more affordable, users often find the investment pays off dramatically in terms of food safety and versatility. With this device, you’re not just extending shelf life; you’re giving yourself freedom to preserve all sorts of foods ranging from fruits like strawberries, vegetables such as spinach, proteins from chicken, and even snacks like candy!
“Every meal I prepare feels like a little bit of insurance against unpredictable times,” says John, who boasts a stockpile of freeze-dried lasagna and beef stew that he confidently trusts for years to come.
Whether you decide on freezing or opt for the more advanced technique of freeze drying ultimately depends on your needs, available resources, and how long you want your food to last. Each method offers unique advantages tailored to different situations—from everyday usage to readiness during emergencies—so assessing what will work best in your kitchen scenario becomes essential.
As we explore these preservation techniques further, we can now turn our focus toward processes that enhance flavors while also extending shelf life.
Fermentation and Dehydration Processes
To begin the fermentation process, it’s crucial to start with fresh vegetables and high-quality salt. Think about what you love to eat — whether it’s crunchy cucumbers or vibrant cabbage — these will make for excellent candidates. Start by cleaning your vegetables thoroughly, removing any dirt or impurities. Once cleaned, chop them into your desired size; this step allows for more surface area to be exposed to the salt, which is key in drawing out natural juices.
Next comes the layering. Place your chopped vegetables in a fermentation crock, dividing them with pinches of salt. A good rule of thumb is to use about 2-3% salt based on the weight of your vegetables. As you press down firmly on each layer, you’ll notice that the natural juices begin to seep out, forming a brine that will act as a protective environment during fermentation. Cover your crock with a clean cloth or lid, allowing it to sit at room temperature for several days up to weeks—this time frame depends on both the vegetable type and your personal taste preferences. During this period, beneficial bacteria will multiply, producing lactic acid which acts as a natural preservative.
Jackie, an aspiring urban homesteader, shares how she started simply with homemade sauerkraut and gradually embraced more adventurous ferments like kimchi, noticing not just delectable flavors but improvements in her gut health due to the probiotics created during fermentation.
Dehydration
Moving onto dehydration, it is another fantastic method that removes water content from food, thereby inhibiting the growth of microorganisms and allowing for long-term storage without refrigeration.
To dehydrate food effectively, you can utilize either a dedicated food dehydrator or set your oven to a low temperature—ideally between 125-135°F (52-57°C) for fruits and vegetables. Slice your produce into uniform pieces; ensuring consistent thickness makes a substantial difference in drying times and final texture. After slicing, arrange them in a single layer on drying racks or baking sheets. Don’t forget to turn them periodically; this encourages even drying and prevents the formation of hotspots where moisture could linger.
Once fully dried, store your produce in airtight containers placed in a cool and dry location. With proper techniques, you can extend the shelf life of dehydrated foods up to 1-2 years! Not only does this method preserve nutrients effectively, but it also creates deliciously concentrated flavors that can elevate any meal when rehydrated.
As you explore these preservation methods, remember that both fermentation and dehydration offer endless possibilities and variety that can transform your pantry into a treasure trove of versatile ingredients ready for any emergency situation or culinary adventure!
Now, as we shift our focus toward ensuring safety and nutrition within preserved foods, understanding proper practices is critical for reaping full benefits while minimizing risks.
Safety and Nutrition in Preserved Foods

Preserving food is an art that combines technique and science, ensuring your meals remain both delicious and nutritious. Regular inspections of your stored food can help catch any signs of spoilage before they become major issues. This means taking a moment to smell your canned goods or inspect them for any discoloration or mold. It’s an effective way to avoid unpleasant surprises when hunger strikes. After all, nothing induces panic quite like a surprise can of spoiled beans!
The USDA emphasizes that high-acid foods, like fruits, can typically be safely canned in a simple water bath canner. However, low-acid foods such as vegetables and meats necessitate the use of a pressure canner. This measure is critical because it effectively eliminates the risk of Clostridium botulinum, the bacteria responsible for botulism, which can thrive in improperly canned low-acid foods.
Further emphasizing the importance of variety, it’s crucial to include a balanced selection of food types in your emergency supplies. By diversifying your selections, you ensure you have essential nutrients that your body needs during trying times. Including carbohydrates, proteins, and healthy fats boosts energy levels and promotes overall health.
For instance, consider utilizing canned beans: they are rich in protein and fiber, serving as a fantastic alternative to fresh meat. Alongside these, cans of fruits can provide crucial vitamins that would otherwise fall short in countless diets.
Smart Preservation Techniques
Aside from regularly checking for spoilage, using appropriate preservation methods significantly impacts the safety and nutrition of stored foods. Canning techniques require consistent practice to master; don’t wait until an emergency arises to start learning! A well-practiced canner will retain 85-95% of its nutritional value if done correctly and stored in cool, dark conditions for about one to two years.
Additionally, consider utilizing dehydrating methods for fruits and vegetables. Properly dried foods can last indefinitely if stored in airtight containers within dry environments while maintaining most of their vitamins—a mere hint at how versatile these preservation tactics can be!
Just remember, while surviving on preserved foods might feel like you’re channeling your inner pioneer spirit, the last thing you want is to end up with spoiled rations or dishes that resemble some sort of survivalist prison meal! Keeping things varied will keep spirits high—and the food enjoyable.
As you prepare to enhance your food preservation skills further, exploring practical recipes will empower you to create meals that not only sustain but also satisfy during emergencies.
Simple Preservation Recipes to Try

Food preservation can seem daunting, but with a few manageable recipes, you can create delicious, long-lasting meals. One of the simplest starting points is making canned tomato sauce. This beginner-friendly recipe is versatile enough to be used in countless dishes.
Start with 20 pounds of ripe tomatoes—believe me, the flavor difference will be well worth it. Begin by blanching the tomatoes in boiling water; this helps to remove their skins easily.
As they cool, sauté one cup of chopped onions along with two cloves of garlic until fragrant. Add the chopped tomatoes to the pot and cook until the mixture thickens nicely. Don’t forget to stir in fresh herbs like basil and oregano for that garden-fresh taste.
Once your sauce is ready, pour it into sterilized jars, add 1/4 cup of lemon juice or citric acid to each quart jar to ensure acidity levels are safe, and then process them in a water bath canner for about 40 minutes.
Moving from savory to sweet, let’s explore a fun recipe for fruit leather, perfect for using up an abundance of fruit while providing a nutritious snack option.
For fruit leather, gather four cups of pureed fruit—this could be anything from strawberries to peaches—and mix in 1/4 cup of honey or sugar if you’d like a touch of sweetness. A tablespoon of lemon juice adds flavor while helping with preservation.
Spread the mixture thinly on a dehydrator tray, ensuring it’s even for consistent drying. Set your dehydrator at 135°F and let it work its magic for approximately 6-8 hours, checking periodically until it’s pliable yet no longer sticky. Once dried, cut it into strips and store in airtight containers or vacuum-seal them for extended freshness. You’ll have a delightful treat that’s perfect for kids’ lunch boxes or as a guilt-free snack on the go!
Finally, let’s look at the classic method of preserving cucumbers through fermentation, which keeps these crunchy veggies crisp while introducing beneficial probiotics into your diet.
To make fermented pickles, start by slicing 4 cups of fresh cucumbers. Dissolve 2 tablespoons of salt in 2 cups of water to create your brine. Place cucumbers into a fermentation crock along with two cloves of garlic and any spices you prefer—perhaps dill or mustard seeds for extra flavor.
Pour the brine over your vegetables, ensuring they are fully submerged—this is crucial for proper fermentation. Seal your container and allow it to ferment at room temperature for about 5–10 days. You’ll know they’re ready when they develop that distinctive tangy flavor that’s so delightful and reminiscent of summer picnics.
These recipes serve as a jumping-off point into the world of food preservation. The ability to preserve food not only aids in reducing waste but empowers us to enjoy seasonal flavors year-round, no matter the emergency situation we may face.
In mastering these techniques, you’re not just preparing for emergencies; you’re enriching your culinary repertoire and sustainability efforts altogether.
What are the most effective food preservation methods for long-term storage?
The most effective food preservation methods for long-term storage include canning, freezing, dehydrating, and vacuum sealing. Canning preserves food by heating it to kill harmful bacteria, allowing items to last for years—up to five years or more if done correctly. Freezing maintains food quality for about six months to a year, while dehydration removes moisture that can lead to spoilage, extending shelf life significantly (e.g., dried fruits can last up to a year). Vacuum sealing further enhances these methods by eliminating air exposure, which can reduce spoilage and freezer burn by up to 80%.
Are there specific foods that require unique preservation methods in emergency situations?
Yes, certain foods do require unique preservation methods in emergency situations. For example, meats and fish should ideally be smoked or dehydrated to prevent spoilage, as they are particularly vulnerable to bacteria when not refrigerated. Fruits can be preserved through canning or freezing, while root vegetables may last longer if kept cool and dark. According to the USDA, properly canned goods can last up to 1-5 years, making them a reliable option for long-term food storage during emergencies. Additionally, high-acid foods like tomatoes need specific boiling times to ensure safety when canning.
How do environmental factors affect the efficiency of different food preservation techniques during emergencies?
Environmental factors such as temperature, humidity, and light exposure significantly influence the efficiency of food preservation techniques during emergencies. For instance, high temperatures can accelerate spoilage and decrease the effectiveness of refrigeration methods; studies show that food stored at temperatures above 40°F for more than two hours can enter the “danger zone” where bacteria multiply rapidly. Additionally, humidity levels affect drying processes like dehydration; a relative humidity above 60% can prevent effective moisture removal from foods, resulting in mold growth. Understanding these factors is crucial to maximizing food safety and longevity in crisis situations.
What steps should one take to assess food safety after preservation, especially in a crisis?
To assess food safety after preservation in a crisis, first check for any signs of spoilage such as off odors, unusual textures, or bulging packaging. It’s crucial to ensure that all preserved items have been stored at the correct temperature, ideally below 40°F (4°C) for refrigeration and below 0°F (-18°C) for freezing. According to the USDA, nearly 48 million people in the U.S. get sick from foodborne illnesses each year, emphasizing the need for vigilance in checking your preserved foods. If in doubt, it’s better to err on the side of caution and discard questionable items to avoid health risks.
What tools and supplies are essential for preserving food effectively during emergencies?
Essential tools and supplies for effective food preservation during emergencies include airtight containers, vacuum sealers, canning jars, lids, a pressure canner, and a dehydrator. These components help prevent spoilage by blocking air and moisture, which can lead to bacteria and mold growth. For instance, studies show that vacuum sealing can extend the shelf life of foods by 3 to 5 times compared to conventional storage methods. Investing in these tools not only ensures food safety but also minimizes waste during critical times when access to fresh provisions may be limited.