
After a disaster, the safety of your home can feel uncertain, and it’s easy to overlook crucial steps in assessing potential damage. Understanding what to look for during this evaluation is essential; think of it like a treasure hunt—except instead of searching for gold, you’re on the lookout for hidden dangers that could threaten your family’s health or home stability. That’s where a systematic home safety assessment comes into play. By focusing on areas such as structural integrity, utility systems, and environmental hazards, you can safeguard your loved ones from unforeseen risks. In this article, we’ll provide you with a comprehensive checklist to help guide your home safety evaluation and ensure your space remains a haven in the aftermath of chaos.
Your home safety assessment checklist after a disaster should include evaluating structural integrity, checking for gas leaks, ensuring electrical systems are safe, inspecting the roof and foundation for damage, and assessing outdoor hazards like downed trees and debris. It is crucial to document any issues and prioritize repairs to maintain both safety and functionality in your home.
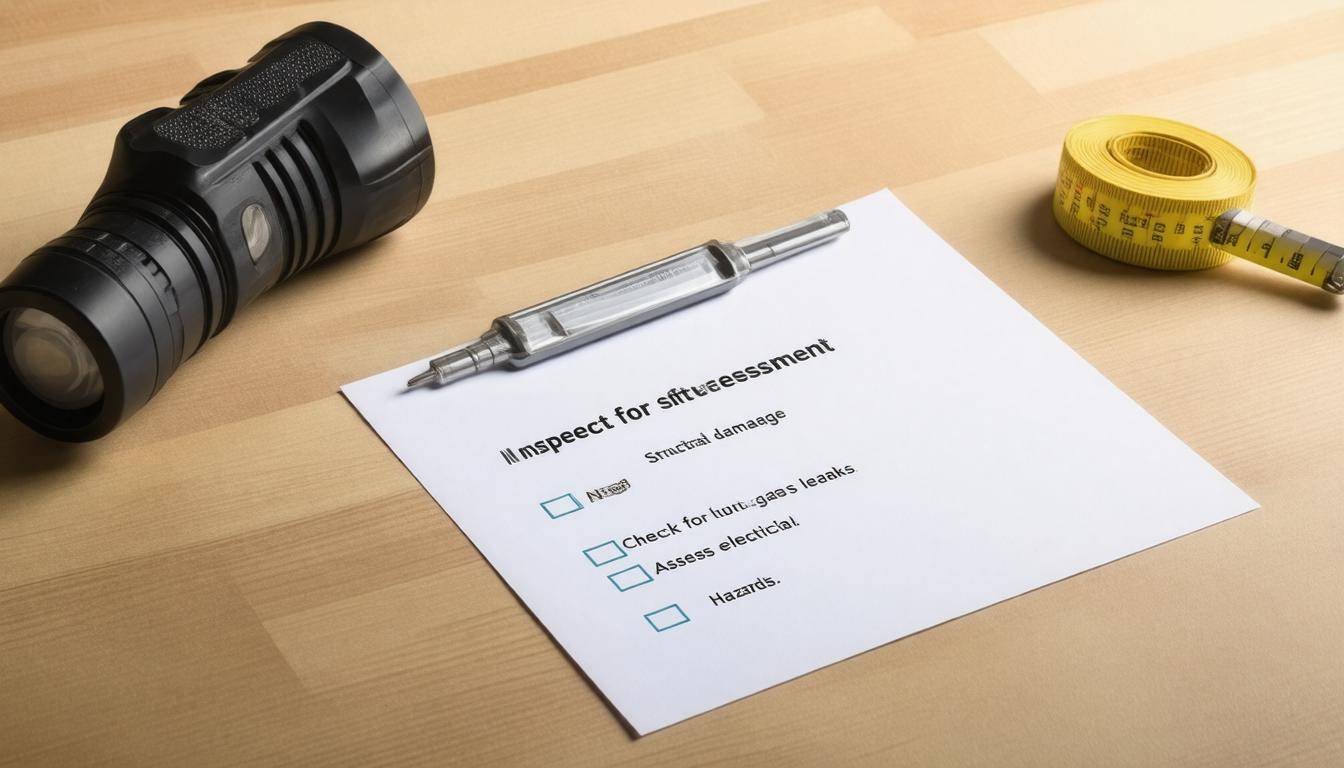
Home Safety Assessment After Disaster: Our Checklist
Ensuring the safety of your home post-disaster involves multiple steps that cannot be rushed. The first action is an exterior inspection, where you’ll focus on the structure as a whole. Begin by examining the walls for any visible cracks or bulges that might suggest structural issues. Keep an eye out for leaning walls, which can indicate potential collapse. If the roof looks damaged with missing shingles or signs of leakage, make note of these areas; they are often gateways for further damage if not addressed.
As you inspect, document everything meticulously with photos and notes. This record will be invaluable for insurance claims, helping you to advocate effectively for the repairs you need.
Step I – Exterior Inspection
Once you’ve inspected the exterior, it’s time to turn your attention indoors for the interior check. Here, you’re looking for signs of water damage—stains on ceilings and walls can be early indicators of leaks. Don’t overlook mold either, as it can quickly become a health hazard in damp environments. Pay particular attention to critical structural elements such as beams and floor joists; signs of warping or deterioration could spell trouble ahead.
It’s important to carry this thoroughness into every room, including less-frequented spaces like basements and attics, where signs of damage may be more easily concealed.
Step II – Interior Check
After ensuring that both the interior and exterior are sound, proceed to assess the utility systems within your home. First on your list should be checking gas lines for leaks—turning off the main supply during an inspection is always wise if you suspect any issues. Next, evaluate your electrical system; are there exposed wires or fixtures that look damaged? Lastly, look into water pipes for any ruptures or leaks that could cause long-term issues.
A thorough utility check can prevent potential catastrophes; even minor concerns today can escalate rapidly if left unattended down the road.
Step III – Utility Assessment
By now, you should have conducted a comprehensive evaluation of both your home’s interior and exterior as well as its essential utility systems. Remember, each step is crucial to identifying hazards before they pose serious risks. The checklist not only identifies problems but also protects you and your family from future dangers stemming from overlooked issues. Taking these proactive measures helps foster peace of mind in uncertain times following a disaster.
After completing your assessment, consider consulting professionals when concerns arise that may require expertise or repairs beyond what you’re comfortable managing.
Evaluating Structural Integrity
The primary concern post-disaster is to guarantee the structural integrity of your home, as it ensures a safe living environment. It’s like putting on a seatbelt before starting a drive; you do it to protect yourself from potential dangers. Therefore, when assessing your home after an event like an earthquake or flood, thorough evaluation is vital. According to the Federal Emergency Management Agency (FEMA), structural failures are a leading cause of injury during and after disasters, underscoring the importance of this assessment.
1. Foundation Check
Begin by investigating the very base of your home: the foundation. This is arguably one of the most crucial aspects, as any issues here can lead to significant safety concerns down the road. As you assess, look for cracks—both minor and substantial—on the surface. Pay attention to uneven surfaces or signs of shifts, such as gaps between walls and floors or noticeably tilted structures.
Measuring the foundation’s level with a simple tool can provide straightforward insights into potential settling problems. If you notice any serious damage, don’t hesitate to call in a professional.
2. Wall Stability
As you step back and admire your home, think about how much weight those walls are carrying—especially the load-bearing ones. Inspect these critical components closely for cracks running diagonally or horizontally; both can signify serious underlying issues related to structural movement or stress.
Additionally, keep an eye out for any signs of bulging or bowing; this might mean that walls are failing under pressure or weight. Just like in nature where trees lean towards sunlight, walls should be straight and stable. After all, your roof rests upon these walls, and their stability is directly tied to yours.
3. Roof Integrity
Once you’ve ensured that your foundation and walls are sound, turn your gaze upward to examine the roof—the crowning glory of your home’s structure. Start by checking for damaged shingles or loose tiles that could allow moisture infiltration, which could wreak havoc inside your walls. A sagging area may seem small at first but can indicate that something significant is wrong beneath the surface.
If such irregularities exist, it’s important to address them promptly before they escalate into major repairs.
Assessing structural integrity is essential, yet understanding how to identify other forms of damage can further safeguard your home post-disaster. Each component—foundation, walls, and roof—contributes to the overall security of your dwelling; verifying their condition sets the stage for a comprehensive evaluation process.
Inspecting Potential Damage
Damage can extend beyond structural integrity and encompass various issues that may threaten the safety and health of a household. As you engage in this inspection process, it’s essential to maintain a vigilant eye on three key areas: water damage, pest invasions, and electrical system malfunctions. Each of these factors can lead to severe problems if neglected.
Water Damage
Start by scanning your walls, ceilings, and floors for damp spots or discoloration. Water damage often manifests as bubbling paint or stains that seem to permeate the surface. A moisture meter can be an invaluable tool in this situation, allowing you to accurately gauge hidden moisture levels within materials. Mold growth should signal alarm bells—if you spot dark patches, especially black spots on drywall or in corners where moisture tends to accumulate, you might have a mold problem demanding prompt attention.
Addressing water damage swiftly will not only prevent extensive repairs but also protect your family from health risks associated with mold exposure.
Pest Invasions
Checking for pest issues becomes vital during post-disaster evaluations, as external conditions like flooding can drive pests into your home seeking refuge. Begin your inspection by looking for any gaps or holes in the exterior that may serve as entry points; even the smallest crack can invite unwelcome guests. Pay close attention to basements and attics, where nests or droppings may indicate infestations. Signs such as chewed wood or fragments of insulation could suggest rodents have taken up residence in your home. If you identify signs of pests, consider consulting an exterminator who specializes in handling post-disaster situations.
Proactively addressing pest invasions helps safeguard not just the integrity of your property but also the health of those living within it.
Electrical Malfunctions
The condition of your electrical system is another critical element during your inspection process. Carefully check all outlets and switches—any sparks, unusual smells, or charred appearances should raise immediate concerns. It’s vital to ensure your circuit breakers are working properly and that fuses aren’t blown; troubleshooting these components can potentially avert dangerous situations like fires or electrocutions caused by faulty wiring. If you notice persistent issues, don’t hesitate to call a licensed electrician who can safely assess and repair any electrical hazards.
Once you’ve thoroughly assessed each area for potential damages related to water, pests, and electricity, you’ll have valuable insights that will guide you in evaluating broader safety concerns that could impact your home.
Identifying Safety Risks
Safety risks are conditions that can pose immediate threats to human health or safety. They need to be addressed urgently, as any delays might lead to dire consequences.
One of the most potentially dangerous situations is a gas leak. If you suspect a gas leak, your best bet is to use a gas detector, but remember that this should not be your only line of defense—never rely solely on your sense of smell, as it can fail you. You may notice a faint odor similar to rotten eggs or a hissing sound near appliances; both are red flags indicating trouble. The moment you identify a leak, evacuate the premises quickly and contact your utility company for assistance. Prompt action is critical here because inhaling natural gas can result in serious health issues or even explosions if not handled appropriately.
After ensuring there are no gas leaks, you’ll want to turn your attention to hazardous materials around your home.
It’s essential to identify and properly store or dispose of hazardous materials like paint, solvents, and cleaning agents you may have stashed away in cabinets or storage rooms. Many homeowners are unaware that these substances can become dangerous after a disaster due to changes in stability from extreme temperatures or physical damage which can lead to leaks. You should also check for expired chemicals that might be even more volatile. Make sure that these items are stored securely, away from heat sources and out of reach of children and pets. When disposing of these materials, refer to local regulations; some items may need special handling or drop-off sites rather than simply tossing them in the garbage.
Equally crucial is assessing for structural hazards within your home post-disaster.
Look for visible signs of damage such as cracks in walls, sagging ceilings, or unstable foundations. These issues can often escalate if left unattended, leading to severe injuries from collapse or falling debris. Block off areas that appear compromised; this will prevent accidents until professional help can assess and repair these hazards safely. Always stay vigilant about structural integrity as it could potentially save lives—yours might depend on it.
Always remember: Be proactive instead of reactive when it comes to maintaining the safety of your home environments post-disaster. Taking timely measures and being vigilant about identifying risks not only protects you but assists in nurturing an overall safe community.
With these critical assessments in mind, we can now explore the next steps needed to mitigate environmental threats effectively and ensure a safer living space.
Handling Environmental Hazards
In the aftermath of a disaster, environmental hazards can arise that pose serious risks to health and safety. Among these are contaminated water supplies and the potential exposure to harmful substances such as asbestos. Floodwaters can easily carry bacteria or chemicals from various sources, making them a significant concern. Studies indicate floodwaters often contain hazardous materials, and exposure can lead to various health issues, ranging from gastrointestinal illnesses to more severe complications requiring medical attention.
The importance of addressing contaminated water is underscored by data suggesting that over 90% of tested floodwaters in previous disasters contained pathogens, emphasizing the need for immediate protective measures.
It’s essential to check all water sources like faucets or wells for signs of contamination, which may be indicated by discoloration or unusual odors.
When handling environmental hazards post-disaster, your safety should be the foremost priority. One vital precaution is to avoid walking through floodwaters altogether. It’s easy to underestimate this risk; even shallow waters may conceal dangers beneath the surface. Hidden debris might include sharp objects and toxins that can inflict injury or cause serious health concerns.
If you find yourself in a situation where cleanup is necessary, using protective gear cannot be overstated. This includes gloves, masks, and boots that are impermeable to prevent direct skin contact with hazardous materials. Having proper equipment doesn’t just help shield you; it also minimizes the likelihood of chronic exposure to any health threats lingering in the environment after the disaster.
Post-Cleanup Considerations
After you’ve dealt with environmental hazards, conducting ongoing monitoring of your home for any lingering risks is crucial. Be vigilant about potential mold growth, which can occur rapidly after water exposure. Mold not only contributes to respiratory issues but may also necessitate extensive remediation efforts if left unaddressed.
Consider devising a checklist for specific steps to take following cleanup:
- Inspect for moisture retention: Look in corners, behind appliances, and under sinks.
- Check air quality: Make sure there’s adequate ventilation.
- Use dehumidifiers: They are helpful in getting rid of excess moisture.
By being proactive about identifying these aspects early on, you can mitigate long-term consequences.
As you navigate through these crucial aspects of recovery and restoration, it’s important to focus on the practical steps needed for clearing out damaged areas and ensuring your environment is safe moving forward.
Removing Debris and Damaged Materials
Clearing out debris is crucial not only for cleanliness but also to prevent further damage and hazard build-up. Every moment that debris lingers introduces risks, from tripping hazards to mold growth, especially in damp conditions. Getting started can feel overwhelming, but breaking it down into manageable steps can make the process more efficient and safe.
Step I – Initial Cleanup
When it comes to tackling debris, start with the larger items first. This could include fallen trees, large branches, and hefty pieces of broken furniture. These are usually the most cumbersome obstacles, blocking paths and collecting rainwater which may lead to further issues down the line.
As you survey your property, consider using heavy-duty gloves and sturdy footwear—safety should always be the priority here.
Tip: For large debris removal, if possible, recruit a friend or neighbor to help. Having an extra set of hands not only speeds up the process but also ensures safety when lifting heavy items.
Step II – Detailed Cleanup
Once you’ve cleared out the bigger items, it’s time to focus on the finer details by moving from room to room. Look for smaller pieces such as shards of glass from shattered windows or scattered bits of personal belongings that might pose risks if left unattended. Not only can these materials be hazardous, but they also contribute to a feeling of chaos that can be daunting during recovery.
Protective gear is indispensable at this stage; ensure you have dust masks to protect against inhaling any harmful particles, gloves to guard against cuts, and safety goggles if there’s a chance of flying debris during removal. Using industrial-grade garbage bags for disposal will safely contain waste without risk of tearing or spilling while you work. They can handle sharp objects and are less likely to burst under pressure.
Safety First
It’s essential to remain vigilant while cleaning, as unseen hazards can be hiding amongst the remnants of your home. While working through smaller items, keep your focus sharp. If you’re unsure about something’s safety—for instance, if you come across suspicious materials that may potentially contain hazardous substances like asbestos or lead paint—it’s best to consult professionals who specialize in safe removal.
After completing the thorough cleanup and ensuring your environment is safe, it’s crucial to shift gears and assess how well your family is prepared moving forward. By establishing a proactive approach towards security now, you can effectively mitigate unexpected challenges that may arise as the recovery process unfolds.
Family Security Plans

Establishing a family security plan is essential for ensuring that every member knows their role and what actions to take during an emergency. It acts as a roadmap, guiding your loved ones through the chaos of unexpected situations. Think of it as a well-rehearsed script for a play; when all participating actors are aware of their lines, the performance flows smoothly, even amidst unforeseen disruptions.
Begin by designating a safe meeting spot outside the home where everyone can gather in case of an emergency. This designated area should be easily accessible and known to all members, creating a sense of security and reassurance. Whether it’s the neighbor’s big oak tree or the front lawn you all know too well, having a common gathering point can significantly speed up your reunification process in stressful moments.
When planning these meetings, consider potential scenarios that might affect your home—such as fires or floods—and choose locations that remain safe under such circumstances.
Along with your meeting spot, be sure to compile important emergency contact numbers and keep them accessible. Each family member should memorize these contacts so they don’t have to fumble for their phones when seconds count. It could include local fire departments, police stations, and trusted neighbors—anyone who could assist in urgent times.
Here are a few vital numbers to include:
- Family mobile numbers
- Neighbor contact information
- Local emergency services
- Out-of-town relatives
With those fundamental elements established, communication becomes key to further enhancing your security plan.
A communication tree is an excellent way for families to streamline their outreach efforts during an emergency. Each family member should know whom to contact first if something happens—this could range from immediate neighbors to distant relatives who may help coordinate further responses. It ensures that information flows quickly through your family network instead of relying on just one person often leading to overload.
For instance, if an emergency occurs while you’re at work and your child is home alone, they know precisely who to call first if needed—perhaps it’s the grandparents nearby or another trusted family friend in the neighborhood who can get there quickly.
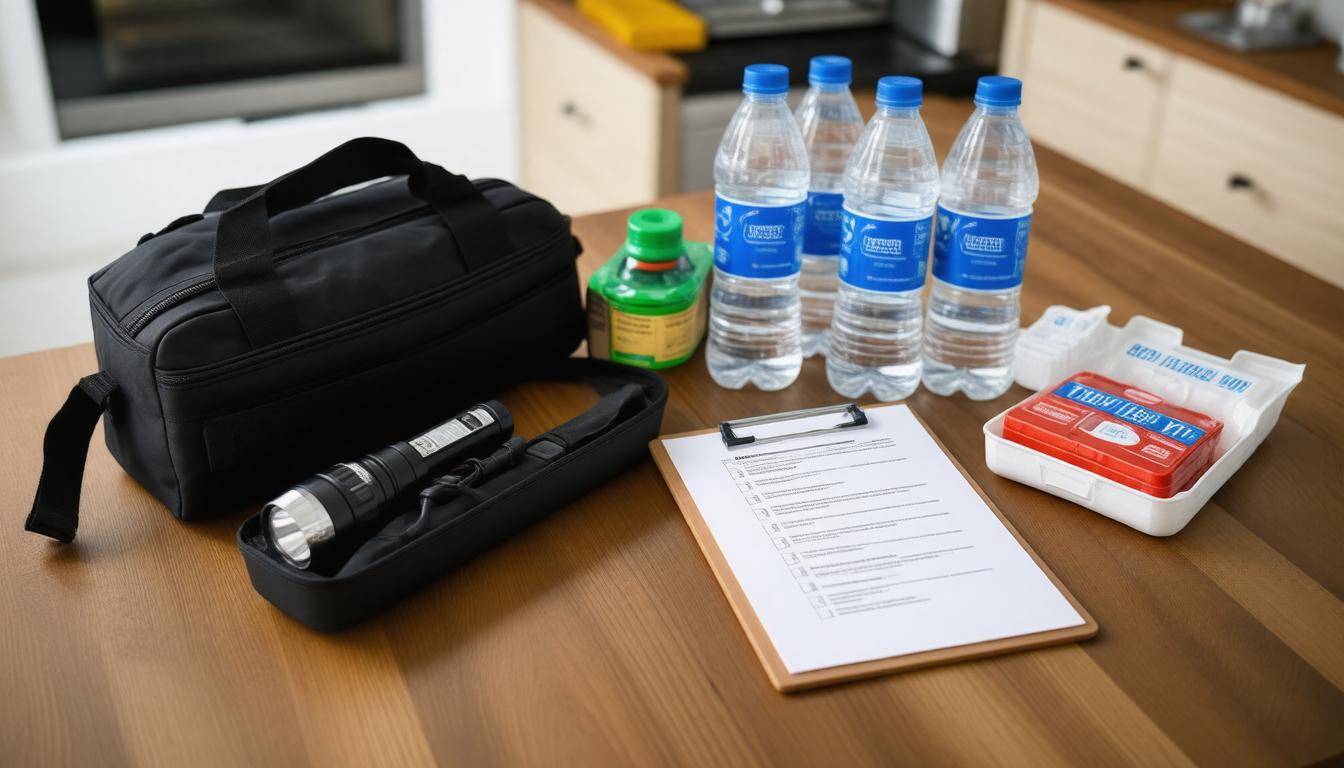
Finally, make sure everyone knows where emergency kits are located. These kits should be fully stocked with essential supplies like bottled water, non-perishable food, flashlights with fresh batteries, basic first-aid items, and blankets. You could even designate multiple kits for different areas—home, car—and relevant contents based on specific needs tailored to the individuals involved.
Having established these critical components strengthens not only your family’s preparedness but also fosters a more resilient framework for facing future uncertainties head-on.
Preparing for Future Emergencies
Being prepared for future disasters goes far beyond just having a stocked emergency kit. It requires a comprehensive understanding of the unique challenges your home and community may face. Regularly updating your home’s disaster preparedness plan can make all the difference when it counts most.
Imagine facing an emergency with confidence, knowing that everyone in your household is on the same page. Investing in home upgrades like storm-proof windows or creating a fortified safe room can add significant layers of protection against severe weather events or other threats. When we take these steps, we aren’t just preparing for the worst; we’re enhancing our quality of life by feeling more secure in our homes.
Conducting family drills is another vital aspect of effective preparation. It’s an opportunity to practice roles and responsibilities so that everyone knows what to do if disaster strikes. Making this a part of your routine helps create muscle memory and increases overall confidence.
Think about it—much like practicing for a school play or sports game, knowing the actions required in an emergency can empower each member of your family.
To keep this momentum going, monitoring your preparedness efforts is necessary; consistency is key when it comes to building resilience against disasters.
| Preparation Item | Frequency |
|---|---|
| Emergency Kit Check | Quarterly |
| Family Drill | Bi-annually |
| Home Safety Assessment | Annually |
By adhering to this frequency chart, you are committing to regular reviews which allow you to assess whether your resources are adequate and current. This includes checking expiration dates on supplies like food, medications, and batteries in your emergency kit. It’s also recommended to update your emergency contact information as needed and ensure that all family members have memorized these contacts.
Moreover, consider each family member’s unique needs when planning; for instance, young children might feel more comfortable if you incorporate familiar toys into the drill or have visuals to guide them during an evacuation. Similarly, elderly family members might need specific assistance during certain emergencies; including them in the conversation creates shared responsibility and fosters family unity.
Consistent preparation significantly increases your resilience, but nothing substitutes for the value of regular practice and updates based on evolving risks. Ultimately, taking these proactive measures not only prepares you and your loved ones but fortifies the very foundation of safety within your community as well. Preparedness is a shared commitment towards resilience in the face of adversity.
In sum, establishing a culture of preparedness not only protects individual households but also strengthens community ties and collective response capabilities during emergencies.
What professional services should be considered for assistance with the home safety assessment process?
When considering professional services for a home safety assessment post-disaster, it is essential to include structural engineers, certified home inspectors, and disaster recovery specialists. These professionals can evaluate the integrity of your home, identify unsafe conditions, and recommend necessary repairs or modifications. According to recent surveys, homes evaluated by professionals are 45% more likely to meet safety standards compared to self-assessed properties, ensuring that homeowners can return safely and with peace of mind.
What specific items should be included in a home safety assessment checklist after a disaster?
A comprehensive home safety assessment checklist post-disaster should include items such as structural integrity checks (e.g., cracks in walls, roof damage), utility inspections (gas leaks, electrical hazards), accessibility to emergency exits, and the condition of essential supplies (first aid kits, food and water). According to FEMA, over 60% of homes experience some form of damage after significant disasters, making these assessments crucial for ensuring safety before re-entry or habitation. Additionally, securing the area against potential looting or further hazards should also be considered.
How can homeowners identify structural damage during a safety assessment?
Homeowners can identify structural damage during a safety assessment by looking for visible cracks in walls and foundations, misaligned doors and windows, and sagging roofs or floors. It’s crucial to check for water damage, as it can indicate compromised structural integrity. According to the National Association of Home Builders, approximately 25% of homes experience some form of structural damage due to disasters like earthquakes, floods, or severe storms. Regular inspections and awareness of these signs are key to ensuring residential safety post-disaster.
What steps should be taken if major hazards are identified during the home safety assessment?
If major hazards are identified during a home safety assessment, it is crucial to prioritize immediate action. Begin by ensuring the safety of all occupants, then document the hazards and communicate with local authorities or emergency services if necessary. Next, engage professional services for repairs or mitigation, such as structural engineers or certified remediation companies. According to the Federal Emergency Management Agency (FEMA), addressing hazards proactively can reduce the risk of injury by up to 65%, underscoring the importance of swift intervention in preserving safety and wellbeing post-disaster.
Are there guidelines for assessing potential fire hazards after a disaster has occurred?
Yes, there are guidelines for assessing potential fire hazards after a disaster. The Federal Emergency Management Agency (FEMA) recommends identifying the potential for fallen power lines, assessing the integrity of structures, and checking for flammable materials left in dangerous positions. Additionally, according to the National Fire Protection Association (NFPA), nearly 50% of home fires occur after a major disaster due to compromised electrical systems or improperly stored combustibles. Therefore, thorough evaluation and mitigation strategies are crucial in preventing post-disaster fire risks.