
When you think about your home, the last thing on your mind might be structural damage. But like a hidden crack in a sidewalk, these issues can grow silently and lead to serious problems if not addressed early on. Many homeowners believe they can easily spot any damage, yet the reality is that many warning signs are subtle and easy to overlook. A bulging wall or a sticking door could seem minor at first, but they may indicate deeper issues affecting your home’s safety and value. Recognizing the importance of a structural damage assessment is vital—after all, catching problems early can save you time, stress, and a lot of money down the road. This guide will walk you through the essentials of inspecting and addressing potential structural concerns, helping you keep your home solid for years to come.
Homeowners should understand that a structural damage assessment involves identifying signs of damage, such as cracks or bulging walls, and evaluating the extent of these issues through professional inspections. It is crucial to document findings, consult with structural engineers for expert analysis, and consider potential repair costs to make informed decisions regarding property safety and value.

Identifying Structural Damage
Recognizing the earliest signs of structural damage is critical because it can prevent minor issues from escalating into major problems that require extensive (and expensive) repairs. Structural damage affects the integrity and stability of a building, compromising its safety. It’s like allowing a small leak in your roof to go unnoticed; eventually, it becomes a deluge that could wreak havoc on your home. Paying attention to specific indicators can make a world of difference.
Common Indicators
-
Cracks: Pay close attention to cracks in walls, ceilings, and floors. While hairline fractures may not be a cause for alarm, larger ones warrant immediate attention. Horizontal cracks in foundation walls are especially concerning and often indicate serious underlying issues.
-
Sagging: Notice any sagging or leaning in walls, floors, or roofs. This can signify that the structure is shifting due to inadequate support or foundational shifts, which can lead to more serious complications if left unchecked.
-
Water Damage: Signs of water damage such as stains, mold, or dampness can degrade structural materials over time. If you notice these signs, it’s essential to investigate further; water issues can compromise both materials and air quality in your home.
-
Doors and Windows: Whenever doors and windows start sticking or don’t close properly, they may be telling you something about your foundation—perhaps it’s starting to shift. This misalignment can be one of the first noticeable signs of a more significant structural concern.
Addressing these issues as soon as they arise can save you from future headaches and costly repairs. Regularly monitoring these indicators allows homeowners to keep their houses safer and sounder.
Once these indicators are identified, recognizing the warning signs of more severe damage is equally important for making informed decisions about potential repairs. Understanding these nuances will enhance your ability to maintain a secure living space.
Cracks, Sagging, and Other Warning Signs
Understanding the types of cracks in your home can make a significant difference when it comes to maintaining its structural health. Different cracks tell different stories about what might be happening behind your walls. Hairline cracks might seem harmless at first glance, but they could signal that something more serious is occurring beneath the surface—it’s like your house’s way of whispering for help.
Types of Cracks
Among the most common types of cracks, vertical cracks can often arise from settling or normal house movement. While minor vertical cracks in drywall may not necessitate urgent attention, keep an eye on them—if they start to widen, that’s when concern should arise. They can escalate into larger issues if left unchecked.
On the other hand, horizontal cracks are typically more alarming. These cracks often indicate persistent pressure against your foundation—perhaps from expanding soil or water build-up around your property. This kind of pressure can threaten the stability of your structure over time, leading to significant repair expenses if not addressed promptly.
Then we have diagonal cracks, which could suggest uneven settling within your home’s foundation. This type of crack usually signals an immediate need for professional evaluation to avoid potentially costly repair work down the road. Catching these problems early can save you from bigger headaches later.
Now that we’ve discussed different types of cracks, let’s move on to sagging and shifting structures in your home.
Sagging and Shifting
The floors in our homes should feel stable underfoot; if they sag even slightly, this could indicate compromised joists or beams that support those floors. Regularly check for interior sagging floors and inspect rooflines externally. A noticeable sagging roof may signify that rafters are giving way—another critical red flag requiring immediate attention.
I once heard a homeowner recount their experience with a slight roof sag. Instead of addressing it right away, they ignored it thinking it wasn’t a big deal—only to find themselves facing extensive attic repairs accumulating into thousands of dollars. Their story serves as a stark reminder: sometimes what appears insignificant can develop into considerable costs if left unchecked.
By frequently monitoring these signs—both crack types and any sagging conditions—you can effectively keep tabs on your home’s condition. Acting promptly when you notice something out of place is vital instead of waiting for larger problems to unfold before seeking assistance.
With this knowledge, you’re better equipped to detect early signs of trouble as we next explore practical methods for inspecting structural conditions thoroughly.
Conducting a Structural Damage Inspection
When it comes to inspecting your home for structural damage, having a systematic approach can make all the difference. The initial self-assessment is crucial, but understanding what to look for and using the right tools can turn that process into an informative experience. An average homeowner may think they can’t identify issues, but with keen observation and consideration, you certainly can.
Self-Inspection Guidelines
Begin with Visual Inspection as your first step. Walk around the exterior of your home, taking note of any visible signs of distress. Look closely at the foundation—are there cracks wider than 1/8 inch? Are there bulging areas or signs of water pooling?
Moving along the siding and roofing, check for warping or missing shingles that could lead to leaks. Pay attention to windows; any gaps or misalignments could indicate settling foundations or shifting walls.
Transitioning indoors, it’s time for Interior Checks. Step inside and scrutinize your walls, ceilings, and floors for irregularities. Look for anomalies such as cracks that seem to change width or diagonal lines forming near corners; these can indicate serious issues brewing beneath the surface.
It’s also vital to watch for doors or windows that stick when opened or closed—these could signal underlying structural problems worth noting.
Tools to Use
Now that you have identified what to check, let’s discuss some practical tools you might find useful during your inspection. A flashlight is a perfect companion since it helps illuminate dark corners where mold or dampness might hide from plain sight.
Additionally, using a level will be helpful in identifying sloping floors; even if a slight incline doesn’t look alarming at first glance, it could mean significant foundational shifts are underway.
Lastly, a moisture meter is paramount for detecting hidden damp areas behind walls. This tool can reveal hidden water damage—an issue that often goes unnoticed until it becomes severe.
A prime example comes from a homeowner who utilized a moisture meter and discovered hidden water damage behind a basement wall. By addressing this issue early on, they prevented potential compromise to their entire foundation.
Engaging in these self-inspection techniques sets a strong foundation for maintaining your home’s integrity. However, after conducting your own checks, it’s advisable to seek out professional help for comprehensive results—a certified engineer can provide deeper insight into any findings you uncovered during your inspection. Regular assessments not only ensure safety but also protect your investment in your home over time.
With each inspection completed—whether personal or professional—you are taking proactive steps toward safeguarding your property from unforeseen structural issues lurking beneath the surface. Next, we explore critical areas that require particular attention during assessments, ensuring you cover all necessary bases.
Areas to Inspect: Foundation and Roof
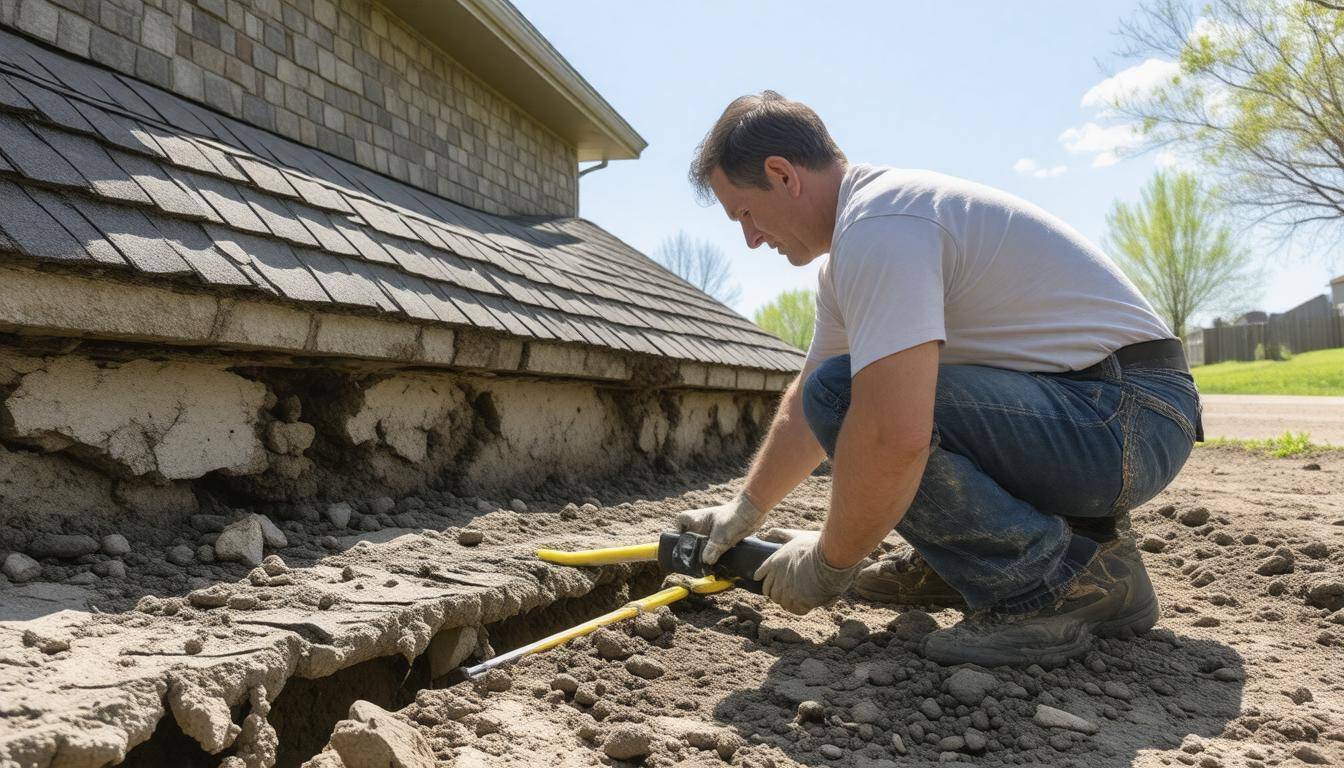
The foundation of your home is much like the roots of a tree; it holds everything steady and supports the entire structure above. Consequently, foundation inspection begins with a careful look around the exterior. Pay attention to evidence of cracks in the concrete or brick, which may indicate settling or shifting soil conditions. A bulge or unexpected movement can signal deeper problems, as well. Noticing water accumulation near the base can be a red flag, leading to complications like mold growth or wood rot that compromise structural integrity.
Inside the home, be proactive by observing any changes that might suggest issues with your foundation. Uneven floors can create an unsettling feeling, while doors and windows that stick when opened could imply something beneath is shifting. It’s important to take note of these signs early on because they often lead to serious consequences if left unaddressed.
Foundation Inspection
- Exterior Examination: Look for cracks, bulges, or water accumulation around the base.
- Interior Clues: Uneven floors and sticking doors/windows can suggest foundation settling issues.
Next is the roof inspection, another key area deserving your undivided attention. Start with a visual assessment from a safe distance. If it’s safe to do so, perhaps climb onto a stable ladder or use binoculars to avoid putting yourself in harm’s way. Look closely at the shingles: are any missing, curled, or lifted? This could mean trouble lurking beneath the surface due to water intrusion or other damage. Remember, a compromised roof might seem like a minor issue until it leads to expensive repairs from leaks or mold.
Consider gutters and downspouts too—imagine them being more like your home’s escape routes for rainwater. They need to be clear for proper drainage; otherwise, you may unintentionally create a dam effect on your roof! If you spot clogs or damage here, it could mean water pooling on your roof’s surface leading to potential leakages and rot.
Roof Inspection
- Shingles: Missing or curled shingles can suggest bigger issues beneath the surface.
- Gutters and Downspouts: Clogged or damaged gutters can cause water to pool, potentially leading to eventual roof damage.
Understanding these foundational and roofing inspections is crucial in determining whether to seek professional help or tackle minor fixes yourself—all while weighing potential costs against the risks involved. Next, we will explore the balance between expert evaluations and do-it-yourself approaches for home repairs.
Professional Evaluation vs. DIY
When you’re confronted with potential structural damage in your home, the choice between a professional evaluation and do-it-yourself (DIY) inspection can be daunting. DIY inspections may save you money, but they carry the risk of missing critical issues that could turn into expensive problems later on. While tackling small repairs might work for some, evaluating structural integrity is another matter entirely.
DIY
Taking the DIY approach offers its own set of advantages. The most appealing factor is undoubtedly cost; conducting your own inspection typically costs a fraction compared to hiring professionals. With just a few basic tools—like moisture meters or levels—you can assess various aspects of your home’s structure without breaking the bank. However, this self-reliance hinges upon having a fair understanding of construction standards and materials.
The reality is that not everyone possesses that knowledge, which can lead unsuspecting homeowners to overlook critical warning signs or misinterpret findings.
In fact, a homeowner once shared that they missed early signs of termite damage after failing to inspect essential areas correctly, resulting in costly repairs down the line. The lesson here is that while DIY gives you autonomy, it’s paramount to know your limits.
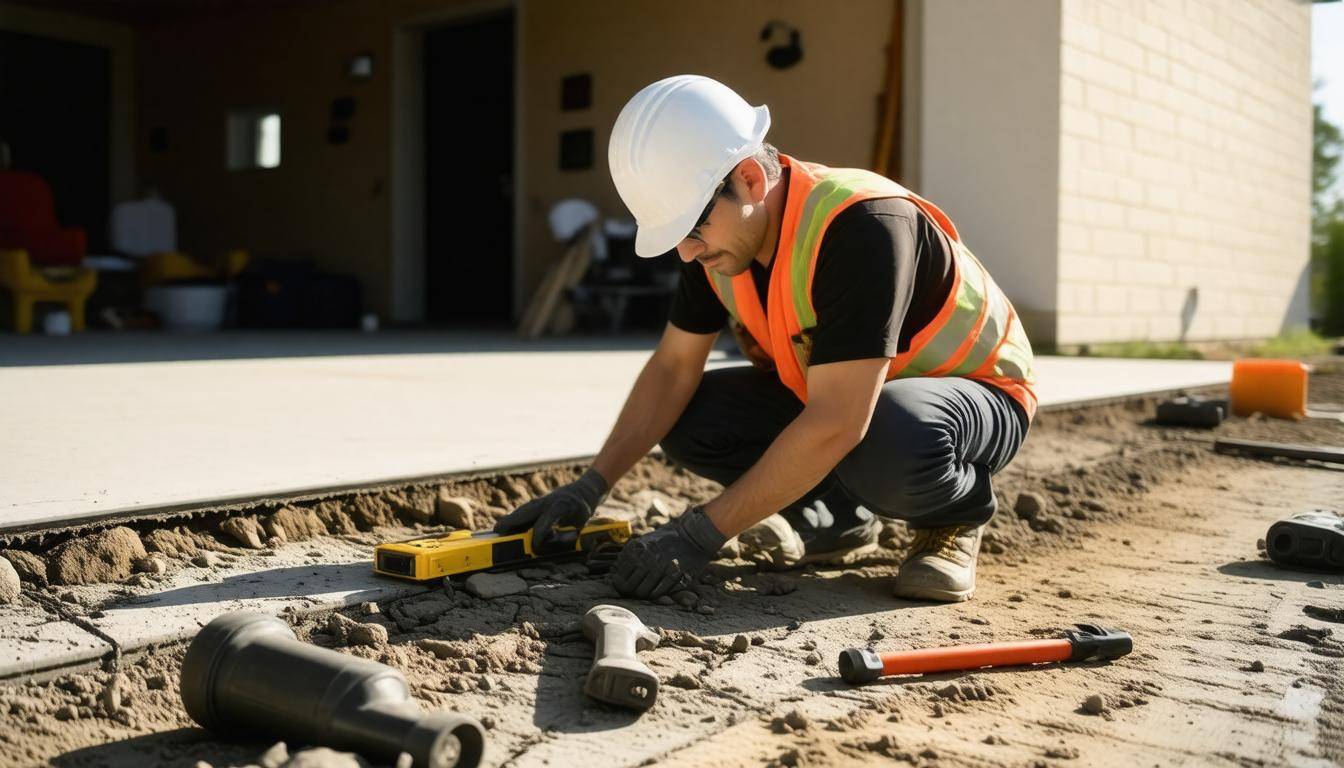
Professional Evaluation
Now let’s talk about professional evaluations. One crucial point in favor of bringing in an expert is their ability to provide comprehensive assessments using advanced diagnostic tools—think thermal imaging or acoustic sensors—that the average homeowner simply wouldn’t have access to. These tools allow professionals to identify hidden issues that may not be visible to an untrained eye.
Sure, the initial assessment fee might range from $300 to $500, but this investment often pays off by catching significant problems early on.
In-person inspections not only yield more accurate diagnostics but also provide peace of mind, as professionals are better equipped to understand nuances in building materials and structural design principles. A trained engineer will evaluate multiple factors that contribute to structural health, assuring you receive a well-rounded analysis accompanied by recommendations for any necessary repairs.
The decision between a DIY effort and professional help sets the stage for effectively addressing repair needs while impacting both immediate costs and long-term financial security related to your property. Transitioning from this careful evaluation process, let’s explore effective strategies for restoring structural integrity and ensuring safety in your home.
Repairing Structural Damage
When it comes to repairing structural damage, the first step is identifying whether the needed fixes are minor or major. Minor repairs can often be quick and straightforward, while major repairs may require significant investment and expertise. This differentiation affects your budget and timeline for repairs.
Minor Repairs
Minor repairs serve as quick fixes that can greatly improve safety and functionality without breaking the bank. One common method is crack injection, which involves filling in small cracks with epoxy or polyurethane foam. This technique isn’t just about aesthetics; it helps prevent water infiltration and further deterioration in the structure. A simple crack could lead to bigger issues if left unattended—think of it like ignoring a small leak in your roof until it becomes a waterfall.
Another effective approach to minor repairs is reinforcement. For instance, if you notice sagging floors, adding support beams underneath can help distribute weight more evenly and alleviate some pressure on the existing structure. Imagine propping up a sagging bookshelf with additional brackets; it stabilizes the entire unit without requiring a complete rebuild.
Major Repairs
Sometimes, however, minor fixes just don’t cut it, and that’s when you venture into major repairs. Foundation repair is one area where costs can rise significantly, sometimes exceeding thousands of dollars. Techniques like underpinning may be required to stabilize a shifting foundation. Underpinning essentially adds depth to your foundation by extending it below its existing level into more stable soil layers.
If your foundation issues are too severe, total replacement might even be necessary—a daunting thought, but essential for long-term house stability.
In fact, I spoke with one homeowner who spent upwards of $20,000 on underpinning their foundation—an investment that ultimately paid off in terms of both home value and peace of mind knowing their property was secure.
By understanding what types of repairs are essential for preserving not just safety but also property value, you’ll be better prepared for the financial commitments ahead.
Costs and Materials
When it comes to structural repairs, breaking down the costs into materials and labor is crucial. This helps homeowners anticipate what they might be facing and avoid any nasty surprises during the repair process.
Material Costs
Take concrete, for example. It’s a foundational material used in many repairs and can set you back between $100-$150 per square yard. While this may seem high, remember that investing in quality concrete ensures structural integrity for years to come.
Then there are steel beams, another essential item, especially for larger projects or when reinforcing existing structures. These typically cost $4-$6 per foot. While it may sound like a minor detail at first, opting for stronger materials can make a significant difference in your home’s longevity and safety.
Lastly, consider epoxy injection kits—these handy tools assist in repairing cracks and joints effectively. Depending on the quality, these kits usually range from $50-$150. Investing here can prevent further damage down the line, saving money on extensive repairs later.
Now that we understand material costs, it’s essential to look at the labor expenses involved in structural repair work.
Labor Costs
Labor costs can vary widely based on the work required and local market conditions. For instance, if you’re looking at foundation repair, you’re likely looking at a bill ranging from $5,000 to $15,000, depending on the severity of the damage and complexities encountered during the job. While this might sound steep upfront, think about it as an investment in maintaining your home’s value and safety.
Similarly, roof repairs typically cost between $1,000 and $3,000 for moderate issues. Investing in timely roof repairs not only extends the life of your roof but also prevents more severe problems such as water damage or mold growth inside your home.
A common mistake homeowners make is overlooking how preventive measures can save money in the long run; regular inspections often catch small issues before they turn into costly repairs.
Understanding both material and labor costs involved provides homeowners with valuable insights for planning their budget effectively. With this foundation laid out, we now shift our focus to proactive measures that can help ensure your home remains safe and sound.
Prevention and Maintenance for Homeowners
The best cure is prevention; therefore, homeowners should practice regular maintenance to safeguard their properties from structural damage. Taking the initiative to inspect and care for your home regularly can help catch small issues before they evolve into major problems. Not only do these maintenance practices preserve the value of your home, but they also provide you with peace of mind knowing that your property is in good shape.
Maintenance Tips
One crucial step is conducting regular inspections. Schedule bi-annual checks for key areas such as the foundation, walls, and roof. This may sound tedious, but take it from someone who has seen just how quickly minor damage escalates. During these inspections, look out for signs of water intrusion, cracks in the walls, or anything that seems out of place. An untrained eye might miss fine details that could raise red flags—like slight bulges in the wall or uneven flooring—so making this effort will pay off by preventing costly repairs down the line.
Another area requiring attention is moisture control.
Proper moisture management around your home’s foundation is vital. Ensure that drainage systems function as intended and that downspouts direct water away from your foundation. Poor drainage can lead to saturated soil conditions, causing soil erosion or shifting foundations as the earth beneath your home settles unpredictably. Additionally, by using treatments like moisture barriers in crawl spaces, you can significantly reduce the risk of mold growth or rot forming in wooden structures.
Yet another task on your maintenance checklist should be gutter cleaning.
Keeping gutters clear is essential in preventing water damage to your house’s structure. This means manually removing debris or utilizing tools to clean them out regularly, particularly after heavy storms when leaves and branches are more likely to clog them. Remember that clogged gutters overflow, leading water to pool around your foundation instead of flowing away from it. It’s a simple yet effective solution requiring just a bit of time each season but saves you from expensive repairs caused by neglected water damage.
A homeowner conducted annual inspections leading to early detection of minor cracks; this proactive approach ultimately saved thousands in potential major repairs. By taking small consistent actions, you too can avoid being caught off guard by significant structural issues later on.
Incorporating these tips into regular maintenance routines will enhance your home’s durability and longevity while providing safety for everyone who lives there.
To maintain your investment and ensure safety, always stay vigilant about home care and preventive measures.