
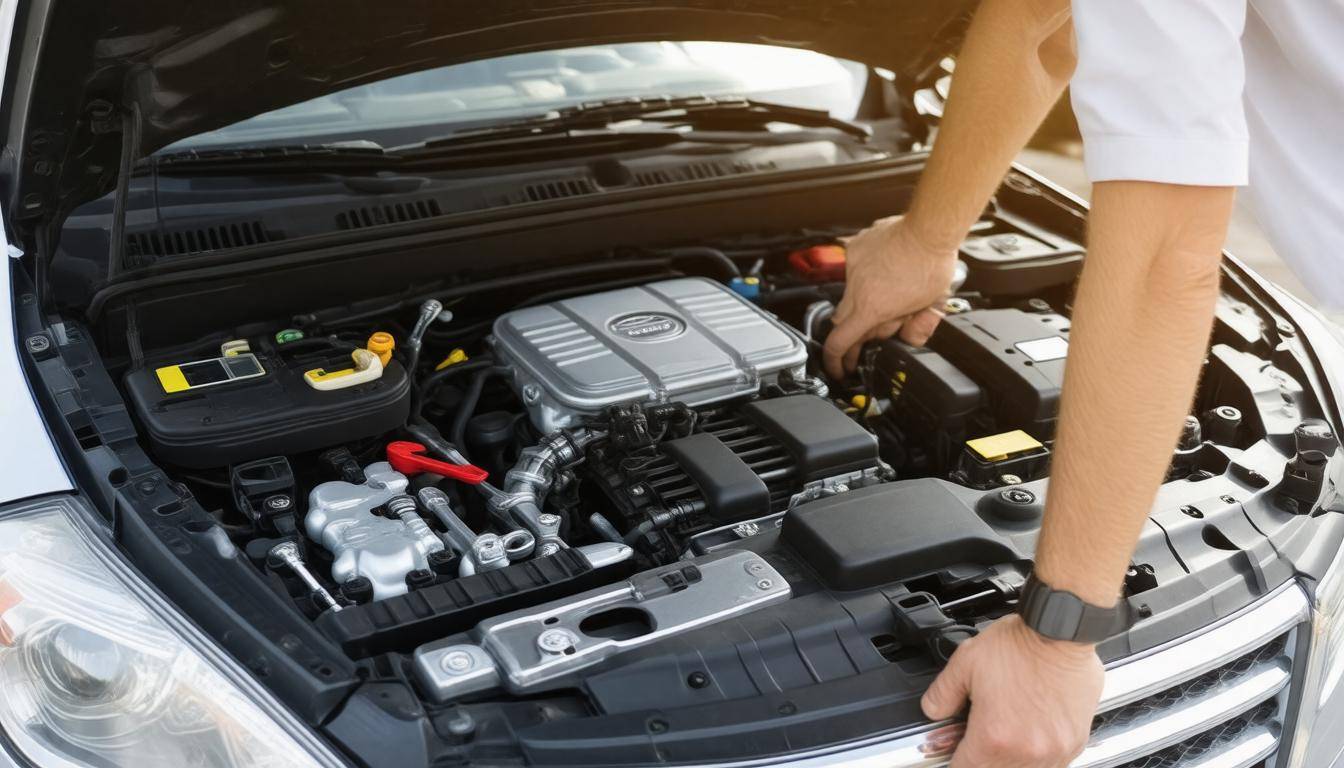
When you’re out on the road, the last thing you want is to face a sudden vehicle emergency. Whether it’s a flat tire, a dead battery, or an overheating engine, these situations can turn a pleasant drive into a stressful ordeal. But don’t worry—knowing how to handle these hiccups can make all the difference. This guide aims to equip you with easy-to-follow steps and essential tools that can turn potential disasters into minor inconveniences. With the right preparation, you’ll approach any roadside trouble with confidence, just like I did during one unexpectedly eventful camping trip when we tackled a radiator leak using little more than ingenuity and duct tape! Let’s dive in and create your own roadmap for managing vehicle emergencies with ease.
The “Vehicle Emergency Repair Basics: Illustrated Guide” provides essential knowledge and illustrated steps on how to handle common vehicle emergencies such as changing a flat tire, addressing engine overheating, and performing basic maintenance checks. This guide is designed to empower drivers with the skills needed to manage emergency situations effectively and minimize the risk of severe vehicle issues.
Essential Emergency Repair Tools
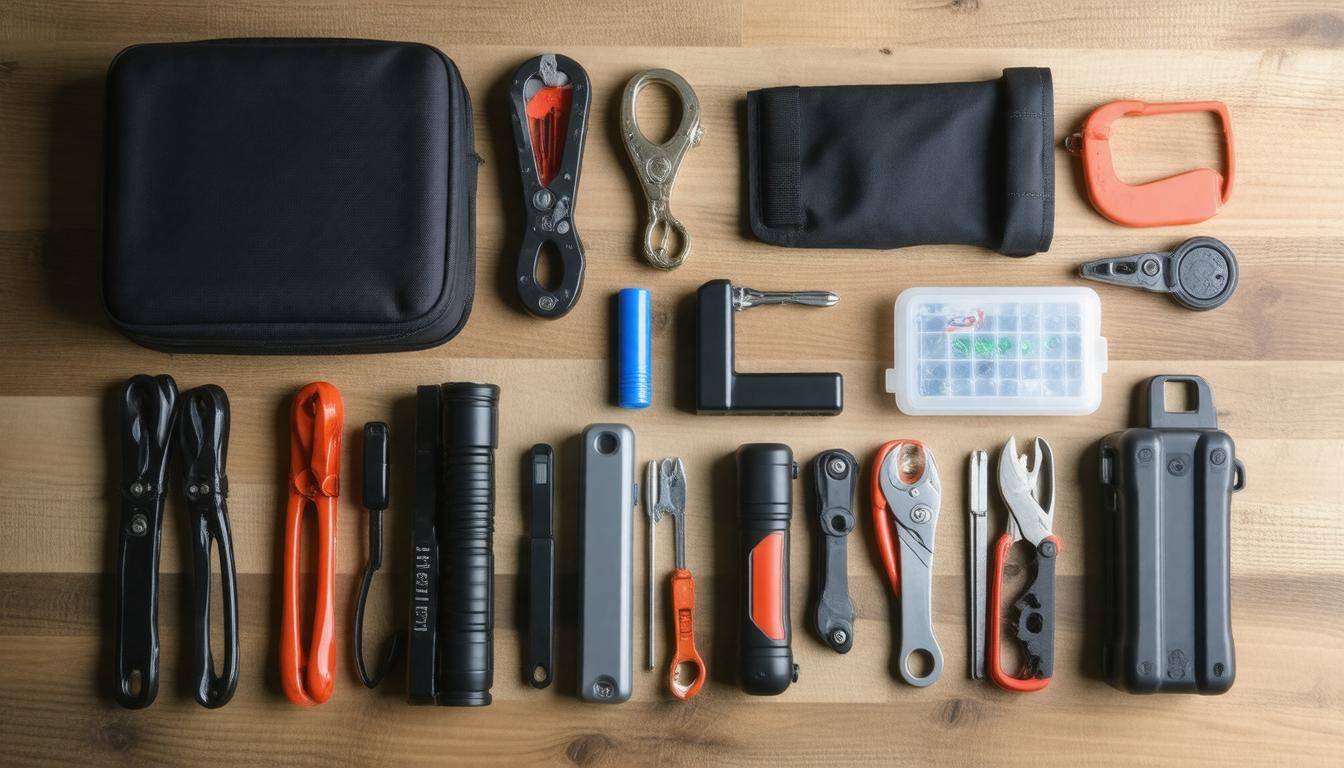
Let’s dig into the essential tools every driver should keep handy in their vehicle for those unexpected breakdowns. Think of this as equipping yourself with a personal toolbox that turns daunting situations into manageable ones. The basics serve as your first line of defense, akin to carrying a mini toolbox ready to tackle common nuisances that any driver might encounter.
Basic Tools to Carry
-
Multitool: This small gadget combines several tools into one handy device. Whether you’re dealing with screws or minor adjustments, having a multitool is like having a Swiss Army knife at your fingertips.
-
Multipoint Screwdriver: Flatheads and Phillips are standard, but they can vary by vehicle model. A multipoint screwdriver gives you flexibility—essential for various fasteners under the hood.
-
Pliers: A good set of pliers should grip tightly and withstand wear. They provide the extra hand needed for gripping, bending, and cutting wires or small pieces of equipment.
-
Vehicle Jack and Lug Wrench: If you’re stranded with a flat tire, these are your best friends. Ensure your jack can handle your vehicle’s weight efficiently and that the lug wrench fits your wheel nuts.
-
Tire Pressure Gauge: Many drivers overlook this essential tool. Maintaining optimal tire inflation is crucial; an accurate gauge helps prevent blowouts and prolongs tire life.
Picture this scenario: You’re on a lonely road, flat tire warning light glaring at you like an annoying friend asking for attention. Without these basic tools at your disposal, what seems like a simple issue can escalate into hours of waiting for help.
Now that we’ve got the essentials down, let’s take a look at advanced tools designed to handle more complicated car hiccups.
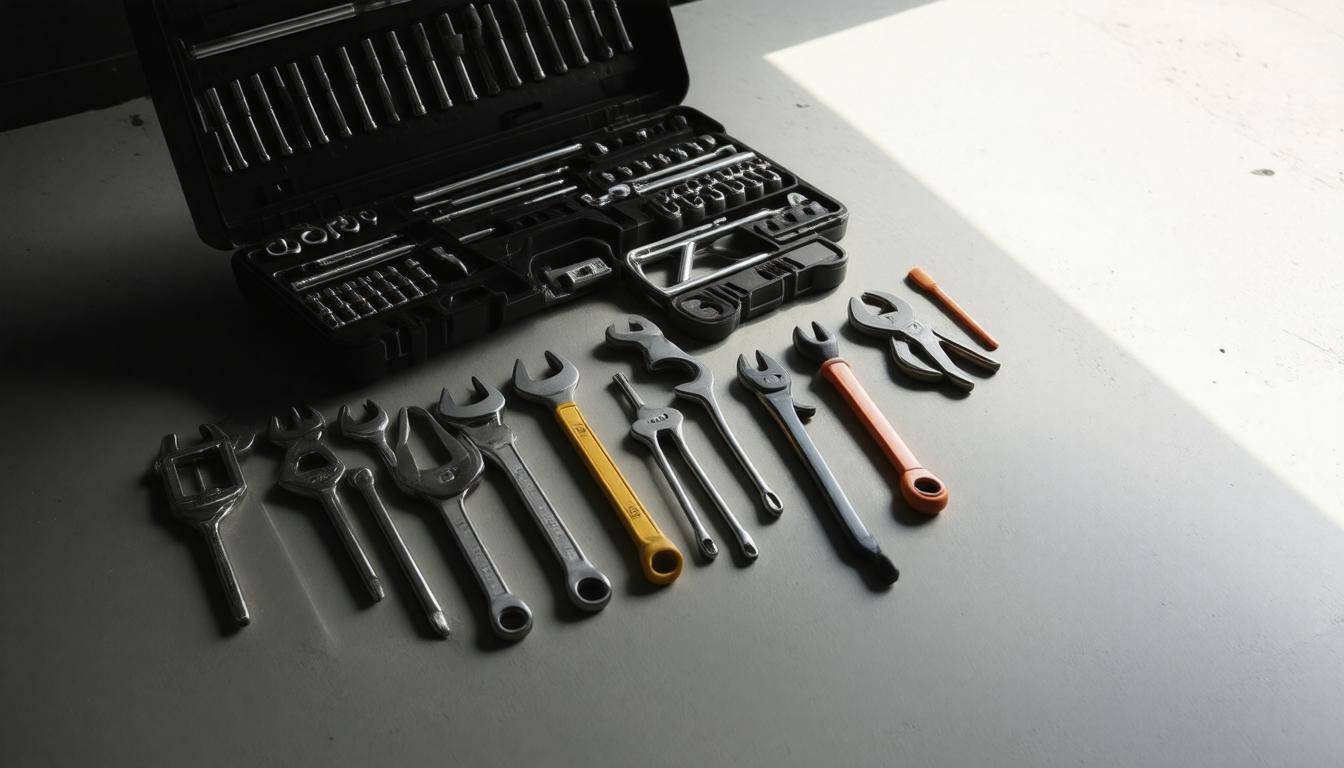
Advanced Tools
-
Car Battery Jump Pack: Say goodbye to relying on other drivers! These portable chargers eliminate the need for a second vehicle, providing enough power to jumpstart yours independently.
-
Portable Air Compressor: Ideal for maintaining your tires’ pressure while on the go. Keeping one handy allows you to reinflate tires quickly after losing air due to minor punctures or poor weather conditions.
-
Ratchet Set: For those who enjoy tinkering or face complex repair issues, a ratchet set offers variability and ease in loosening or tightening bolts faster than traditional wrenches would allow.
-
Duct Tape/Electrical Tape: Don’t underestimate tape’s effectiveness! It’s perfect for quick fixes in emergencies—I’ve personally used duct tape to bind hose leaks temporarily until reaching a mechanic.
Just recently, I had my own experience using duct tape when my friend’s radiator hose developed a small crack during our camping trip. With some duct tape wrapped tightly around it, we made it back to civilization without overheating—proof that sometimes a simple solution works wonders!
Being prepared is key—a few minutes organizing and packing away these tools in your trunk can save hours of stress down the road.
Now that we’ve examined vital tools for unexpected situations, we can shift our focus toward recognizing common challenges that drivers frequently face on the road.
Identifying Common Roadside Issues
Among the most common roadside issues drivers encounter, flat tires, dead batteries, and overheating engines tend to be at the top of the list. Understanding these problems can help you respond appropriately and quickly, ensuring your safety and convenience on the road.
Flat Tires
It’s staggering to think that 30% of roadside emergencies involve flat tires. What often leads to this issue is ignorance about tire pressure. When tires are under-inflated or over-inflated, they can wear out unevenly or suffer damage that results in a flat.
To avoid this problem, make it a habit to check tire pressure monthly or whenever you notice irregular wear patterns. When faced with a flat, remember not to hit the brakes hard; instead, slow down smoothly as you steer to a safe area for changing the tire.
In some cases, having good tire repair kits can turn what could be an exasperating situation into just a minor inconvenience.
Dead Batteries
Next up on the list is battery failure, which accounts for 25% of roadside incidents. The average lifespan of a car battery is about three years. If you’re approaching that mark, it’s wise to be proactive: regularly check for signs of corrosion around the terminals or inconsistency when starting your engine.
If your car struggles to turn over on cold mornings or if all accessories seem sluggish, those are tell-tale signs it’s time to consider a replacement. Useful tip: carry jumper cables in your emergency repair kit; they can save the day!
Overheating Engines
An overheated engine can be both dangerous and damaging; approximately 15% of drivers experience this issue. When your temperature gauge begins climbing toward the red zone, take immediate action: turn off the air conditioner and switch on the heat to draw heat away from the engine until it cools down slightly. Always wait about 15 minutes before opening the hood and checking the radiator fluid levels.
Being aware of other potential problems such as fuel contamination or electrical failures will further equip you to handle unexpected situations more effectively as we transition into practical solutions for handling specific emergencies like tire issues.
Step-by-Step Guide for Flat Tires
The first thing to remember when dealing with a flat tire is that safety comes first. This means selecting a safe space to pull over. Try to find level ground away from traffic where you’ll have enough room to maneuver. Once you’re there, activate your hazard lights; this signals to other drivers that you’re experiencing an issue, which is crucial for your safety. It’s also advisable to apply the parking brake as a precautionary measure against any unexpected movements of the vehicle.
With your vehicle safely secured, it’s time to tackle the tire-changing process head-on.
Now let’s move on to removing that troublesome flat tire. Start by taking your lug wrench and carefully loosening the lug nuts—don’t take them all the way off yet. Just give them a half turn counterclockwise until they’re loose enough for easy removal later. If you find yourself struggling with rusted or over-tightened nuts, try applying pressure in short bursts rather than forcing them all at once.
Next, grab the jack and position it underneath your vehicle; most cars will have designated lift points indicated in the owner’s manual or marked on the vehicle itself. Jacking up a car can be daunting if you’ve never done it before—take your time and ensure everything is stable as you raise the vehicle until the flat tire lifts off the ground completely. Once it’s raised, remove those lug nuts and pull off the flat tire.
Pro Tip: Always keep an eye out on how everything fits together; this will help immensely when it’s time to put the spare on!
With the flat removed, it’s time for a new beginning: installing your spare tire.
Aligning the spare tire should feel like a natural fit; simply match the spare’s holes with the wheel bolts before gently pushing it onto the hub. Once it’s snugly fitted, hand-tighten each lug nut to secure it—this begins the reinstallation process without any extra tools. After you’ve done this, lower your vehicle back down gently using the jack; this allows you to tighten those lug nuts fully now that there’s some weight on them. Here’s where that crisscross pattern comes in handy! Tightening in a star shape ensures even pressure on the spare, preventing wobbling as you drive.
Now that our spare tire’s been installed successfully, let’s make sure everything is secured properly before hitting the road again.
It’s crucial to double-check every lug nut one last time after lowering your vehicle; they should be tightly secured. Consider this as insurance against potential mishaps down the road. When you’re done, remember to stow away all tools neatly in your trunk so you’re prepared for anything else that may come up during your travels.
Having outfitted ourselves with these essential skills, let’s shift gears and explore what to do when your battery is struggling.
Jumpstarting Your Battery
Realizing your battery is dead can feel overwhelming, but jumping it back to life is a straightforward process once you understand the steps. Getting that jolt of energy back into your vehicle doesn’t require a degree in automotive science—just a bit of patience and a few simple tools. A quality portable jump starter like the NOCO Boost X GBX45 can also come in handy for hybrid vehicles since they have unique battery systems that may pose challenges.
Step I – Positioning the Vehicles
Proper positioning is essential in ensuring a safe and effective jump-start. Park the functioning vehicle close enough to the dead vehicle, but make sure they do not touch; the last thing you want is to inadvertently create a short circuit. Turn off both vehicles before proceeding, as this will help avoid any electrical mishaps during the connection process.
Positioning carefully sets the stage for the next vital step: connecting the cables properly.
Step II – Connecting the Jumper Cables
Now, let’s get to the heart of jump-starting: connecting those jumper cables correctly. Begin with the red, which indicates positive. Attach one end of your red cable to the positive terminal on the dead battery—a bright “+” symbol will help you identify it. Next, connect the other end to the positive terminal of your working vehicle’s battery.
The sequence matters. After securing connections on both positive ends, grab your negative black cable. Attach one end to the negative terminal of your functioning battery—that’s another “-” sign for guidance. Then comes a crucial step: instead of connecting it directly to the dead battery’s negative terminal, attach it to an unpainted metal surface on the dead vehicle. This created ground point minimizes risks like sparks igniting flammable gases that may be lingering around.
Think of this as equivalent to practicing CPR: every connection counts and relies on attention to detail.
Now that we’ve securely connected everything, it’s time to awaken that dormant battery by starting up both vehicles.
Step III – Starting the Vehicles
Take a deep breath as you move toward starting your vehicles. First, fire up the engine of the working vehicle and allow it to run for a few minutes before attempting to start the dead car. This action allows some charge to build up in the dormant battery through those freshly connected cables.
After giving it a moment, turn your attention back to the lifeless vehicle—give it a gentle start attempt. If all goes well, you’ll hear that familiar purr as your car rejoins life!
Now that you’ve successfully jumpstarted your vehicle, always keep spare jumper cables or a reliable portable jump starter in your trunk as a precautionary measure for future emergencies.
The peace of mind gained from being prepared far outweighs that moment of panic when things go wrong; it’s all part of being an informed driver ready for anything on the road.
With these essential procedures under your belt, let’s explore more immediate solutions for minor issues that may arise while you’re out and about.
Quick Fixes for Minor Problems
From my own experience on the road, staying proactive regarding small mechanical issues can save you from being stranded or incurring costly repairs. It’s often those little annoyances that seem harmless initially but can transform into a much larger problem if ignored.
One of the simplest yet most effective actions you can take is to tighten any loose parts that may rattle or become detached as you drive. When you’re behind the wheel, it’s wise to carry a modest toolset—not just for emergency repairs but also for routine tightenings.
When you hear that familiar rattle coming from under the hood or even beneath the car, it could be anything from a loose battery terminal to the exhaust system brackets. Using a ratchet set or screwdriver, you can quickly address these minor issues before they escalate into something more serious. I’ve personally tightened my battery terminals while roadside; it was a simple fix that allowed me to continue my journey with confidence.
Maintaining a watchful eye over your vehicle will equip you with the ability to handle other common problems with ease.
Fixing Fluid Leaks
Fluid leaks can lead not only to operational inefficiencies in your vehicle but can also cause damage to surrounding components if left untreated. When faced with such an issue, act promptly to mitigate potential damage. One of the best ways to handle minor leaks—such as those coming from radiators or hoses—is by applying a suitable sealant designed for automotive use. This product can seal cracks and prevent fluids from seeping out until you can reach a mechanic for a more permanent solution.
You might encounter situations where small punctures occur in hoses, particularly after a rough drive through debris-laden terrain. In these cases, keeping some hose repair tape handy could be invaluable. Simply wrap this versatile tape tightly around the affected area and secure it well; it will temporarily stop the leaking and help maintain pressure in the system until a full replacement can be made.
By understanding how to tackle easy fixes, you’ll enhance your preparedness on the road.
General Observation
Of course, prevention is key! Regularly examining fluid levels and checking for signs of wear will keep your car in tip-top shape and ready for unexpected adventures. Every driver should consider committing a bit of time each month to inspect their vehicle’s vital systems—this proactive maintenance goes a long way in minimizing emergencies and maximizing enjoyment on the road.
With these practical approaches under your belt, you’ll be even better prepared when it’s time to gather essential items for unforeseen circumstances.
Compiling Your Emergency Repair Kit
An effective emergency repair kit can be a true lifesaver when things go awry on the road. Imagine being stranded in a remote area with a flat tire or a dead battery; having the right tools at your fingertips can turn what could be a stressful situation into a manageable inconvenience. Thus, carefully selecting items to include in your kit is vital.
Essential Items
First and foremost, every good emergency repair kit should contain a multitool and various screwdrivers. These items prove invaluable, as they can assist you with countless tasks—from tightening loose parts to making quick fixes on other gear you’re working with. Having the right tool can save precious time and effort when every second counts.
Next, a reliable vehicle jack and lug wrench are necessities for changing tires. More than just a convenience, they are your primary means of getting back on the road after a flat. Keeping a portable air compressor allows you to inflate tires while away from service stations, providing a quick remedy for low pressure that might otherwise leave you stranded.
But we cannot overlook the importance of addressing electrical issues.
To tackle battery problems, jumper cables or an innovative jump pack should be indispensable components of your kit. A set of good quality jumper cables, preferably around 20 feet long with 6 or 8 gauge wire for optimal conductivity, will get you powered up following an unexpected dead battery scenario. Conversely, a jump pack harnesses modern technology, providing a precise tool for emergency starts without needing another vehicle nearby.
What happens when night falls or when repairs need performing under dim conditions?
Enter the LED flashlight and extra batteries—essential items to ensure visibility during repairs after sundown or in poor weather. Make sure that your flashlight is waterproof and has features like a magnetic base for hands-free operation—a minor detail that may prove crucial during an unexpected roadside fix.
And speaking of surprises, picture this: dealing with scratches or cuts while trying to change a tire primarily because you lacked basic first aid supplies! A comprehensive first aid kit contains bandages, antiseptic wipes, gauze, and adhesive tape—everything needed to address minor injuries before they worsen.
We shouldn’t forget about safety measures as we consider our emergency preparedness.
Reflective triangles and road flares should always be included. When pulled over on busy roads due to emergencies, these items alert other drivers of your presence—potentially saving lives. Multipurpose tapes, whether duct or electrical, are handy for leads that need mending or parts requiring temporary reinforcement before professional help arrives.
Think of this as your emergency toolbox; having all these items can turn what might have been a nightmare into just another minor inconvenience. Gather these essentials for your vehicle—because being prepared ensures you’re equipped to handle whatever comes your way while out on the road!
As we explore how to ensure safety during repairs, understanding proper protocols will arm you with even more confidence in potential roadside situations.
Safety Measures During Repairs
Ensuring a secure workspace involves a few key considerations. You should start by marking your working area with reflective triangles or cones, which become crucial when you’re on busy roads. Not only do they alert other drivers to your presence, but they significantly reduce the risk of accidents by increasing visibility. It’s akin to giving yourself a buffer zone where you can focus on your task without continually glancing over your shoulder for approaching vehicles.
Make it a habit to turn on your hazard lights before stepping out to work on your vehicle. This small act provides an additional layer of caution and ensures that other drivers are aware of your situation. If possible, set up a work light or flashlight near your handy tools. A well-lit area means you won’t be squinting while trying to spot that elusive bolt hidden in the shadows.
It’s also vital to consider the surface beneath you while you’re working. Choosing a flat and stable surface helps prevent any accidental rollaways. If you’re parked on a slope, use wheel chocks to secure the opposite tires, thus reducing the likelihood of your vehicle shifting unexpectedly as you work on it. This precaution could save you from potential injury or further complications.
As you begin your repair work, remain aware of your surroundings. Always position yourself on the side of the vehicle that’s away from traffic. If you must work near moving vehicles, try to stay alerted and focused—consider it akin to constantly watching for approaching cars while crossing a street; staying vigilant keeps you in control of your own safety.
As we continue exploring these essential aspects of vehicle repair, it’s equally important to have the right tools and equipment at hand—this can expedite repairs while ensuring safety throughout the process.
Essential Tools and Equipment
Ensure that tools such as wrenches, screwdrivers, and pliers are in proper working order before beginning any task; damaged tools can quickly lead to mishaps that jeopardize both efficiency and safety during repairs. You would not want a slipping wrench when applying force—it’s not just frustrating; it could lead to an unnecessary injury.
Keeping a first aid kit readily accessible in the car is also a proactive measure against minor injuries encountered along the way. If you’ve ever cut yourself while trying to remove an old tire or scraped your knuckles while tightening a bolt, you’ll understand how having bandages can make a difference in those moments of need.
With safety precautions firmly established and essential tools ready for action, our attention now shifts toward maintaining vehicles over the long haul, which will enhance their reliability and performance.
Long-Term Vehicle Maintenance Tips
As a vehicle owner, it’s essential to establish a long-term maintenance plan that goes beyond routine checks. This is crucial for prolonging your vehicle’s life and enhancing its reliability over the years. Think of long-term maintenance as proactive care for your car, akin to how someone might visit their doctor for a yearly physical—wellness check-ups are vital for ensuring everything operates smoothly.
Regular Inspections
To start your long-term maintenance journey, regular inspections remain vital. You’ve already committed to checking tire pressure monthly and inspecting fluid levels weekly; building on those habits will give you a more comprehensive overview of your vehicle’s health. Become familiar with other critical components of your vehicle by learning to examine belts and hoses for wear, which can prevent surprising leaks or breakdowns down the road.
This leads us to consider how monitoring your engine’s performance impacts longevity. Just like people, engines can exhibit signs when they’re feeling under the weather. If you notice any odd sounds or fluctuations in performance, don’t ignore them. Treat these warnings seriously—they often indicate underlying issues that need to be addressed before they escalate.
| Maintenance Task | Frequency |
|---|---|
| Oil Change | Every 3,000-5,000 miles |
| Tire Rotation | Every 6,000-8,000 miles |
| Brake Inspection | Twice a year |
| Battery Check | Monthly |
| Windshield Wiper Replacement | Every six months |
The above chart summarizes an effective maintenance schedule. Following it ensures you’re not overlooking essential tasks that significantly impact safety and performance.
Picture this: You’re on a long drive nearing the end of summer when suddenly the brakes begin making a grinding noise. If you had maintained that biannual brake inspection, you might have caught the issue early enough to avoid costly repairs or worse—a dangerous situation on the road. Regular oversight allows you to address things like brake wear before they become an emergency concern.
It’s also important to remember that while inspections keep an eye on potential issues, taking care of specific aspects requires dedicated attention.
Specialized Care
For instance, think about your tires—they’re one of the most critical components affecting both safety and gas mileage. While checking the pressure regularly is great, measuring tread depth periodically ensures sufficient grip on wet roads and extends tire life overall.
Rotating tires and aligning wheels should also be part of your long-term strategy. Tire rotation promotes even wear across all four tires; this is especially important as tires can wear differently depending on drivetrain configurations—whether you drive a front-wheel-drive hatchback or a rear-wheel-drive sedan.
“An ounce of prevention is worth a pound of cure.” This timeless saying rings true for vehicle maintenance; investing effort now yields far greater rewards later.
Embracing this mindset will encourage you to maintain consistent servicing—reliable upkeep transforms future interruptions into manageable solutions rather than catastrophic failures. By committing yourself to these practices, you’ll ensure that your vehicle continues to perform at its best while avoiding unexpected roadside challenges.
In essence, nurturing your vehicle through regular inspections and specialized care will pave the way for a safer and more reliable driving experience. A proactive approach today saves time, money, and stress tomorrow.