
When the power goes out, the darkness can feel overwhelming. Whether it’s due to a storm, an accident, or just a routine outage, having light during these times can make all the difference. Feeling safe and at ease in your home is essential, especially when you lose touch with the outside world. The good news is that there are plenty of easy and fun ways to create your own emergency light sources right at home. From using simple items you already have on hand to engaging in a creative craft project, you can whip up reliable illumination that shines bright when it matters most. In this article, we’ll share ten effective methods to help you brighten up those unexpected dark times and keep your family comfortable and secure.
In “Homemade Emergency Light Sources: 10 Methods,” we explore various creative and cost-effective ways to generate lighting during power outages, including using LED lanterns, oil lamps, solar path lights, and DIY candles made from soy wax. By implementing these methods, you can ensure reliable illumination in emergencies while enhancing your preparedness.
DIY Candle-Based Lights
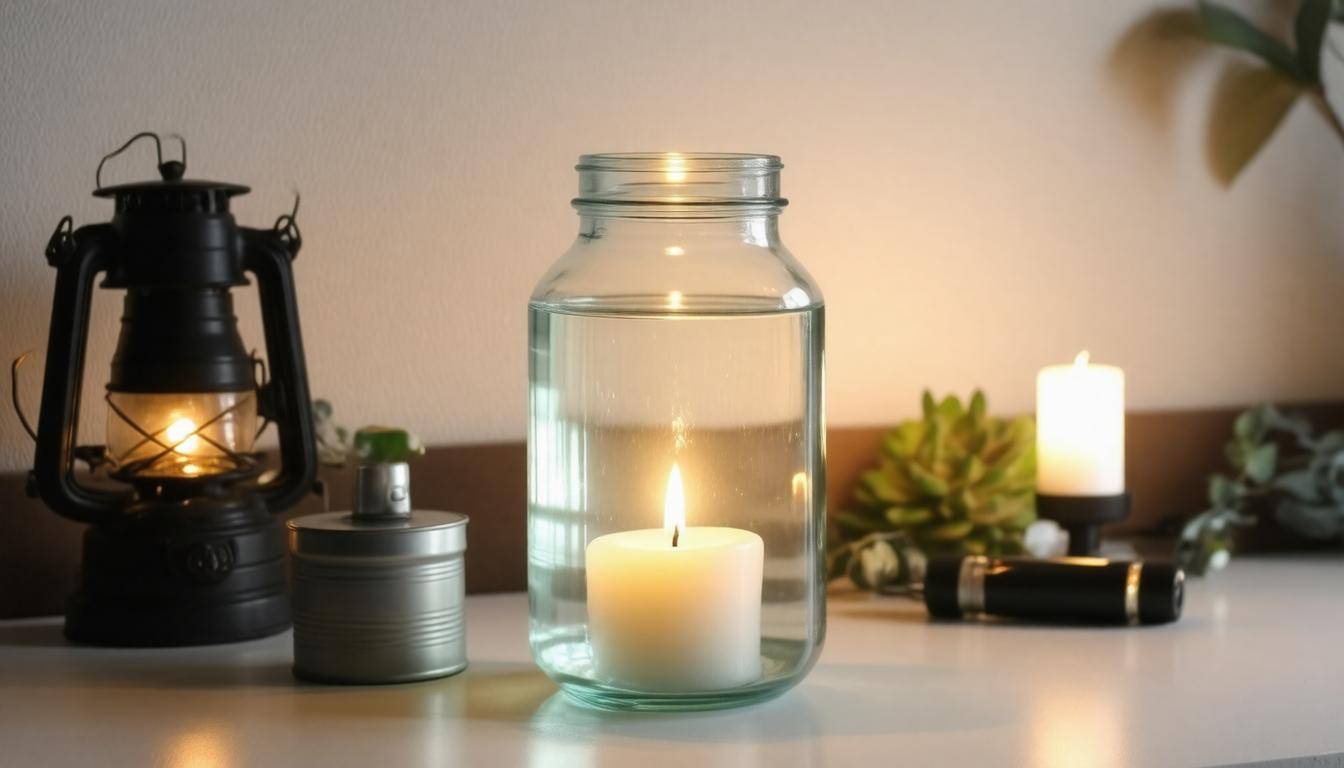
Making your own candles can be a rewarding and practical solution for emergency lighting. Crafting customized candles allows you to choose scents and colors while ensuring a reliable light source during power outages. This activity requires just a few common household materials that you probably already have on hand.
How to Make Your Own Candles
Start by melting soy wax flakes in a microwave-safe container; a typical batch would require about two cups of soy wax. The great thing about using soy wax is that it’s eco-friendly and burns cleaner than paraffin, releasing fewer toxins into the air. As you melt the wax, keep an eye on the temperature; it should reach around 170°F (77°C) before it’s ready to pour.
Once melted, prepare your chosen mold—this can be anything from glass jars to tin cans, depending on what you want your finished candle to look like. You can even use silicone molds for unique shapes! Before pouring the wax, secure the wick in the center of the mold using a small amount of melted wax at the bottom or a wick holder. This step is crucial because having a centered wick ensures an even burn throughout your candle’s life.
Pour the melted wax slowly into your mold, being careful not to disturb your wick placement. Leave about half an inch from the top to allow room for any additional embellishments, such as color dye or essential oils for fragrance if desired. The best part? You can tailor each candle’s appearance and scent according to your preference!
After pouring, allow the wax to cool and harden completely—this generally takes several hours depending on the size of your candle. Patience is key here; rushing this process can result in uneven surfaces or even cracking once cooled.
Much like store-bought candles, these homemade versions can provide reliable illumination for several hours. Typically, paraffin candles burn about 6-8 hours per ounce of wax, while soy candles last approximately 5-7 hours per ounce. Ensuring your wick is trimmed to about 1/4 inch before lighting helps achieve a clean and efficient burn, allowing you to maximize the lighting benefits.
As you craft these candles, prioritize safety; always use heat-resistant containers and never leave lit candles unattended. With these easy steps, you’re preparing yourself for unforeseen dark times and engaging in a rewarding craft that enhances both safety and comfort in your home.
In exploring more options, we will now turn our attention to another method that offers practical solutions for illuminating our surroundings.
Creating Simple Oil Lamps
Oil lamps are a fantastic way to illuminate your space during emergencies, and they can be constructed with materials you likely already have lying around. This method not only provides light but also introduces a rustic charm that enhances any atmosphere. Imagine gathering around a flickering oil lamp during a power outage, the warm glow casting comforting shadows on the walls—it’s almost soothing in its simplicity. The beauty of an oil lamp lies in its accessibility; with just a few steps, you can create a reliable light source.
Step-by-Step Guide for an Oil Lamp
To get started, locate a small glass jar—mason jars work beautifully for this purpose due to their sturdiness. You want something that can withstand heat without cracking.
Fill the jar about three-quarters of the way full with vegetable oil, olive oil, or kerosene if you wish for longer burn times. This significant amount ensures a good fuel supply, allowing the lamp to sustain itself for several hours.
Next comes the wick. You can use a cotton wick from craft stores, or you might consider a more creative solution by utilizing old T-shirts or towels; simply cut them into strips. This versatility means you’re not confined to store-bought options—your waste can become useful!
Nestle the wick into the oil so that one end is submerged while leaving about an inch protruding from the top. This positioning allows for effective absorption of oil and proper burning.
To secure your wick effectively, take the metallic lid of your jar and punch a small hole through the center just large enough for the wick to thread through. Place this lid on top of your jar; it will keep the wick steady while also acting as an air seal when not in use. The result is not only functional but also visually appealing.
Once everything is set up, light the wick, and behold! Your homemade oil lamp radiates a steady beam of light that can easily illuminate your room. Depending on how much oil you’ve filled and how you manage the wick’s length, this lamp can burn continuously for anywhere between four to eight hours.
Creating these oil lamps not only equips you with light during difficult times but also enhances your adaptability and creativity in facing unforeseen challenges. Discovering more about efficient illumination solutions can further empower your emergency preparedness strategy.
Battery-Powered Emergency Lights
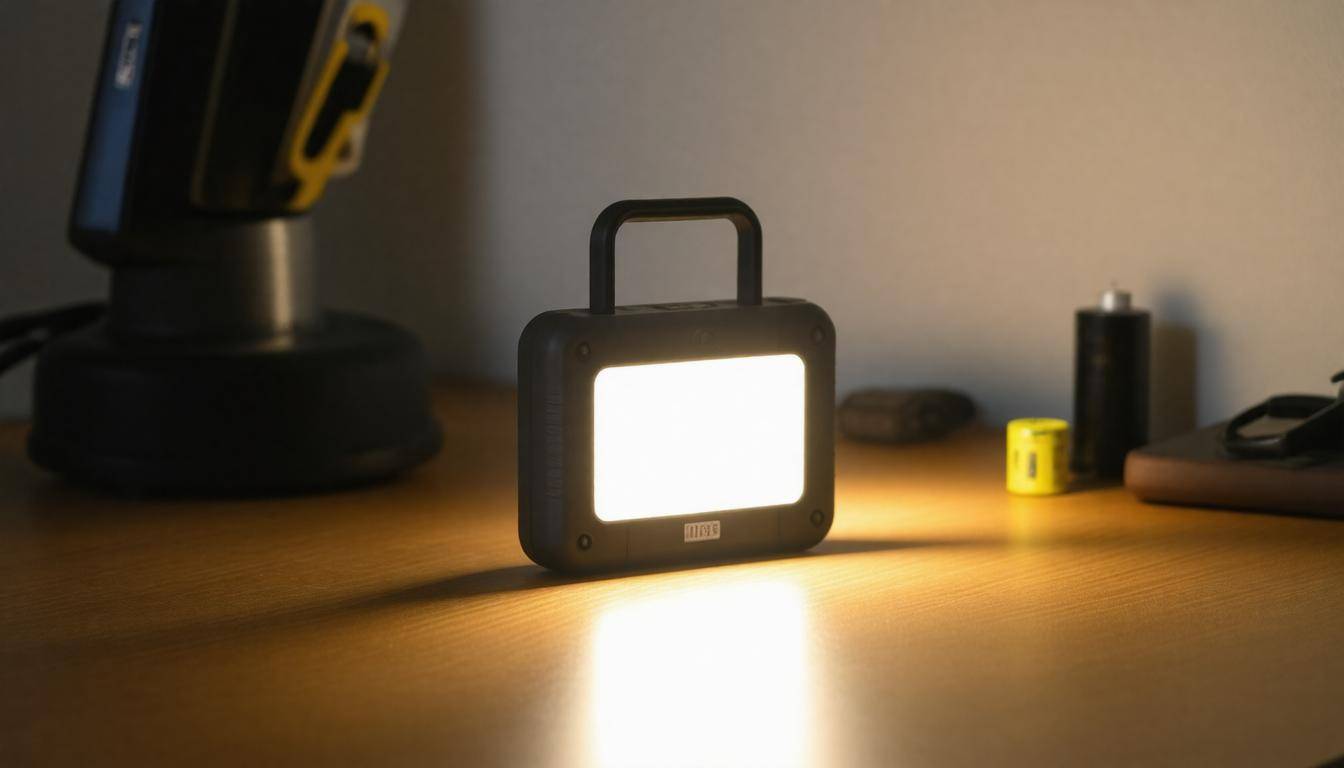
Battery-powered lights stand as a beacon of reliability in times of need. They provide bright illumination without generating heat, making them safer than traditional light sources like candles or oil lamps. This feature becomes incredibly important during emergencies when the risk of fire is heightened, and it’s comforting to know you have dependable lighting options at your disposal.
Types of Battery-Powered Lights
-
Flashlights: These are perhaps the most familiar battery-operated lights. Easy to stash in a drawer, backpack, or car trunk, their portability makes them an indispensable tool. A good flashlight can brighten even the darkest corners and serve multiple functions—whether you’re looking for something in the attic or guiding yourself safely during a blackout.
-
LED Lanterns: Unlike flashlights that focus light in one direction, LED lanterns cast a wide beam that can illuminate an entire room. They’re great for communal areas or outside gatherings on starry nights. I’ve used one during camping trips; it was strong enough to light our campsite effectively, setting the perfect mood while ensuring everyone could navigate without stumbles.
-
Headlamps: For tasks needing hands-free lighting, headlamps shine brighter. Whether I’m fixing something under the sink or reading in bed, having a headlamp allows me to see clearly without fumbling around for other light sources.
No matter which type you choose for your emergency toolkit, it’s crucial to maintain a supply of extra batteries. Imagine flipping the switch on your flashlight during a storm only to find it dead—disappointment doesn’t begin to cover it! Having extra batteries ensures that your lights will always shine brightly when you need them most.
Additionally, investing in rechargeable battery systems can pay dividends over time. With proper care and occasional charging, these batteries often outlast single-use ones and reduce waste—an essential consideration nowadays with sustainability becoming increasingly vital.
As we travel further down the route of preparedness, remember that diversifying your light sources not only enhances your safety; it also adds an element of convenience and peace of mind. Just as we rely on a variety of appliances for cooking and cleaning, having multiple types of battery-powered lights helps ensure that you’re covered no matter what the situation might demand.
With such diverse options available for emergency lighting, it’s worth exploring even more innovative methods that harness efficiency and longevity. Let’s now shift gears to discover solutions centered around energy-efficient technologies that illuminate our world sustainably.
Utilizing LED Solutions
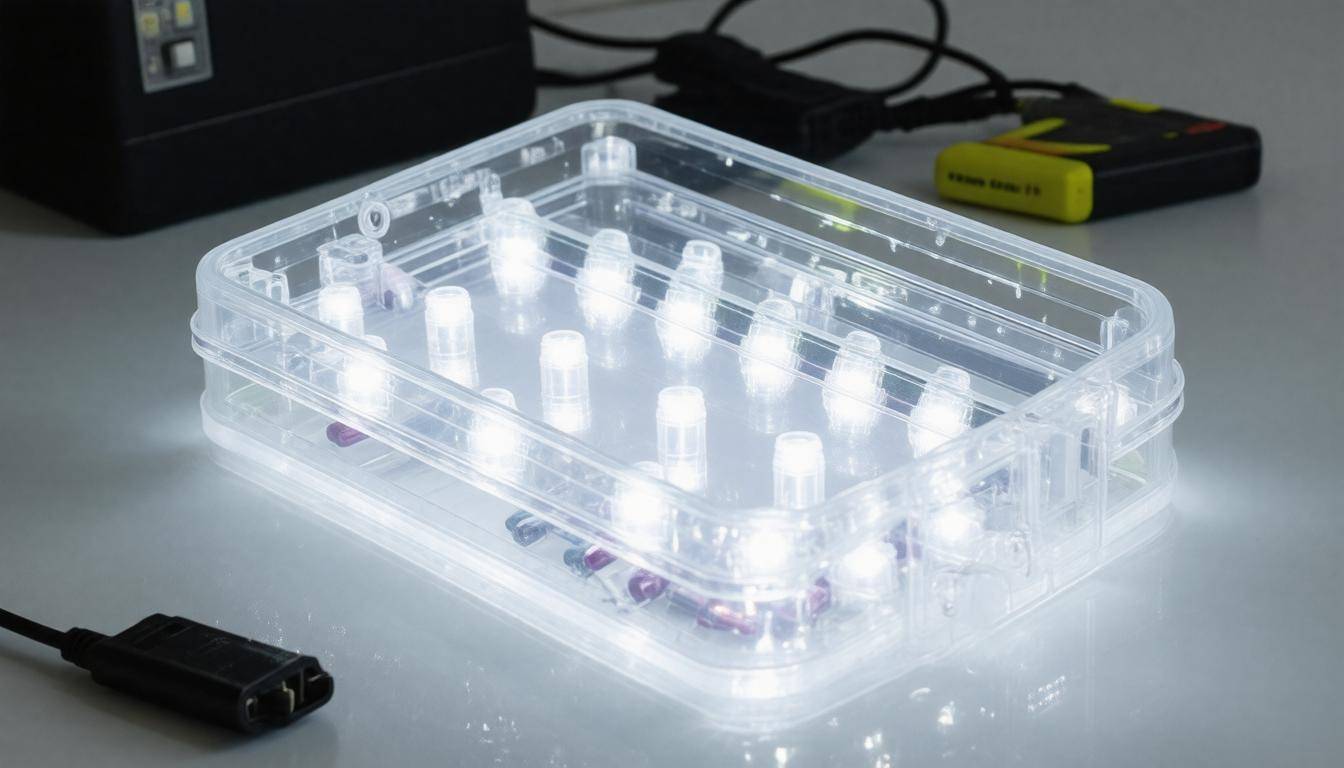
LEDs are a game changer when it comes to emergency lighting. Not only are they incredibly efficient, but they also emit bright, white light that can illuminate even the gloomiest corners of your home during a blackout. This means you can stay safe and comfortable, guided by the glow of your carefully crafted LED setup.
Making DIY LED Lights
To get started, you’ll want to purchase some LED strips; these can typically be found at hardware stores or online retailers. They come in various colors and lengths, allowing for customization depending on your needs and preferences.
Next, connect the strip to a portable power source, such as a USB power bank. This step is pivotal because it allows for flexibility – think about all the places you might need light! A good quality power bank can provide power for hours. For instance, if your power bank holds 10,000 mAh, you could be looking at a total runtime of around 20 to 40 hours, depending on the wattage used by the LEDs.
Once your LED strip is powered up, arrange it strategically around the room or designated area where illumination is needed most. You can line it along furniture edges or put together an attractive display—turning necessity into art!
As a bonus tip, remember that this setup is not only practical; it can enhance ambiance in darker moments. Perhaps you dim the lights for a cozy family game night or use the setup for outdoor gatherings after sunset. The possibilities expand far beyond mere functionality.
As we consider further applications of creative lighting solutions, let’s explore another fascinating and entertaining method to brighten your home during emergencies.
Making Glow in the Dark Jars
Making glow in the dark jars is not only a simple task but also an enjoyable way to bring a little light and magic into your space. First, gather your materials: clear glass jars, glow-in-the-dark paint or glow sticks, and optional embellishments like glitter or decorative stones. Each jar you create becomes a canvas for your creativity, letting you express yourself while preparing for potential emergencies.
Start by ensuring that the jars are thoroughly cleaned and dried. Any leftover residue can affect the adhesion of the glow-in-the-dark paint or the performance of the glow sticks. Once the jar is ready, take the glow-in-the-dark paint and use a paintbrush to apply a generous coat to the inner surface of the jar. This will allow for a brilliant glow once it’s charged. If you’re using glow sticks instead, break and shake them vigorously to activate them—then carefully pour their contents into the jar.
The visual impact of these jars is enhanced when they catch light during the day.
After filling your jar with paint or glow stick contents, make sure to seal it tightly with a lid or cloth cover to prevent spills. Place your newly crafted jars in sunlight or under a bright artificial light source to recharge them throughout the day. The glowing effect can last anywhere from 2-12 hours, depending on the type of material used and how long they’ve been charged.
To make your creations even more captivating, consider adding glitter or small decorative items inside before sealing up the jars. A touch of sparkle can enhance the overall aesthetics and create a mesmerizing play of light when night falls.
While these glowing treasures add charm, there’s always room for more practical lighting solutions to ensure safety during unexpected situations. Following this path leads us to explore illuminating options that harness solar power effectively.
Solar Path Light Conversion
Solar path light conversion is more than just a means of illuminating dark corners; it’s an eco-friendly and efficient approach to leveraging natural resources, especially during power outages. These little lights not only serve as lovely additions to your garden but can also transform into your trusty sidekicks when the lights go out. Interestingly, many people found newfound uses for solar path lights during Hurricane Irma. They quickly became prized possessions, providing reliable illumination in darkened homes while ensuring a sense of calm during those stressful moments.
Conversion Process
The first step is incredibly simple: purchase solar path lights at your local garden store or online. When choosing your lights, look for models that have good reviews on battery life and brightness. Once you’ve got your lights home, unleash their potential by placing them outside to charge in direct sunlight during the day. Just imagine it—a bright sunny day will bring energy that powers your nights!
When evening falls, simply bring the lights inside to illuminate dim areas in your living space. Their glow can be both comforting and functional as they light up hallways or provide ambient light during dinner. Some adventurous folks even disassemble these lights and strategically spread them throughout their homes. This might sound a bit whimsical, but separating the components allows you to create multiple light sources from one unit—turning your space into a glowing oasis!
As you navigate through this DIY process, consider how long each solar path light retains its power and adjust your usage accordingly.
Technique for Enhanced Utility
There’s a neat trick that can amplify your solar lights’ effectiveness; disassembling them doesn’t require complicated tools. Generally, all you need is a Phillips screwdriver to take off the top section of the light, revealing the solar panel and battery compartment inside. By pulling apart the fixture, you can easily utilize the solar panel to recharge batteries from other devices or adapt parts for various homemade projects.
Navigating this method offers incredible adaptability for using what you already have, which adds to its charm as an emergency solution.
Just remember to test out the lighting efficiency in different parts of your space beforehand—some areas might need more illumination than others! Whether you’re setting up for an unforeseen blackout or adding character to outdoor gatherings, converted solar path lights stand ready to lend their sparkle while benefiting our planet.
With such ingenuity on display, it’s essential to explore alternative lighting options that can harness energy in different ways.
Hand-Cranked Light Sources
Hand-cranked lights have become a staple in the toolkit of individuals preparing for emergencies. They operate independently of external power sources, ensuring that during a prolonged power outage, especially one resulting from natural disasters, you can still illuminate your space. There’s something reassuring about knowing that by simply turning a crank, you hold the power to create light in dark times.
How They Work
The mechanics behind these devices are surprisingly simple yet innovative. When you turn the crank, it generates mechanical energy that is converted into electrical energy and stored in a rechargeable battery within the device. This means that you don’t need to rely on disposable batteries or outlets; all you need is your own effort!
For example, a typical hand-cranked generator can produce about 6-12 watts of power, enough to keep an LED bulb shining brightly for around 30 to 60 minutes with just a couple of minutes of cranking.
This simplicity makes cranked lights robust options in emergencies, as their functionality does not wane due to lack of infrastructure.
One notable model is the Thorfire Lantern, which not only outputs light but also serves as a charger for small electronics like phones and tablets. Imagine being in a situation where your phone battery has dwindled to critical levels, and suddenly, with a bit of cranking on your lantern, you’re able to send an important message or make that call. It adds an extra layer of convenience when every second counts.
Benefits Over Traditional Lighting
Choosing hand-cranked flashlights as part of your emergency preparation strategy is smart for several reasons. Reliability stands at the forefront—these devices are durable and can last for years with proper maintenance. They eliminate the anxiety that comes with running out of batteries or needing electricity. Instead of worrying about dwindling supplies or unexpected outages, you simply think of it as exercising your arm while supplying necessary light.
Additionally, safety is paramount; unlike candles or oil lamps which can potentially cause fires or emit harmful fumes, hand-cranked lights provide clean illumination without these risks. Plus, they often come equipped with LED bulbs that consume less energy while providing brighter lights compared to traditional bulbs.
Finally, adding a hand-cranked light source to your emergency arsenal aligns perfectly with sustainable practices—it encourages self-sufficiency and empowers you to manage light source needs without contributing to waste from disposable batteries.
With the practicality and independence offered by such light sources, let’s explore some essential strategies for enhancing your overall emergency preparedness.
Practical Tips for Emergency Lighting
When the lights go out, having reliable emergency lighting is just as crucial as knowing how to cook without electricity. Creating a dependable system within your home can significantly ease the anxiety of a power outage. The key is not only about having light but also ensuring it’s accessible and functional when you need it most.
One of the best steps you can take is to ensure you have a variety of lighting options suited for different situations. This means not relying on a single type of light source but embracing several methods that can fill in various needs—whether it be indoor illumination, outdoor usage, or personal mobility.
You might find LED lanterns perfect for large areas, while smaller devices like headlamps or flashlights work well for close-up tasks or moveable needs.
In organizing your emergency lighting toolkit, follow these important guidelines:
-
Keep Lights in Accessible Places: Have designated spots for all your lighting devices so they are easy to locate in the dark. A multi-tiered approach works wonders: one light source in each room, hung near exits or kept on tables where you most often host gatherings.
-
Regularly Check and Maintain: Develop a habit of routinely examining your lights and ensuring batteries are charged. It’s similar to how we apply seasonal maintenance checks on our vehicles; consistency here ensures readiness in times of crisis. Try marking your calendar every six months for this important task.
-
Educate Your Family: It’s not enough to simply have lights available; ensure everyone knows how to operate each light source. Host a small family session where you gather around your various tools—demonstrate their operation and output so that no one feels overwhelmed by unfamiliar gadgets during an emergency.
Ask yourself: Are your emergency lights ready for action?
Simply having backup light sources isn’t sufficient if no one knows how to harness their power when darkness descends unexpectedly. An effective lighting checklist can bolster confidence among family members, preparing everyone for a team-oriented response when needed most. After all, having a plan in place ensures that comfort and safety come first rather than scrambling around blindly when panic escalates.
An organized and educated approach to emergency lighting equips you to handle unexpected power outages with assurance and preparedness. By incorporating multiple reliable sources, you can create a system that brings peace of mind in uncertain times.