
As the summer sun blazes down, the quest for a cool refuge becomes all too real. If air conditioning isn’t an option, don’t fret! There are plenty of DIY emergency cooling solutions that anyone can whip up at home. From creative uses of natural materials to clever tricks with common household items, these methods not only help lower the heat but also save energy on those scorching days. With a little ingenuity and some simple steps, you’ll be able to transform your space into a comfortable haven without breaking the bank or relying on power. Let’s dive into some practical ideas that will keep you cool even when the temperatures soar!
Some effective DIY emergency cooling solutions include creating evaporative coolers with fans and ice, using wet towels for personal cooling, covering windows with reflective materials to block sunlight, and utilizing homemade ice packs applied to pulse points. These methods can significantly reduce indoor temperatures while conserving energy during heat waves.
Utilizing Natural Shade
The benefits of natural shade go beyond mere aesthetics; they significantly contribute to regulating temperature indoors, providing a much-needed respite from the heat outside. By strategically planting trees and using other forms of foliage, you can block direct sunlight, creating cooler spaces that reduce reliance on air conditioning.
Imagine waking up to a refreshing environment where the sunlight filters gently through leaves rather than pouring down relentlessly onto your roof.
Research underscores these advantages. For instance, proper landscaping can lead to a remarkable decrease in air conditioning costs—up to 50% in unshaded homes according to the U.S. Department of Energy. This means not only saving money but also enhancing comfort during those sweltering summer months.
Planting deciduous trees is one of the simplest yet most effective strategies for shading your home. These trees are particularly valuable because they provide dense leafy cover during the summer, blocking harsh sun rays while allowing warmth to filter through in winter when their branches shed leaves. A smart placement on the southern and western exposures will yield the best results, as these sides receive the most sun during peak hours.
And let’s not forget about the joys of vines! Consider adding trellises adorned with climbing plants like ivy or wisteria alongside windows to create instant shade. Not only do they offer a charming touch to your home’s façade, but during the hottest months, they can keep indoor temperatures noticeably more pleasant.
Take it from Jane, a homeowner in Texas: “After planting maple trees on the south side of our house, we noticed a significant drop in indoor temperatures during the summer, making our home more comfortable without relying on air conditioning.” Her experience highlights how these changes can translate into real-life comfort and efficiency over time.
To maximize the cooling effect, think about layering various types of greenery. For example, short shrubs can be positioned near walls to add another level of insulation by reducing heat radiating from hard surfaces like concrete or brick. Additionally, maintaining healthy plant life through regular watering and upkeep will ensure their effectiveness continues throughout their growing seasons.
Utilizing natural shade not only provides immediate relief from heat but also fosters an eco-friendly atmosphere that enhances your living space’s long-term comfort. As we explore further solutions for cooling your surroundings, we’ll turn our focus toward methods that involve improving insulation techniques to combat rising temperatures effectively.
Heat Reduction Through Insulation
Proper insulation serves as a barrier between your cool indoor oasis and the intense heat outside, making it an essential component in everyone’s quest to beat the summer heat. This means ensuring that your home actively resists the heated invaders lurking outside. Sound appealing? Let’s explore how you can enhance your home’s insulation.
1. Add Attic Insulation
Attics are notorious for trapping heat, making them the first place to focus your insulating efforts. Adding materials such as spray foam or fiberglass insulation can be incredibly effective.
The spray foam expands to fill every nook and cranny, creating an airtight seal that significantly reduces heat transfer. On the other hand, fiberglass batts are popular due to their affordability and ease of installation. Either way, ensuring that your attic remains well-insulated will keep your home up to 10 degrees cooler compared to those lacking proper insulation.
Imagine entering a pleasantly cool room after stepping out from the blistering hot sun!
However, help isn’t just limited to what goes up in your attic; sealing gaps and cracks around your home can also make a world of difference.
2. Seal Gaps and Cracks
You’d be surprised how much hot air creeps inside through seemingly minor openings around windows, doors, and other entry points. Applying weatherstripping or caulking is a simple yet powerful method for sealing these gaps.
Weatherstripping fits around movable parts like doors or windows, while caulking works wonders on stationary seams. This adjustment enhances your home’s thermal efficiency significantly, helping keep the warmth out and the coolness in—just picture it!
Walking through a sealed door that keeps the muggy air firmly outside feels like stepping into another world.
With barriers fortified against unwanted heat, let’s not forget about enhancing the walls themselves!
3. Insulate Walls
Insulating walls can yield impressive results, especially in older homes where wall cavities may have been left uninsulated for years. Utilizing foam panels or blown-in insulation provides an excellent upgrade.
Foam panels will fit snugly against interior walls and offer high R-values for optimal efficiency, while blown-in insulation fills irregular spaces effectively and creates a uniform thermal barrier. Together with attic insulation and sealed openings, your home’s cooling capabilities will reach new heights, ensuring it remains a cool retreat in the summer months.
Investing time and resources into these insulation techniques establishes a more comfortable living environment year-round, not just during summer heat waves.
As we think about how to further cool down our living spaces without power sources, let’s consider another innovative approach that utilizes DIY methods to create refreshing air flow.
Homemade Air Coolers
Imagine walking into your living room after a long day in sweltering heat, only to be greeted by a refreshing burst of cool air. That sensation isn’t just for those with fancy air conditioning systems; it can be easily achieved with some DIY ingenuity. Homemade air coolers not only help lower indoor temperatures but also allow you to be resourceful and creative in crafting solutions suitable for your space. The joy of constructing your own cooling device adds an extra layer of satisfaction when it actually works!
DIY Bucket Air Cooler
Let’s explore the mechanics of creating an efficient homemade air cooler using basic materials. To start off, you’ll need a 5-gallon bucket, a small battery-powered fan, and a couple of PVC pipes. Choose pipes that are around 4 inches in diameter to maximize airflow effectively. With this setup, you’ll have everything needed to create a surprisingly powerful little cooling unit.
Now that you’ve collected the necessary materials, let’s walk through the true magic of assembly.
Begin assembly by cutting holes near the top edge of the bucket for the PVC pipes and another hole in the lid for the fan. Ensure that one end of each PVC pipe protrudes outside the bucket to allow cool air to escape while the other end is directed inside toward the ice. Afterward, attach the fan securely to the lid so it blows air down into the bucket. This setup ensures that as air moves over ice, it cools significantly before flowing back into your room through the pipes.
Once your new DIY air cooler is assembled, it’s time for some refreshing action!
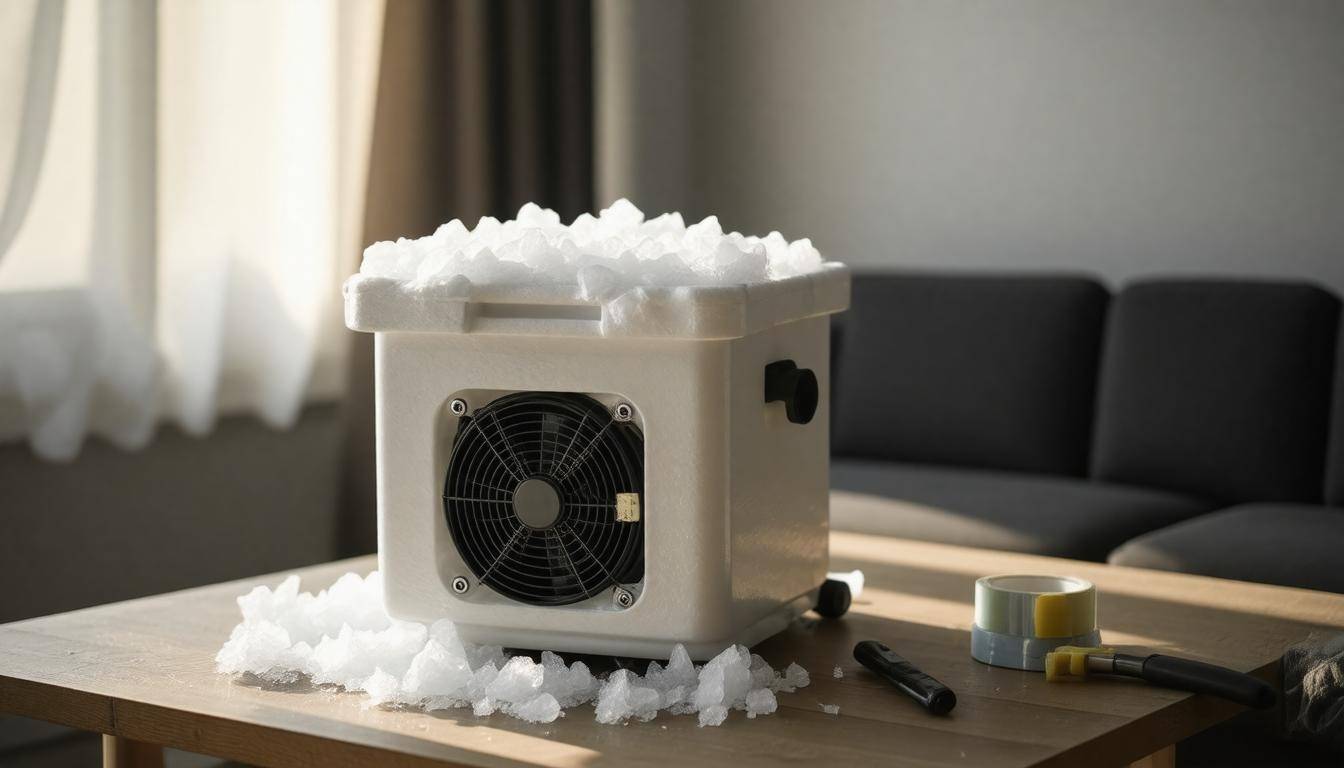
Fill your bucket with ice, packed tightly but carefully so as not to overly compress it. Close the lid snugly and turn on the fan, instantly kicking off your cooling experience. As warm air enters through the top and travels down toward the ice, it transforms into a crisp breeze flowing through the pipes into your space.
Users have reported temperature drops between 10-15°F within minutes of turning their coolers on—impressive for such a simple design!
Don’t forget about maintenance: replacing ice frequently will optimize cooling efficiency. Checking on your cooler every few hours will keep that refreshing airflow going strong.
In addition to this bucket cooler, there are countless other designs worth exploring, allowing you to customize based on what suits you best. Let’s now consider how we can enhance this experience by making effective use of available fans.
Effective Use of Fans
Fans are incredibly versatile and can be strategically placed to create a refreshing breeze even when temperatures soar. Positioning is key; placing fans near windows allows you to draw in cooler air during the evenings, while by day, they help expel warm indoor air.
Imagine setting your fan to face outward during the hottest hours, pushing the warm air out and pulling the cool evening air in when temperatures drop. This method works incredibly well for those who live in areas with significant temperature variations between day and night.
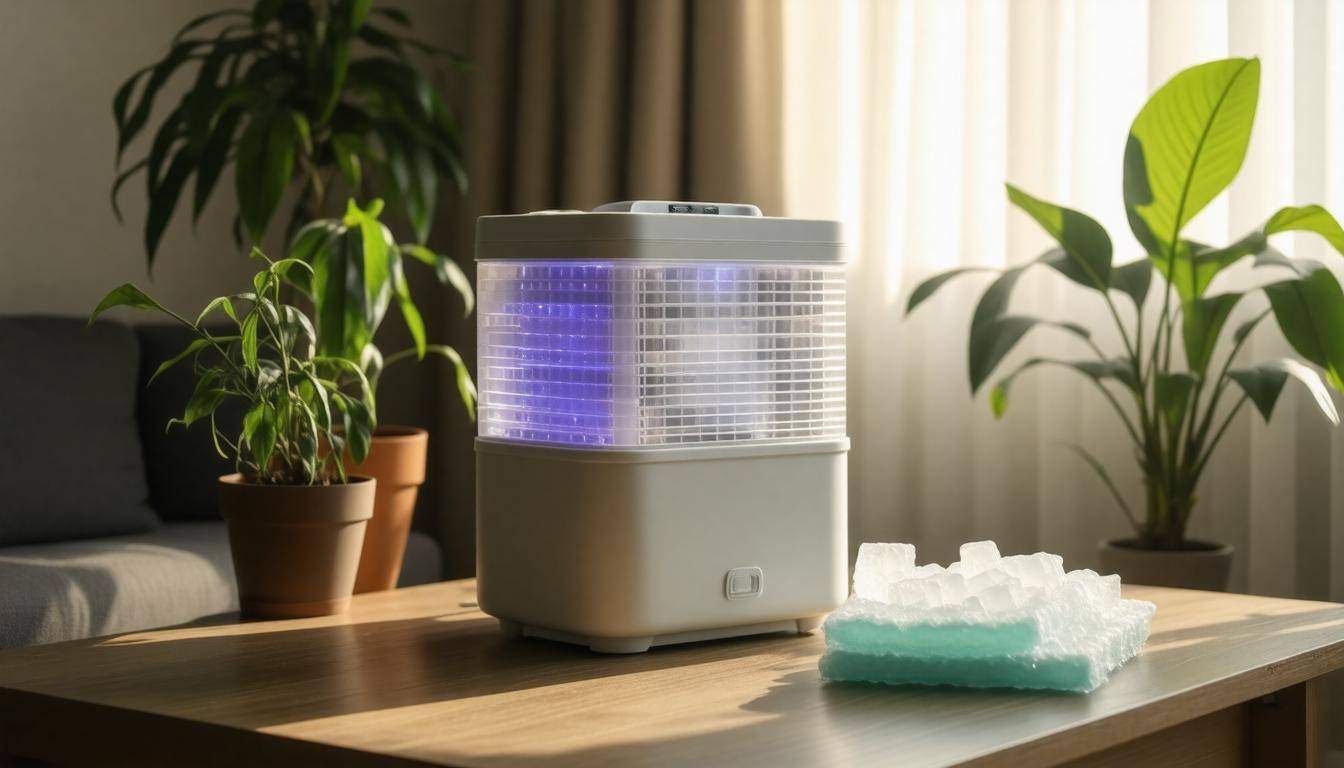
For an immediate cooling effect, try adding a bowl of ice or frozen water bottles in front of your fan. As the air blows over the ice, it cools down significantly—often by about 10-15°F (5-8°C). It’s a simple setup that can make a world of difference on sweltering days.
Think back to those hot summer nights when you wished for just a little relief. By combining this simple ice hack with an open window policy at night, you cool your space while significantly increasing airflow—making a small room feel much more comfortable.
Another way to amplify your cooling strategy is through careful fan placement around your living space.
Using multiple fans can create a powerful wind tunnel effect, enhancing perceived cooling by up to 20%. To achieve this, consider angling one fan upwards to direct cooler air from the floor upwards. Hot air naturally rises, so drawing cooler air from below and directing it throughout the room helps maintain a more balanced temperature.
This requires some arrangement but once set up, you’ll notice how inviting your space feels as the airflow circulates consistently.
Just imagine an impromptu fan dance party: multiple fans whirling harmoniously to keep everyone cool while they lounge!
It’s also crucial to maintain these fans for optimal performance.
Clean fan blades periodically to eliminate dust build-up that can reduce airflow efficiency by as much as 30%. A quick wipe-down will keep them functioning at their best, ensuring that each gust of wind actually contributes to cooling rather than recirculating stagnant air.
Additionally, utilizing battery-operated or hand-crank fans gives you peace of mind; whether it’s stormy weather or a late-night snack run on a hot summer evening, you always have that reliable source of airflow right at your fingertips.
These cooling techniques are particularly effective under low humidity conditions. In these cases, evaporative cooling can further drop indoor temperatures significantly. However, in humid climates, fans provide essential ventilation but may need to be supplemented with additional methods to combat both heat and moisture effectively.
By integrating these strategies into your home during extreme heat situations, you’ll remain comfortable despite any lack of electric power.
As we explore different methods further, another technique stands out by leveraging natural elements to create cooling effects without any power consumption.
Evaporative Cooling Techniques
Evaporative cooling is a brilliantly simple method that harnesses the natural properties of water to bring relief from extreme heat. At its core, it works on the principle of evaporation, which absorbs heat from your surroundings and lowers temperatures in the process—it’s nature’s own air conditioning system. Essentially, when water evaporates, it needs heat to convert from liquid to gas, taking this heat from the air around it. This process can significantly impact indoor climates, particularly in dry conditions.
Step-by-Step Evaporative Cooling
The first step you’ll want to try is soaking towels or sheets in water. After wringing them out, hang them in front of open windows or fans. As the warm air blows through the damp fabric, it cools off before reaching you—an instant refreshment! This technique not only lowers room temperatures but also adds some much-needed humidity to the air, which can be beneficial during those sweltering days.
Another effective approach is to utilize a misting bottle filled with water. Lightly spray yourself while sitting in front of a fan; as the moisture evaporates from your skin, you’ll experience a delightful cooling sensation. This method is particularly helpful indoors and can provide quick relief if you’re feeling overheated.
It’s worth noting that according to HVAC studies, evaporative cooling can reduce indoor temperatures by up to 20 degrees Fahrenheit when humidity levels are low—making it one of the most efficient DIY cooling methods available!
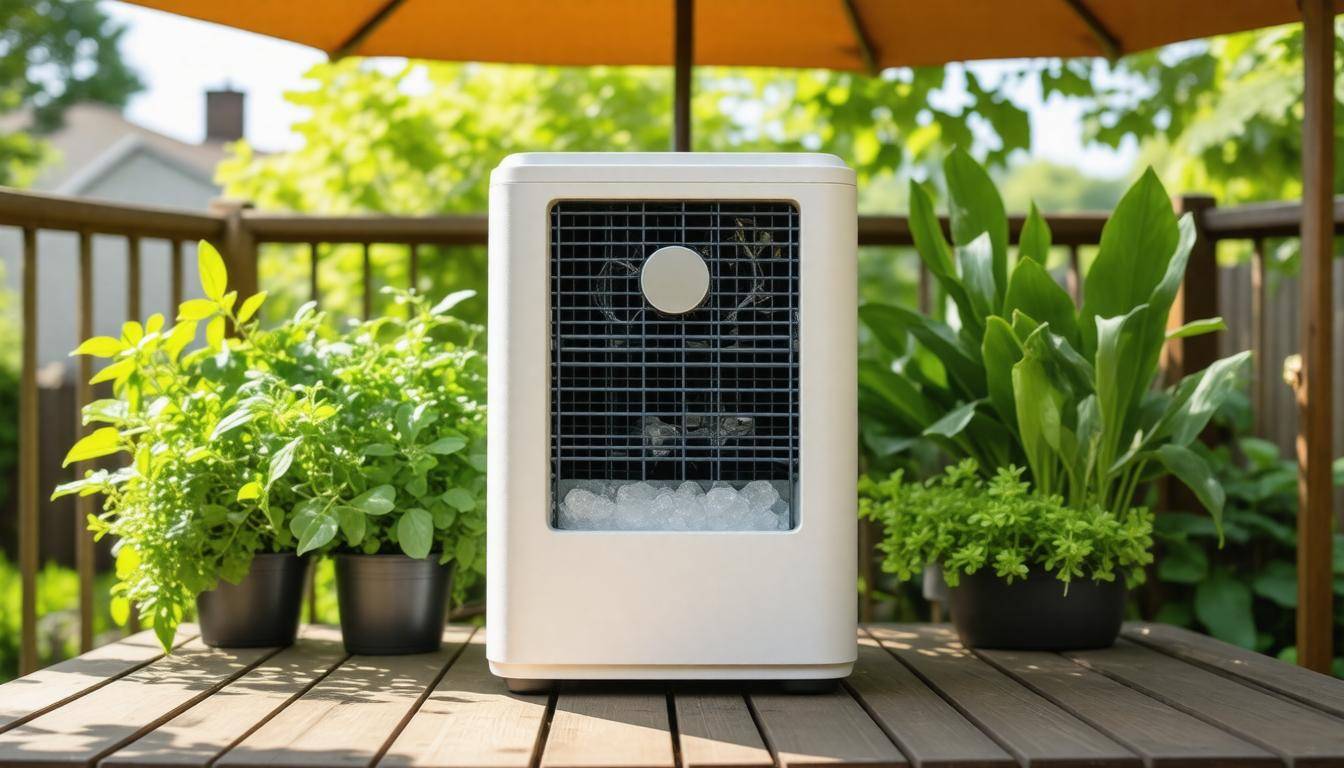
To enhance the efficacy of these techniques even further, consider creating a DIY evaporative cooler. You can assemble one using a fan and a shallow container filled with ice water or frozen bottles. Set the fan to blow across the ice-cold surface; as air moves over it, you’ll feel an immediate drop in temperature due to evaporation happening at the surface of the ice. It’s like having your mini air conditioner without needing any electricity!
These practical methods emphasize utilizing simple materials around your house for refreshing relief from summer heat. With efficient implementation, you’ll find comfort amid soaring temperatures, setting the stage for exploring various materials that can adeptly manage heat.
Reflective Materials for Heat Control
Reflective materials serve as excellent tools for combating indoor heat. Simply put, they redirect sunlight away from your home, helping you conserve energy and maintain a cooler environment. Whether it’s aluminum foil, mylar blankets, or specialized window films, these materials can make a noticeable difference in your comfort level during scorching summer months.
Using Aluminum Foil
One of the simplest solutions is aluminum foil. It may seem like an everyday kitchen item, but its thermal properties are remarkable when applied correctly. To utilize this resource effectively, cover your windows with aluminum foil, ensuring the shiny side is facing outwards. This reflects sunlight before it has a chance to enter your home.
When securing the foil, painter’s tape can help hold it in place without leaving a significant residue upon removal. Plus, it’s easy to take down when you no longer need it—just peel and go!
Using Reflective Window Films
If you’re looking for something more permanent than aluminum foil, consider applying reflective window films directly onto your glass windows. These films can be found at most hardware stores and are typically straightforward to install by following the manufacturer’s guidelines. The advantage here is that they allow you to maintain aesthetics while significantly cutting down on heat gain.
While some might contend that using these films can block natural light, it’s crucial to weigh this against the benefits of cooling your interiors. The trade-off often leans towards enhanced comfort; after all, what’s the use of beautiful sunlight if it turns your living room into a sauna?
In addition to these methods, using materials with high reflectivity can amplify your cooling efforts further. For example, mylar blankets used in emergency situations have reflectivity rates between 90-95%. Even painting roofs with white or lighter shades can dramatically improve their thermal performance—anything that keeps the heat outside during peak hours will contribute positively to your indoor climate.
Employing reflective materials provides a practical approach to managing heat without relying on fossil fuels or costly electricity bills. As we further explore effective strategies for staying cool, let’s also consider best practices for maintaining comfort during the night when temperatures often dip.
Nighttime Cooling Strategies
Exploiting the drop in temperature at night is one of the simplest yet often overlooked methods for cooling your living space. The first step is to open all windows and doors that lead to the outside, allowing that precious cooler air to flow in. This is particularly effective if you live in an area where temperatures can swing significantly from day to night, especially during summertime. Just imagine lying in bed as the gentle, cool breeze sweeps through your home, providing sweet relief from the sweltering heat of the day.
Strategic Ventilation
To optimize this natural cooling method, consider setting up fans strategically around your home. Position one fan on the cooler side—usually facing outward near a window so the cooler breeze enters—and another fan on the warmer side directed outward. This arrangement creates a cross-breeze effect, effectively flushing out hot air while drawing in refreshing evening air.
Mike from Arizona shares his experience: “By strategically placing fans, we’ve experienced much cooler nights, making it easier to sleep even during the hottest months.” Such testimonies highlight just how impactful simple adjustments can be.
Experiment with fan positioning until you find what works best for your space. Factors such as the size and layout of your rooms play a significant role in airflow efficiency. Keeping internal doors open during this process encourages more air movement and enhances your cooling efforts.
Additionally, incorporate reflective materials as part of your nighttime strategy. As you pull back blinds or take down curtains to let fresh air in, consider any heavy-duty coverings that could improve efficacy. Utilizing blackout curtains overnight can keep internal spaces cooler by preventing residual heat from seeping back in when windows are closed again at dawn.
For those particularly humid nights, set up a bowl of ice or a frozen water bottle in front of your fan. This method amplifies the cooling effect by rapidly lowering the temperature of the airflow passing through it, creating a refreshing breeze that can lower perceived temperatures significantly.
Make it a habit to follow these steps nightly during peak heat months—it’s a small commitment for much greater comfort. Once you’ve established a routine and created an environment conducive to cooling down at night, those muggy days will become far less unbearable while ensuring better sleep quality overall.
As we consider these short-term strategies to alleviate discomfort, it’s also essential to think ahead about long-lasting measures to prepare for future oppressive conditions.
Preparing for Future Heatwaves
Proactively preparing for extreme heat is like fortifying a castle against invading forces. Just as a strong fortress can withstand sieges, having the right supplies and strategies in place can keep your home cool during ferocious summer heatwaves. Imagine Lisa, who learned this lesson the hard way last summer. After enduring days of sweltering heat, she vowed never to be caught unprepared again.
Step-by-Step Preparation
Stocking up on essential supplies before the hot weather hits is crucial. Battery-operated fans provide relief even during power outages—these units become lifelines when temperatures soar.
Consider adding ice packs and reflective materials to your arsenal too. Reflective materials, such as mylar sheets or reflective window film, dramatically decrease heat intake into your home by blocking sunlight, making it much cooler inside.
The next smart step is to install effective window coverings. Investing in blackout curtains or heavy drapes can significantly reduce heat gain in your home. They act like shields, preventing that stark sunlight from turning your living room into a sauna.
By keeping your windows covered during the day, you’ll notice a remarkable difference in indoor temperature, making evenings much more tolerable.
It’s also wise to keep an emergency kit handy with essential items like water, cooling towels, and hydration packs. This kit acts as an insurance policy against dehydration and discomfort during those unforgiving days when the sun blazes relentlessly.
Planning ahead goes beyond just having physical items on hand; it’s about creating a mindset of preparedness. When you know you’ve taken steps to mitigate the effects of anticipated heatwaves, there’s a certain peace that surrounds you. Being proactive allows you to absorb knowledge from previous experiences—as Lisa did—and make informed adjustments before the temperatures start climbing.
Efficient preparation not only helps significantly reduce the impact of severe heatwaves but ensures your family remains safe and comfortable throughout these increasingly common weather events.
In summary, embracing proactive measures can make all the difference in enduring intense heat. By gearing up with essential supplies and adopting smart strategies, you set yourself up for greater comfort and safety when the temperature rises.