
When cold weather strikes and your heating system fails, it can feel like you’re suddenly trapped in an icebox. We all know that staying warm is vital for comfort and safety, but what happens when the traditional heating methods let us down? Luckily, there are plenty of simple DIY emergency heating methods that you can use to keep your home cozy without too much hassle. Whether it’s harnessing the sun’s power or using common household items, these techniques are not only effective but also safe—if done correctly. Let’s explore ten practical options you can try out, ensuring warmth and comfort even when the world outside gets chilly.
Some safe DIY emergency heating methods include utilizing solar heaters, creating a heat exchanger system with an outdoor wood stove, and effectively using body heat by layering clothing and blankets. However, it is crucial to prioritize safety by avoiding high-risk methods involving open flames or unregulated electricity sources.
DIY Emergency Heating Methods: 10 Safe Options
It’s comforting to know that with a little creativity and some common materials, you can stay warm without relying solely on traditional heating systems that might fail during an emergency.
-
Solar Heat Grabbers: These devices harness sunlight to create warmth. Essentially, they’re simple structures constructed using clear plastic or glass enclosing dark materials—like black-painted rocks. When sunlight hits the grabbers, the dark materials absorb heat, which then warms the air inside. By placing this assembly in a south-facing window, you direct warm air back into your home.
-
Thermal Curtains: Think of heavy drapes as your first line of defense against cold drafts. Thermal curtains help prevent warm air from escaping through windows while also blocking cold drafts from entering. Closing these curtains at night retains heat generated during the day.
-
Heat Reflectors: A quick tip for maximizing efficiency: place aluminum foil behind radiators or other heat sources. The reflective properties of aluminum allow it to bounce heat back into the room rather than absorbing it, enhancing warmth in your living space without additional energy costs.
-
Hot Water Bottles: Classic yet effective, hot water bottles are a cozy addition to any setup. Simply fill them with hot water and place them in bed before sleep or on your lap while sitting to distribute warmth effectively.
-
Tent Over Bed: Setting up a small cold-weather tent over your bed not only adds an element of fun but also helps trap body heat as you sleep. The confined space retains warmth better than open air, improving comfort during frigid nights.
-
Layering Rugs: Surprisingly effective, layering rugs provides insulation from the cold ground beneath your feet, preventing chills from rising up through floors. If you have multiple rugs lying around, consider stacking them for added warmth.
-
DIY Radiant Heat Panels: With some metal sheets and a small flame source like tea lights, you can craft panels that radiate heat safely. Position outside initially to gather warmth, then bring them indoors; they will emit heat gradually over time.
-
Hand Warmers: A well-known companion for outdoor activities, chemical heat packs or rechargeable electric hand warmers provide immediate localized heat when needed, especially in drafty situations.
-
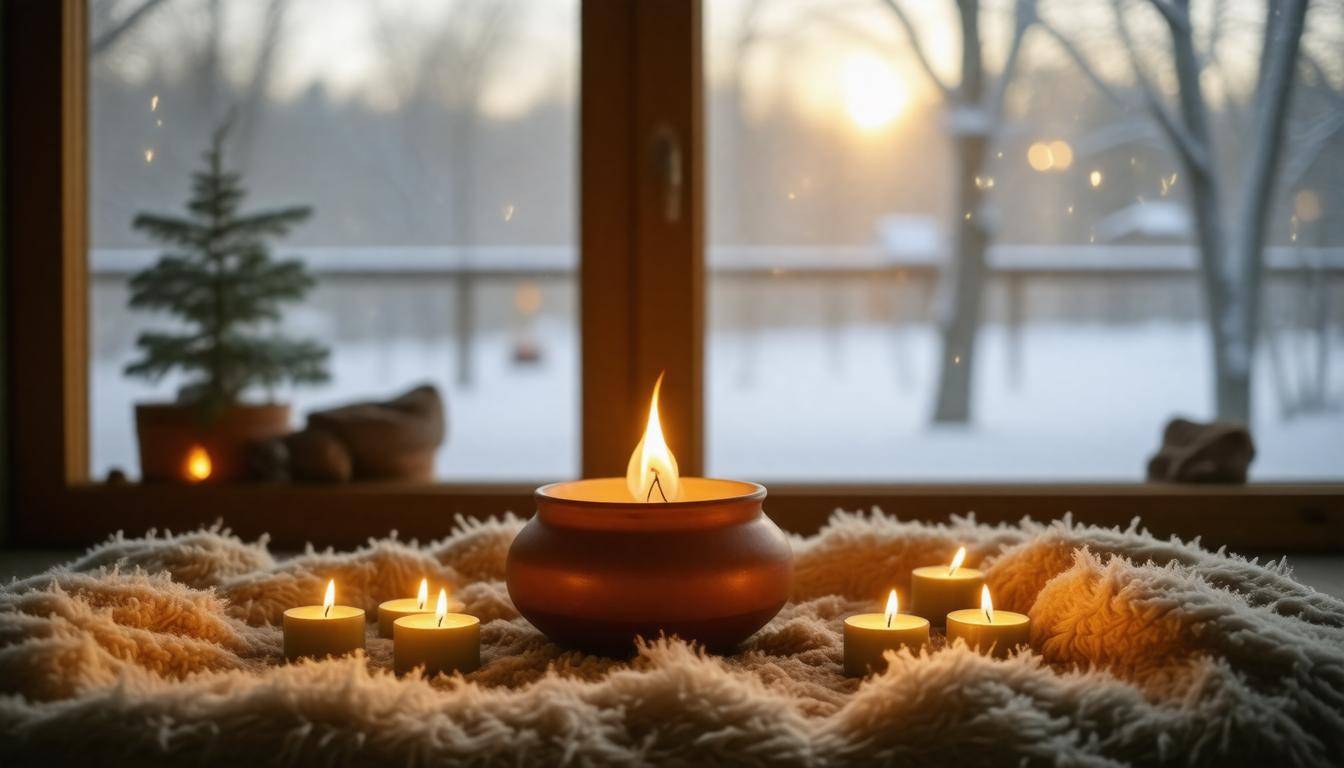
Improvised Clay Pot Heater: This ingenious method utilizes tealight candles placed under an inverted clay pot—think of it as a mini heater! The pot captures and spreads the warmth created by the candles safely indoors; ensure good ventilation.
-
Thermal Mass: Large stones or bricks heated in an oven or fire serve as excellent thermal mass elements. These materials absorb heat and release it gradually over time, providing prolonged warmth once brought indoors.
Each of these methods varies in effectiveness and application; however, combining multiple techniques can dramatically improve overall heat retention in your home during an emergency situation—ensuring that you’re cozy until traditional heating methods are restored or available again.
Safe Space Heaters
Space heaters have made a name for themselves as reliable companions during chilly nights, especially when other heating sources may be lacking. One of the greatest advantages of using space heaters is their efficiency; they provide warmth exactly where you need it, without needing to heat an entire house. However, just like any appliance that generates heat, ensuring safety should remain your top priority.
Electric Space Heaters
Electric space heaters, which come in various forms such as ceramic and infrared models, are particularly effective for swiftly warming small areas like bedrooms or home offices. These units often warm up quickly, allowing you to enjoy comfort almost immediately after turning them on. Yet, while choosing an electric heater, it’s essential to prioritize safety features.
Models equipped with automatic shutoff functions play a crucial role in averting overheating situations or potential fires. A simple mishap—like placing clothes too close to a hot surface—can lead to disastrous consequences if safety measures are neglected.
Keeping a fire extinguisher nearby and regularly checking the power cords for fraying or damage is always wise.
Gas-powered Space Heaters
On the other hand, gas-powered space heaters are invaluable alternatives when facing outages or extreme conditions. Utilizing natural gas or propane allows these heaters to function independently of electricity, which can be particularly comforting during lengthy power failures. Popular models like the Mr. Heater Big Buddy can effectively warm spaces without creating reliance on electrical systems.
However, there’s a critical aspect users must keep in mind: proper ventilation. An indoor gas heater can produce carbon monoxide—a colorless and odorless gas that is lethal in high concentrations. Therefore, keeping windows slightly ajar or having an exhaust system in place serves not only as smart practice but could potentially save lives by allowing harmful gases to dissipate.
While incorporating various heating methods can enhance warmth and comfort during cold weather events, exploring additional options will allow for safer and more efficient solutions. Let’s look into one such effective method next that many turn to when facing frigid conditions.
Effective Use of Candles
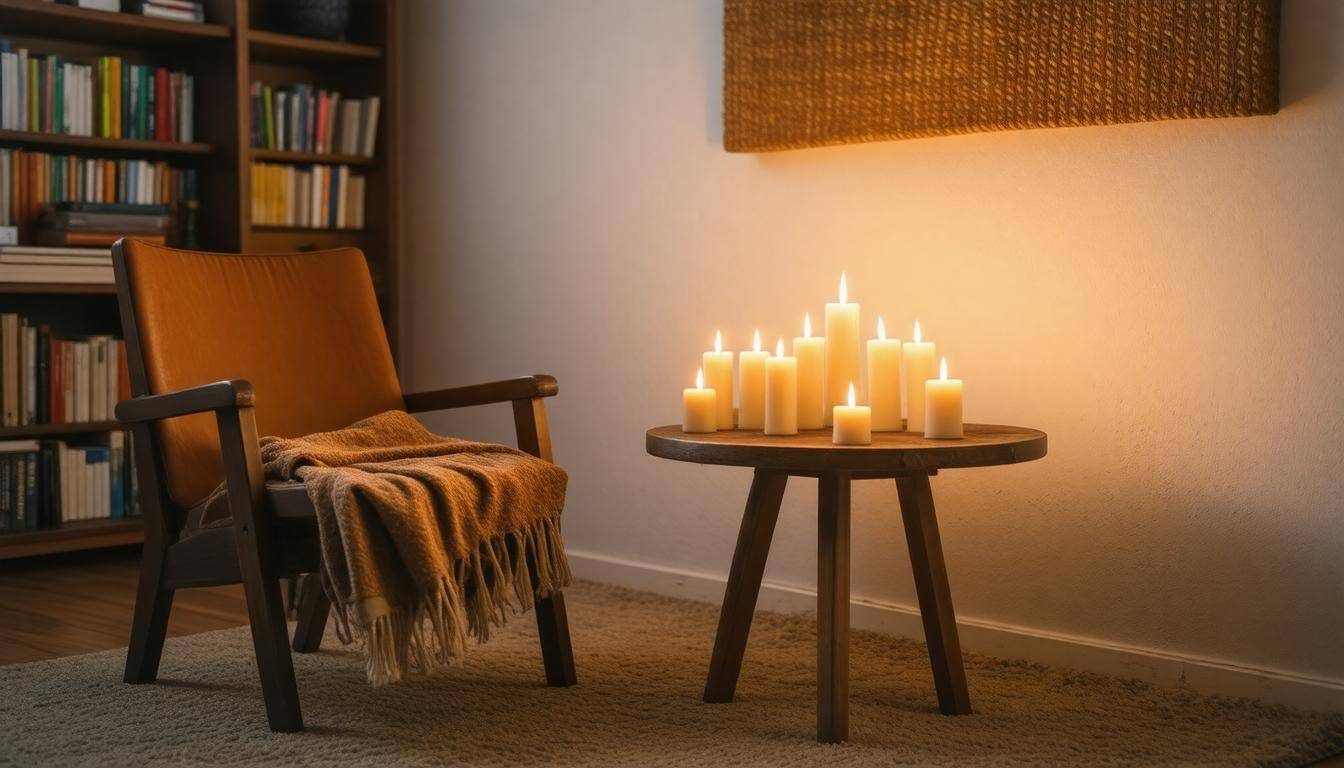
While often seen as decorative items, candles can serve a functional purpose in emergency situations. Their role in providing warmth might be modest, but it can still make a difference in a pinch. For instance, a standard candle produces approximately 80-100 watts of heat, which can help to take the chill off in smaller spaces. If you’ve ever felt that gentle warmth from just one flickering flame, you know how comforting it can be.
Candle Safety
However, it’s critical to keep safety at the forefront when using candles for heat. Never leave them unattended; a small flame can quickly turn dangerous if forgotten. Always use heavy, non-flammable holders and place them on flat, stable surfaces to prevent tipping. Position your candles at a safe distance from flammable materials like curtains or paper to avoid fire hazards. A little caution goes a long way in preventing potential disasters.
As the National Fire Protection Association (NFPA) warns us, candles account for about 3% of home fires, highlighting the need for caution and vigilance.
Creating Heat with Candles
An interesting method for maximizing heat from your candles involves using an improvised clay pot heater. By placing a few tealights underneath an inverted clay pot, you create a mini heating system that provides limited warmth to your space. The pot absorbs and radiates heat from the flames above, slightly raising the room’s temperature.
The beauty of this setup is its simplicity: with just a few everyday items, you can harness the power of candles to create comfort during cold nights or power outages. Keep in mind that good ventilation is essential to avoid carbon monoxide buildup.
As effective as these candle techniques can be in offering temporary relief, exploring additional methods of heating will enhance your comfort during particularly chilly times.
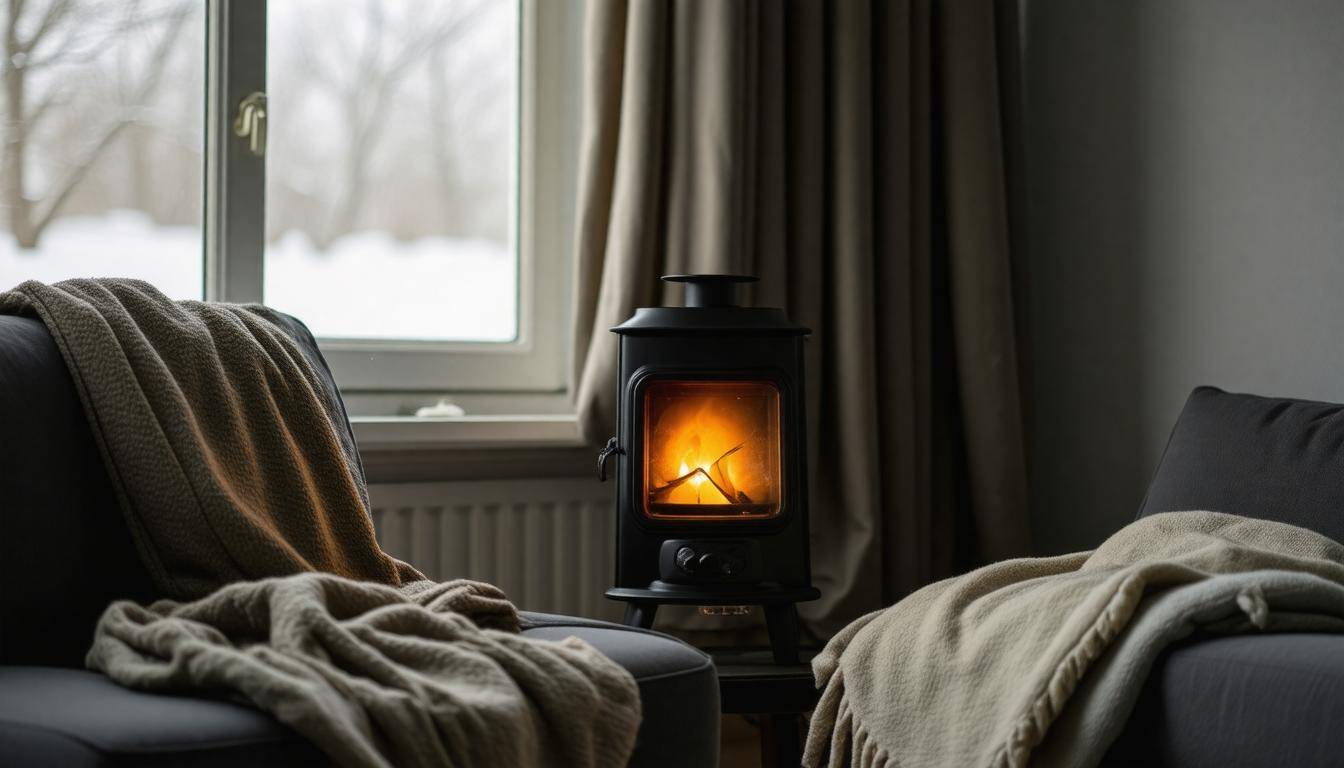
Utilizing Wood Stoves
Wood stoves have held their ground as one of the most reliable methods of DIY heating. Anyone who has gathered around a well-built fire knows the comforting warmth it radiates, especially on a cold winter night.
What makes wood stoves so appealing is not just their ability to provide significant warmth but also their efficiency when used with properly seasoned firewood. Seasoned wood, with moisture content below 20%, burns more effectively, providing higher heat output while producing less smoke.
Efficiency and Setup
Modern wood stoves are designed with efficiency in mind. They can generate substantial heat from available fuels, making them an economical choice in long-term scenarios.
However, the installation process isn’t the simplest task; it often requires professional assistance or a keen eye for DIY work to ensure proper ventilation and adherence to safety standards. A correctly installed stove will have clear piping leading to an appropriate chimney, essential for keeping smoke and carbon monoxide from entering living spaces.
To facilitate effective heating, it’s crucial to maintain a clearance of at least 36 inches around the stove—this minimizes fire hazards by preventing any flammable materials from getting too close. Besides that, regular cleaning of the chimney and stovepipe must be included in your routine maintenance plan due to creosote buildup, which can pose serious fire risks if left unattended.
Safety Precautions
When setting up your wood stove, always opt for fire-resistant materials around its periphery. This precautionary step adds another layer of safety against potential fires caused by errant sparks or overheating surfaces.
Keep your home equipped with functional smoke detectors and a fire extinguisher nearby in case of emergencies. It’s also worthwhile to invest in a stove thermometer to help monitor internal temperatures efficiently—aiming for a range of 300°F to 500°F ensures optimal burning efficiency while maximizing heat output.
Regularly maintaining your wood stove is imperative. Make sure to schedule chimney inspections at least once a year, especially prior to heavy usage seasons—this practice ensures you’re prepared and safe when those colder months hit.
For those seeking efficient and portable options for heating their space, other alternatives like fueled devices offer flexibility and versatility for various needs.
Propane-Fueled Heaters
These heaters have grown increasingly popular due to their portability and convenience, making them a reliable choice for emergency heating. Unlike traditional heating methods, propane-fueled heaters can be quickly set up in any room of your home, allowing you to create a warm haven even during the coldest days. If you find yourself considering a propane heater, it’s essential to understand not just which model to choose but also how to safely operate it within your living space.
Key Models
Among the many options on the market, Mr. Heater Big Buddy stands out. This heater is known for its high output—it can warm spaces effectively and is designed for safe indoor use, which means you won’t have to compromise on comfort when the winter chill sets in.
Another impressive option is Campy Gear, which not only heats but also allows you to cook, making it an invaluable tool during extended power outages. Imagine preparing a warm meal while keeping your space cozy; that’s the kind of versatility these models deliver.
When selecting a model, consider both the size of the area you’ll need to heat and your specific requirements—some models even come with automatic shut-off features in case of tip-over or low oxygen levels, enhancing safety further. With so many choices available, spending some time looking into reviews and specifications can really help ensure you make the right investment.
Safety Considerations
However, using propane heaters does require strict adherence to safety guidelines. It’s crucial to operate these heaters with adequate ventilation because they produce carbon monoxide. Installing a carbon monoxide detector in your home isn’t just smart; it could save your life. Ensure that the placed heater leaves enough airflow without being too close to flammable materials or walls that might become hot from prolonged exposure.
Additionally, it’s important to store your propane tanks outside of living areas. Propane is highly flammable, so storing tanks indoors or near heat sources greatly increases explosion risks. Familiarize yourself with emergency procedures if any problems arise—being knowledgeable can make all the difference when time is of the essence.
Propane-fueled heaters provide excellent service when winter storms leave us without traditional heating, while ensuring safety must always come first. Understanding how these units work and adhering to proper usage guidelines will lead to a much warmer and safer environment for you and your family as temperatures drop outside.
Beyond propane units, alternative heating solutions are available that may suit your needs, particularly during unexpected cold snaps.
Benefits of Kerosene Heaters
Kerosene heaters have long been recognized for their efficiency and robust heat output, making them an excellent choice for those in need of reliable warmth. One of their standout features is their ability to generate heat quickly and effectively, which is crucial during unexpected cold snaps. When you fire up a kerosene heater, it doesn’t take long before you feel the soothing warmth enveloping your space, creating a comfortable oasis in harsh weather.
Efficiency and Cost
A significant advantage of kerosene heaters lies in their fuel efficiency. Many designs are built to run efficiently, allowing a standard model to continue heating for up to 12 hours on a single tank. With kerosene being relatively inexpensive compared to other heating fuels, many families find that using a kerosene heater can lead to substantial savings on their overall energy bills during colder months. In essence, they are not just powerful heaters—they are economical too.
Its affordability extends beyond just fuel savings. Kerosene heaters generally require less maintenance than traditional heating systems—fewer repairs mean more savings over time. This reliability is especially important when considering emergency situations, where having a dependable heating source is crucial.
Safety Measures
Despite the benefits, safety must always be a priority when using kerosene heaters. It’s imperative that they are operated in well-ventilated areas. An unventilated room can quickly accumulate dangerous levels of carbon monoxide. To add an extra layer of protection, keep a fire extinguisher nearby and ensure smoke detectors are functional. Regular maintenance should not be overlooked; cleaning the wick and burner is vital for optimal performance and safety.
Additionally, consider investing in models with safety features such as automatic shut-off mechanisms. These automatic systems help mitigate risks associated with accidental knocks or tipping over. Kerosene heaters designed with these safety measures not only provide peace of mind but also enhance the overall user experience.
As we explore different strategies for effective home heating, one approach stands out—a method that harnesses the sun’s power to keep us warm when temperatures dip.
Solar Heating Techniques
Solar heating techniques provide a sustainable and innovative way to keep your home warm during emergencies without relying on traditional fuel sources. One of the simplest approaches is creating a DIY solar heater, which taps into the abundant energy from the sun. By utilizing common materials, you can effectively harness this renewable energy in a cost-effective manner. The key here is to absorb as much heat as possible and ensure that it’s retained.
DIY Solar Heaters
To create a DIY solar heater, begin with black-painted cans or containers, which are excellent at absorbing heat from sunlight. The heat absorption works due to the principle of thermal radiation; dark surfaces absorb more heat than lighter ones. These cans should be arranged within an insulated box—preferably made from materials like Styrofoam or wood—to help retain warmth. A clear top (like glass or plastic) allows sunlight to enter while keeping trapped heat inside.
Positioning these solar heaters near south-facing windows maximizes exposure, ensuring they soak up sunlight throughout the day.
As an added tip, consider using multiple cans in one box to increase the surface area and consequently enhance warmth generation. When properly designed, these solar heaters can significantly elevate indoor temperatures, providing vital warmth when conventional heating methods aren’t available.
Benefits
Utilizing solar heaters not only translates into economic savings but also serves environmental purposes. They reduce dependency on fossil fuels and significantly lower your energy bills by supplementing your home’s heating needs.
According to recent statistics, nearly 25% of households experience power outages lasting over 24 hours during winter storms, making such DIY solutions particularly significant. Moreover, when you engage in renewable energy practices like this, you contribute positively to climate change mitigation efforts.
Notably, investing in solar heating techniques can empower individuals—over 60% of people prepare emergency heating plans each winter, so why not make solar a part of that strategy? Beyond just being a temporary fix, it offers a sustainable solution for maintaining warmth no matter the weather outside.
As temperatures drop and you explore effective ways to generate heat, let’s consider how proper insulation can further enhance your home’s ability to retain warmth efficiently.
Insulation Tips for Heat Retention
Proper insulation is your best friend when it comes to keeping the warmth in your home during those bone-chilling colder months. Think of it as a cozy blanket that wraps around your house, ensuring all that hard work you’re putting into heating doesn’t just float out into the cold air. By focusing on the areas that matter most—like windows, doors, and attics—you can dramatically improve both comfort and efficiency.
Key Areas to Insulate
Start by addressing your windows. They’re often the biggest culprits of heat loss. To combat this, you can use thick blankets or thermal curtains that can block drafts effectively. These solutions not only help keep your home warmer but also add a touch of style and coziness to your rooms. I remember hanging those thick drapes on frosty mornings; immediately, I felt the difference in temperature as the chill was kept at bay.
Another vital area is your doors. Gaps beneath doors can be alarming when you’re trying to keep warmth inside. Installing door sweeps is a straightforward solution that seals these gaps like a whisper of protection against the cold. Just picture arriving home after a long day in the biting wind to find your living room warm and inviting instead of icy.
Lastly, let’s discuss your attic—that often-forgotten space above us. It’s crucial yet surprisingly easy to overlook. Insulating the attic helps prevent significant heat loss through the roof. You’ll want to add insulation batts or spray foam to ensure this space holds onto as much warmth as possible. It’s amazing how much energy savings you can witness when you treat this area with care; every degree matters!
Testing Insulation
Once you’ve put your insulation strategies into action, it’s time to test their effectiveness. On a cold day, measure the temperature near those freshly insulated areas—like windows and doors—before and after applying thermal barriers or sealing methods. Watching those numbers shift provides real-time feedback on how well you’ve done. I remember one winter measuring before and after—I was astonished at how just a simple set of thick curtains could change everything!
By regularly checking on these areas, you can monitor not only how effective your insulation has been but also identify spots for future improvement.
With proper insulation established, thinking about incorporating additional heating methods can create an even cozier atmosphere throughout your living space.
Combining Natural and Supplemental Heat Sources
When it comes to keeping your home warm, the best strategies often incorporate both natural heat sources and supplemental methods. Think of it like layering your clothing in winter; just as you wouldn’t rely solely on a single sweater to keep warm, you shouldn’t depend on one heating source. Instead, merging methods creates an efficient heating system that maximizes every bit of warmth available.
Layering Techniques
One practical way to layer your heating is by combining physical thermal barriers with portable heating options. For example, layering rugs on cold floors can help trap warm air that rises from below. Conversely, using heavy thermal curtains not only keeps warmth inside but also blocks out cold drafts sneaking in through windows. If you’ve ever felt a breeze next to a window on a chilly day, you know what I mean.
Once you’ve established these natural barriers, consider using portable heaters as needed. Electric space heaters or propane heat units can significantly boost comfort levels in any room. Moreover, take advantage of thermal mass objects—like bricks or large pots of water—placed near a wood stove or candle. These objects absorb heat and release it slowly over time, helping maintain a comfortable temperature even after your primary heat source has cooled down.
Strategic Placement
Positioning plays a critical role in optimizing the warmth distribution throughout your living space. Place all heating devices—whether natural heat sources like wood stoves or electric heaters—in centralized locations within your home. This strategic placement allows for the most efficient warmth circulation, helping avoid hot spots while ensuring that cooler areas receive adequate heat.
If certain rooms in your home go unused throughout the day, consider closing their doors. By doing this, you’ll concentrate the generated warmth in the rooms that matter most, especially where people gather or sleep.
Leveraging both natural and artificial heating methods lets you efficiently use available resources, reducing costs and maintaining comfort during chilling conditions.
Each method has unique benefits; therefore, ensuring a comprehensive approach equips you better for maintaining warmth during emergencies.
Incorporating a combination of natural and supplemental heating not only enhances comfort but also ensures safety in unpredictable weather situations. With careful planning and execution, you can create a cozy refuge against the cold.
How can I ensure ventilation when using alternative heating sources at home?
To ensure ventilation when using alternative heating sources at home, it’s essential to open windows or doors periodically to allow fresh air in and prevent the buildup of harmful gases, like carbon monoxide. Additionally, using exhaust fans or portable fans can enhance airflow. According to the U.S. Consumer Product Safety Commission, inadequate ventilation was a leading factor in nearly 80 percent of carbon monoxide poisoning incidents related to home heating, underscoring the importance of maintaining good air circulation while employing these heating methods.
Which DIY heating methods are the most energy-efficient for short-term use?
The most energy-efficient DIY heating methods for short-term use include using thermal mass, such as bricks or stones, to absorb and radiate heat when warmed by a nearby source like candles or a wood-burning stove. Additionally, utilizing reflective materials like aluminum foil behind heaters can enhance efficiency by directing heat into the room rather than allowing it to escape through walls. According to various studies, these methods can increase heat retention while reducing energy consumption by up to 30%, making them ideal for quick, effective home heating solutions during emergencies.
Are there any risks associated with using candles or other common items for heating?
Yes, there are significant risks associated with using candles and other common items for heating. The most prominent concerns include fire hazards and the potential for carbon monoxide poisoning when materials burn incompletely. According to the National Fire Protection Association, nearly 30% of home candle fires start in bedrooms, and over 20% of these incidents result in injuries. Additionally, using makeshift heating methods can lead to higher levels of indoor air pollution, particularly if non-approved items are burned. It’s crucial to prioritize safety and use recognized methods for emergency heating.
What materials do I need to safely create a DIY emergency heater?
To safely create a DIY emergency heater, you will need materials such as tealight candles, a metal container (like a small pot), terracotta pots, and a heat-resistant base. The tealight candles will serve as the heat source, while the terracotta pots can effectively radiate warmth due to their thermal mass. According to various DIY heating guides, using clay pots can increase the temperature output by up to 200% when used properly. Always ensure proper ventilation to avoid carbon monoxide buildup and prioritize safety when implementing these methods.
What safety precautions should be taken when implementing DIY emergency heating solutions?
When implementing DIY emergency heating solutions, it is crucial to follow safety precautions such as ensuring proper ventilation to prevent carbon monoxide buildup, keeping flammable materials at a safe distance from heat sources, and using only equipment that meets safety standards. According to the U.S. Fire Administration, heating equipment is a leading cause of home fires, accounting for roughly 50,000 incidents annually; thus, maintaining clear exits and having working smoke detectors in place significantly enhances safety during these situations. Always prioritize using methods that have been tested for safety to protect yourself and your household.