
Have you ever found yourself in a situation where you needed to start a fire but had no matches or lighter? Whether you’re camping in the woods, preparing for an emergency, or simply wanting to enjoy a cozy evening outdoors, knowing how to ignite a fire without traditional tools can be incredibly valuable. The ability to create fire opens up endless possibilities: cooking food, keeping warm, or even signaling for help if needed. This guide will walk you through five reliable methods of starting a fire without matches, helping you build confidence and skill in this essential survival ability. Trust me, with a bit of practice and the right approach, you’ll be able to spark a flame when it matters most!
Five reliable methods for starting a fire without matches include the Hand Drill, which involves creating friction between two pieces of wood; the Bow Drill, an easier variation that uses a bow to rotate the spindle; Flint and Steel, where sparks from striking steel against flint ignite tinder; Solar Ignition using sunlight focused through lenses; and the Battery and Steel Wool method that creates sparks through electrical connections. Each method has its unique advantages and requires practice to master effectively.
Fire Starting Techniques
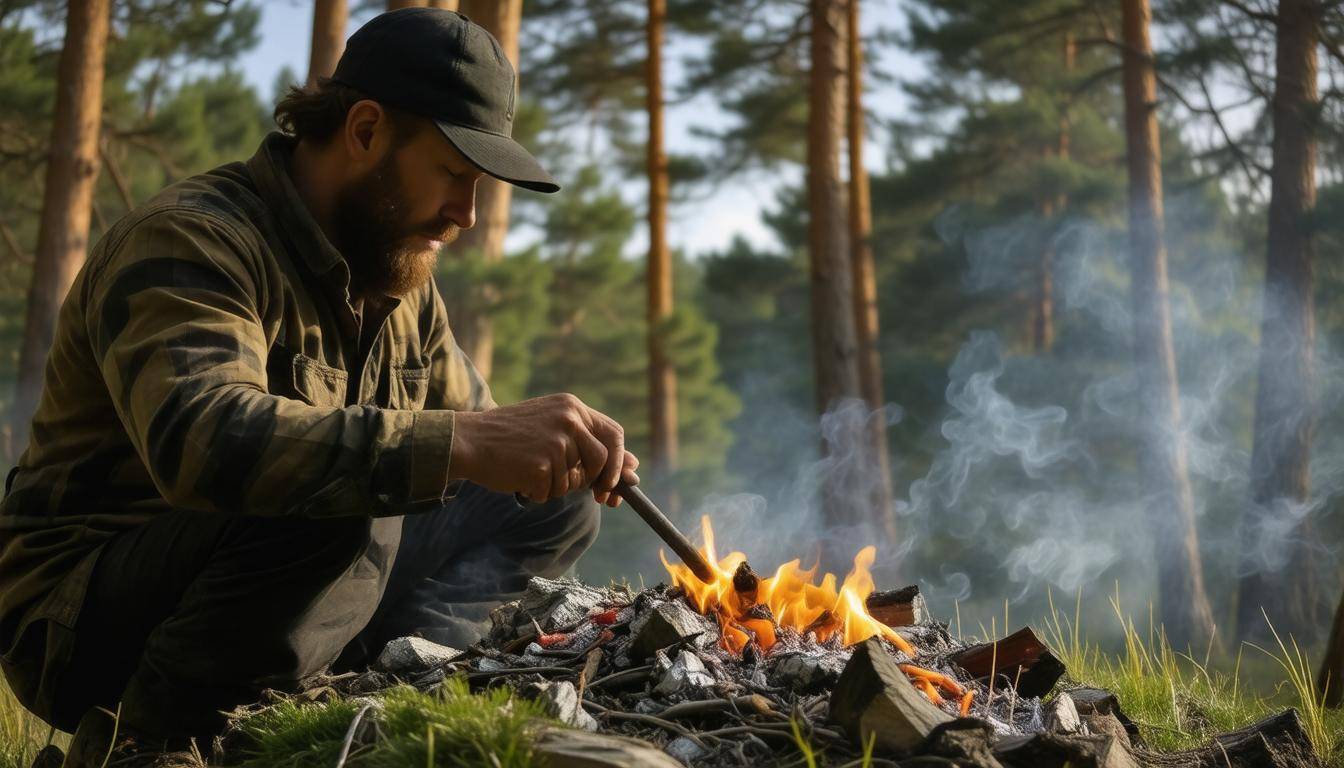
The bow drill, hand drill, and fire plough are prominent friction-based techniques that revolve around creating heat through the vigorous spinning of a wooden spindle against a fireboard. The process involves applying continuous pressure and motion to generate enough friction to produce an ember. Once formed, this ember can be carefully transferred to a nest of tinder, igniting your kindling and ultimately leading to a full flame.
However, mastering these methods requires time and practice. They are not for the faint-hearted; you will likely feel worn out after several attempts but don’t let that discourage you! Refining your technique is essential. For instance, using dry wood for both the spindle and fireboard enhances your chances of success. Consistency is key; so practice regularly until you develop the skill.
As we transition from friction to sparks, let’s explore how explosive methods can ignite fires almost instantaneously.
Spark-based techniques offer an easier alternative if you’re equipped with the right tools. Methods like flint and steel or magnesium fire starters leverage mechanical energy to generate sparks that quickly catch tinder alight. When you strike steel against flint, tiny pieces of steel create sparks that can ignite char cloth or dry grass naturally available to you.
A particularly handy tool is a magnesium fire starter; simply scrape away some magnesium shavings onto your tinder using a scraper built into its handle. This method typically requires less effort than its friction counterpart and is reliable across various weather conditions, making it an invaluable addition to any survival kit.
Moving on from spark generation, let’s examine how light can serve as a natural tool for igniting fires.
Utilizing lenses opens up another fascinating avenue for fire starting—solar ignition. Methods involving magnifying glasses or even ice shaped into lenses allow sunlight to be focused onto tinder material to produce flames. This approach works exceptionally well on sunny days when the sun’s rays are strong and direct.
For those with creative problem-solving skills, filling a clear plastic bag with water can mimic the effect of a magnifying glass, concentrating sunlight on tinder for ignition. It’s amazing how everyday items can be transformed into powerful tools in a pinch!
As you try different methods, consider environmental factors which influence their effectiveness during your fire-starting endeavors.
Best Tinder and Kindling
Quality tinder and kindling are vital components in igniting and sustaining a fire effectively. Imagine setting up for a cozy evening by the fire, only to be thwarted because your tinder won’t catch. It’s essential to gather the right materials that ignite easily and burn long enough to help your fire establish itself. Fire starting is much more than just a method; it’s about being resourceful and prepared.
Natural Tinder
When it comes to natural tinder, some of the best options include dry leaves, grass, pine needles, cotton balls soaked in petroleum jelly, and birch bark. These materials ignite quickly due to their flammable properties, making them excellent for jumpstarting your fire.
For instance, did you know that birch bark can often catch fire even when slightly damp? That reliability is what makes it such a preferred choice among outdoor enthusiasts.
But why stop there? Consider using items like dryer lint or even shredded paper as emergency alternatives if you’re ever caught unprepared. They’re surprisingly effective! Just remember: quality matters—always opt for dry materials for optimal results.
Collecting natural tinder in advance not only saves time but also significantly simplifies the fire-starting process.
Effective Kindling
Kindling is the next step in your fire-building journey. Small twigs and sticks—about the size of a pencil—are ideal since they ignite faster than larger pieces of wood. Gradually increasing the size of the wood helps maintain that initial flame’s intensity without smothering it with large logs too soon.
Arranging kindling in a teepee or crisscross pattern promotes airflow around the flames, which is critical for stoking the fire while ensuring that every piece catches fire effectively. Think of it as building a strong foundation for a house—without solid ground, everything might collapse.
To maximize efficiency, gather various sizes of kindling ahead of time. Having small branches varying from pencil thickness to thumb size allows for a smooth transition as your fire grows.
“The difference between a flickering ember and a roaring blaze often lies in how well you’ve prepared your tinder and kindling.”
Choosing high-quality natural tinder paired with appropriately sized kindling arranged for airflow can mean the difference between success and frustration when starting a fire. Go scouting for these materials ahead of time; the little effort you put into preparation will pay off tremendously when it’s time to light that match—or strike that flint!
Equipped with this knowledge about essential components, we now turn our attention to one specific technique that has been used across generations—the classic method involving striking steel against flint.
Flint and Steel Method
The flint and steel method is often viewed as a classic technique for those seeking survival skills. It’s a reliable choice that has stood the test of time, utilized by adventurers, campers, and outdoor enthusiasts alike. This method employs simple materials—flint (or quartzite) and steel—to create sparks powerful enough to ignite tinder. What makes it especially useful is its portability; you can carry a piece of flint and a steel striker in your bag or pocket with ease.
Step-by-Step Guide
To successfully employ this method, there are several steps to follow. First, prepare your materials. Gather dry tinder like grass or leaves, then procure your flint rock and steel striker—often a piece of carbon steel works wonderfully. Let’s walk through the steps together:
-
Hold the Char Cloth: Place a small piece of char cloth atop your flint. This material is essential as it readily catches sparks.
-
Strike the Steel: With both hands steady, hold the flint in one hand while using the other to strike the steel against it at about a 45-degree angle. This creates sparks that fly off the flint.
-
Aim for Success: Direct these sparks towards the char cloth. Your focus should be on getting those sparking embers onto the cloth until you see it catch.
-
Ignite Your Tinder Bundle: Once you’re successful in getting the char cloth to burn, gently place it into your prepared tinder bundle. Softly blow on it to encourage flames to dance.
This may seem straightforward, but like any skill, practice gives you confidence and efficiency. Each attempt increases your chances of success, so don’t hesitate if it doesn’t ignite on your first try.
A seasoned camper once shared, “This method has never failed me during my weekend trips.” Such endorsements highlight not just its reliability but also its timelessness in survival settings.
It’s crucial to remember that technique plays an important role in achieving success. For instance, striking too hard can break or chip the flint without producing enough sparks, while too soft a strike might not deliver the friction needed for ignition. Finding that sweet spot takes practice.
Moreover, environmental conditions affect your ability to start a fire using this method. Aim for dryer days when humidity is low since moisture significantly reduces ignition chances. Those first few attempts might require patience; overcoming these initial hurdles will make you more adept.
As you gain proficiency with this fire-starting technique, consider exploring additional methods that further enhance your survival skill set.
Bow Drill Technique
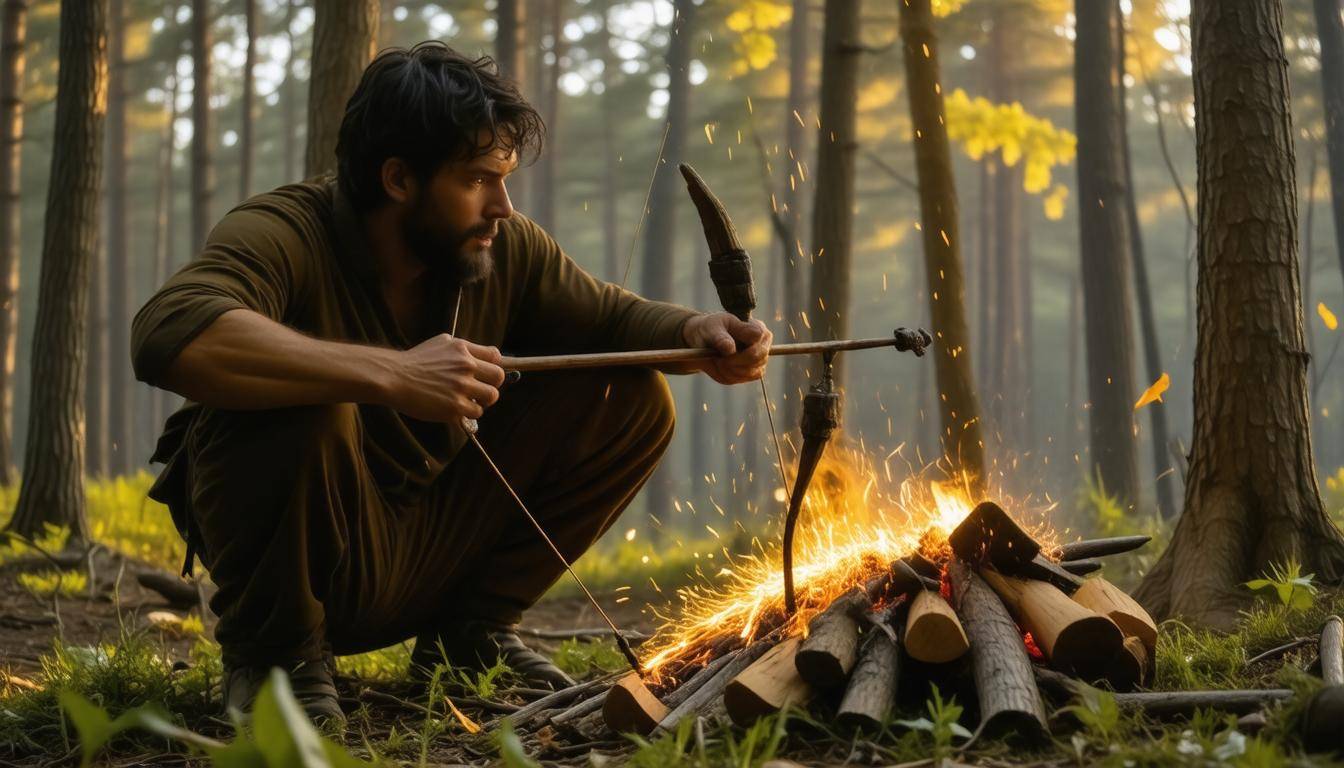
The bow drill method is an ancient technique rooted in human ingenuity, allowing us to create fire using nothing but friction. At its core, this method requires a few essential materials: a bow, a spindle, a hearth board, and a bearing block. It may sound simple, but don’t be fooled! This method requires practice and precision, much like playing a musical instrument. Mastering it can feel immensely rewarding and might mean the difference between warmth and cold under dire circumstances.
Step-by-Step Guide
Let’s walk through the steps necessary to successfully create fire with a bow drill.
The first task is gathering your materials. A bow should be about 2-3 feet long and made from a flexible branch. The spindle, roughly 6-8 inches long and half an inch in diameter, needs to be straight and sturdy—hardwoods typically work best for this. The hearth board—about one inch thick—must have a notch cut into it to catch the ember you’re trying to create. Finally, you’ll need a bearing block, usually made from a smooth piece of wood or stone that helps apply pressure on the spindle.
Once you’ve gathered your materials, it’s time for assembly.
First, make that crucial notch in your hearth board; it will collect the fine shavings produced during drilling. Position some tinder directly next to this notch as well—this will be your first home for the ember once it forms.
Next, loop the spindle into the string you’ve attached to your bow. Secure it tightly enough so that when you pull back on the bow, it turns the spindle effectively without slipping.
Now comes the magic moment: applying downward pressure on the bearing block while moving the bow back and forth rapidly. This motion creates friction between the spindle and the hearth board.
As you maintain this rhythm—a bit of elbow grease goes a long way—you will start creating fine dust from the wood particles. Keep at it until you notice tiny glowing embers forming in the notch of your hearth board.
A gentle reminder: maintaining consistent speed and pressure is key to producing that all-important ember!
After working up some serious heat and seeing those embers start to glow, it’s time to transition them into flame!
Carefully transfer that glowing ember onto your prepared tinder nest. The tender material should be dry and fluffy—the more surface area it has, the better it absorbs heat. Gently blow on this ensemble of tinder and ember with soft breaths; if done correctly, you will see flames flicker to life.
Challenge
While learning this method might initially feel frustrating—it often takes several attempts before success—it’s important to remember that proficiency comes with practice. The bow drill may challenge your patience and dexterity but think of each failure as a stepping stone toward mastery.
Throughout history, countless lives have depended on someone knowing how to harness fire through methods like this one. With perseverance and dedication, you’ll not only become competent but confident in this vital survival skill—an empowering connection to primal human traditions still relevant today.
As we continue our exploration of essential fire-starting techniques, another highly effective tool awaits your discovery—a resource that can effortlessly spark your ignition efforts even further!
Magnesium Fire Starter
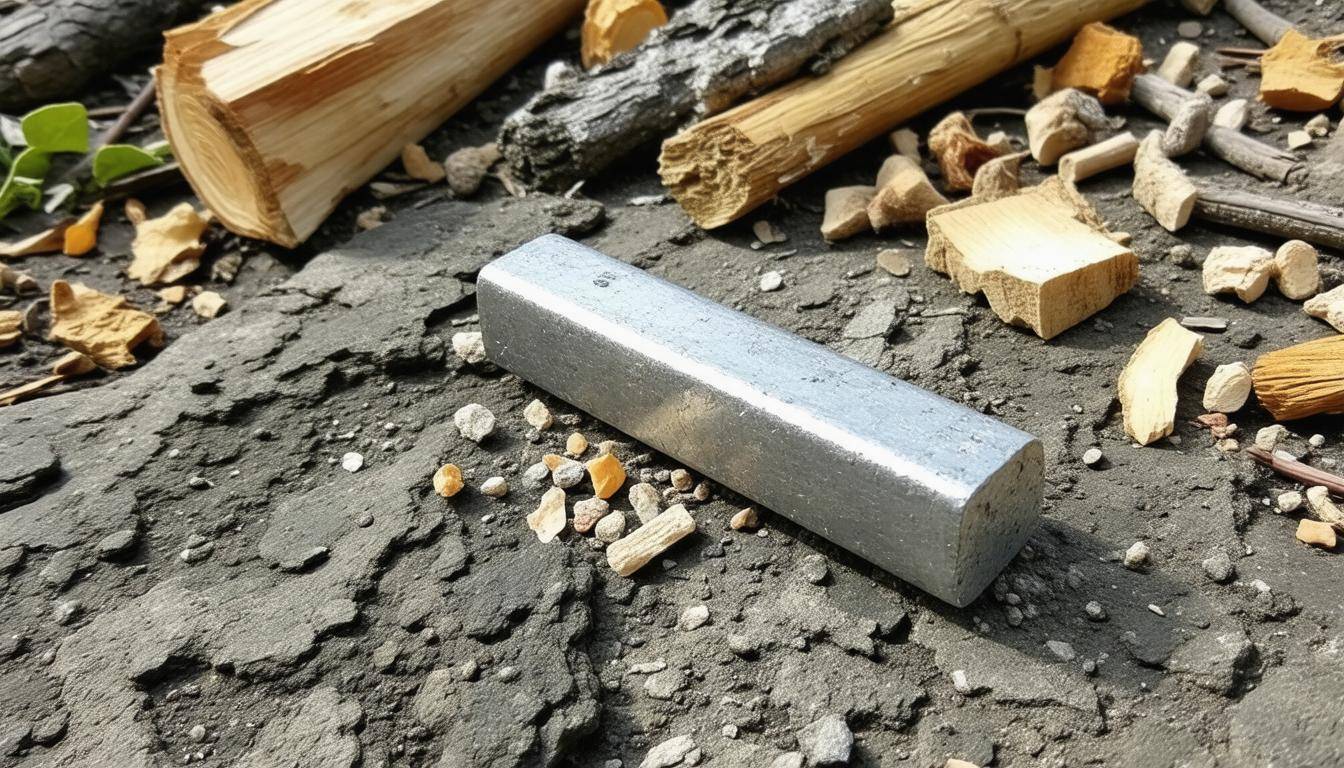
Magnesium fire starters are compact tools that provide a reliable way to ignite a fire, making them invaluable for anyone who loves the outdoors or needs a backup plan in emergencies. Their efficiency lies in their unique design: a block of magnesium paired with a ferrocerium rod. This combination produces sparks that can easily ignite tinder, even when conditions aren’t optimal. With a focus on reliability and ease of use, these starters can be the difference between warmth and exposure.
Advantages
Let’s break down some of the key benefits of using magnesium fire starters:
-
Lightweight and easy to carry: Weighing around 1.5 ounces (42 grams), you can slip one into a pocket or backpack without feeling additional weight.
-
Effective in damp conditions: The magnesium shavings ignite at high temperatures—over 1,200 degrees Fahrenheit (650 degrees Celsius)—meaning they’re ideally suited for wet weather that often hampers traditional fire-starting methods.
-
Provides a long-lasting supply of fire-starting material: When shaved into fine pieces, the magnesium ignites quickly and burns brightly for about 30 seconds, giving you ample time to introduce kindling and build your fire.
Now that we’ve covered the advantages, let’s explore how to effectively utilize this tool.
Step-by-Step Guide
To get started with a magnesium fire starter, follow these simple instructions:
(1) Scrape magnesium shavings onto a small pile of tinder: Using a knife or the back of the striker, shave off thin layers of magnesium from the block to create a small pile on top of your chosen tinder—consider dry grass, bark, or birch bark for best results.
(2) Strike the built-in steel rod with a striker to produce sparks: Hold the magnesium block steady while you scrape the steel rod against it; the resulting sparks will fly toward your tinder.
(3) Aim sparks towards the shavings until they ignite: Position your tinder pile near the magnesium shavings so that as you strike, those sparks will have direct access to catch fire.
Having practiced this process before heading out can significantly increase your confidence and success rate in starting a fire under duress.
For peace of mind during wilderness adventures or emergency preparedness, consider keeping magnesium fire starters in your go-kit. Their readiness to respond when needed allows you to enjoy your time outdoors with fewer worries about setting up camp safely and comfortably.
Armed with this knowledge on utilizing magnesium fire starters effectively, we now turn our attention to another essential technique that embodies both simplicity and reliability.
Hand Drill Method
The hand drill method epitomizes the raw, primitive art of fire-making. It’s a technique that many consider a rite of passage for survivalists and outdoor enthusiasts alike. This is not just about igniting a flame; it’s about connecting with the earth’s elements, honing your skills, and channeling patience and determination.
Steps for Success
To create fire using this ancient technique, gather the right materials. A softwood fireboard will work best; its fibers easily ignite when subjected to friction. The spindle, ideally made of dry wood, should be straight and roughly 1/4 inch in diameter. This setup is crucial because if either component isn’t compatible or in good shape, your chances of success dwindle significantly.
Prepare your fireboard by creating a small depression in its center and cutting a notch leading toward the edge—this is where your ember will collect. Next, position the spindle into that notch so it sits securely.
Now comes perhaps the most challenging part: generating friction. With both hands on the spindle, begin rubbing it between your palms while applying steady downward pressure. It’s important to maintain consistent speed and pressure throughout this process. As you rub, follow the motion you’ve developed. This isn’t about brute force; it’s about finesse and rhythm.
Remember to stay focused! The thrill of seeing smoke rise can be incredibly motivating but resist getting too eager to blow on any embers until they start forming.
Gradually, as you persist, you’ll notice smoke beginning to appear as fine powder starts forming at the base of your spindle—this is a sign you’re close! Continue until you see an ember develop; it may take anywhere from five to twenty minutes, depending on your technique and environmental conditions.
Once you have successfully created an ember, carefully transfer it to your prepared tinder bundle made up of dry grasses or finely shredded bark. Gently blowing on it will help promote combustion, transforming that small ember into a roaring flame.
Some specialists believe that mastering the hand drill method signifies complete proficiency in survival skills—hence its reputation as the ultimate test for outdoor adventurers. While it can be physically demanding, accomplishing this task provides an immense sense of achievement and boosts confidence in one’s ability to connect with nature.
Understanding these foundational techniques not only equips you with essential survival skills but also enriches your relationship with the natural world. Let’s now turn our attention to employing sunlight for ignition in an innovative manner.
Solar Ignition Approach
Using solar energy as a means to start a fire is an ingenious method that goes back centuries but feels quite modern. This approach harnesses the sun’s rays, allowing you to begin a fire without any matches or lighter. However, achieving this requires knowledge about techniques and conditions necessary for success. The essentials include dry tinder and optimal sunlight, as ambient temperature and humidity play crucial roles in your endeavor.
Techniques
In the world of solar ignition, there are several practical techniques you can utilize. These methods involve employing materials cleverly to enhance the sun’s power.
-
Magnifying Glass: One of the most reliable tools for solar ignition is a magnifying glass. You simply position it above your dry tinder, focusing sunlight onto a precise point until it begins to smoke and smolder. It’s all about creating that tiny concentrated beam of light.
-
Water Bottle: If you’re caught without a magnifying glass, consider using a clear water bottle filled with water. The curved surface can act like a lens, concentrating sunlight onto your tinder just like a magnifying glass would. Ensure the water is clear; any impurities can reduce effectiveness.
-
Ice Lens: A particularly creative option involves ice. If you’re in a cold environment, you can carve out a clear piece of ice into a lens shape. This allows for focusing sunlight directly onto the tinder material, igniting it when conditions are right.
Though solar ignition is highly effective, several factors can impact its success.
The Role of Conditions
Solar ignition works best on bright days with direct sunlight. To maximize effectiveness, hold the lens at around 90 degrees to both the sun’s rays and your tinder. Be mindful of wind and environmental humidity; higher moisture content in your tinder will require more focused energy and time to ignite effectively.
Remember: The optimum moisture level for your tinder should be less than 20%. When tinder is too moist, ignition becomes significantly harder and could take much longer—often exceeding five minutes—if it ignites at all.
Real-World Experience
Understanding these principles makes all the difference. I remember one summer outing when I needed to start a fire without matches. With nothing but my trusty magnifying glass and some dry leaves, I positioned myself under direct sunlight. I carefully angled the glass until I saw the light focus into a crisp point on the tinder below. In less than five minutes, I had created smoldering embers that quickly transformed into an unapologetically warm fire. It’s remarkable how nature provides us with such potent resources when we know how to capitalize on them.
As you gain expertise in solar ignition techniques, practicing these methods beforehand will hone your skills and increase your chances of success when it’s most critical.
Tips for Effective Fire Starting
Successful fire starting hinges on three essential elements: technique, preparation, and suitable materials. Each plays a critical role in transforming the flicker of a spark into a roaring flame. It’s not simply about having the right method; it’s about setting yourself up for success well before you even strike that first spark or create your first ember.
One key strategy is to collect enough tinder, kindling, and fuel in advance. Imagine being out in the wilderness, surrounded by nature’s beauty yet unprepared—you wouldn’t want to be scrambling around trying to find dry leaves or sticks while the sun sets. Instead, gather these materials ahead of time.
Tinder should be light and fluffy, like dried grass or small pine needles, as they ignite quickly. Kindling can be small twigs or thin branches that catch fire easily once your tinder is lit. Finally, ensure you have more substantial logs on hand to sustain your flame. This simple act of gathering means you’re ready when it matters most.
Keeping your tinder dry is equally vital. Storing it in waterproof containers can make all the difference between success and frustration. In my experience, even a small amount of moisture can render otherwise perfectly good tinder useless. Invest in lightweight zip-lock bags or a compact waterproof pouch if you’re planning a trip outdoors.
Regularly practicing various methods enhances not just skill but builds confidence as well. Just as one doesn’t become adept at playing an instrument overnight, mastering fire-starting techniques takes trial and error. Experiment with different methods like the bow drill or flint and steel until you find what works best for you. Perhaps set aside a day at home to practice these techniques in your backyard—this way, if things don’t go perfectly from the start, you’ll still be safe, warm, and able to try again.
Utilizing windbreaks and fire rings is crucial when starting a fire outdoors. A windbreak can help shield your flame from gusts that might extinguish it before it gets going. Whether it’s rocks arranged in a circle or natural barriers like shrubs, creating a controlled environment for your fire helps maintain its ignition and stability.
| Material | Ideal Use |
|---|---|
| Char Cloth | Best for Tinder |
| Magnesium | Reliable Fire Starter |
| Pine Needles | Excellent Tinder |
| Birch Bark | Great Tinder Source |
By understanding diverse techniques while remaining well-prepared with quality materials, starting a fire without matches evolves from a daunting task into an achievable survival skill. The more familiar you become with these strategies, the more confident you will feel when faced with situations where matches aren’t available. Mastering this age-old skill connects us to our ancestors who depended on fire for survival, warmth, cooking, and community—a tradition worth embracing today!