
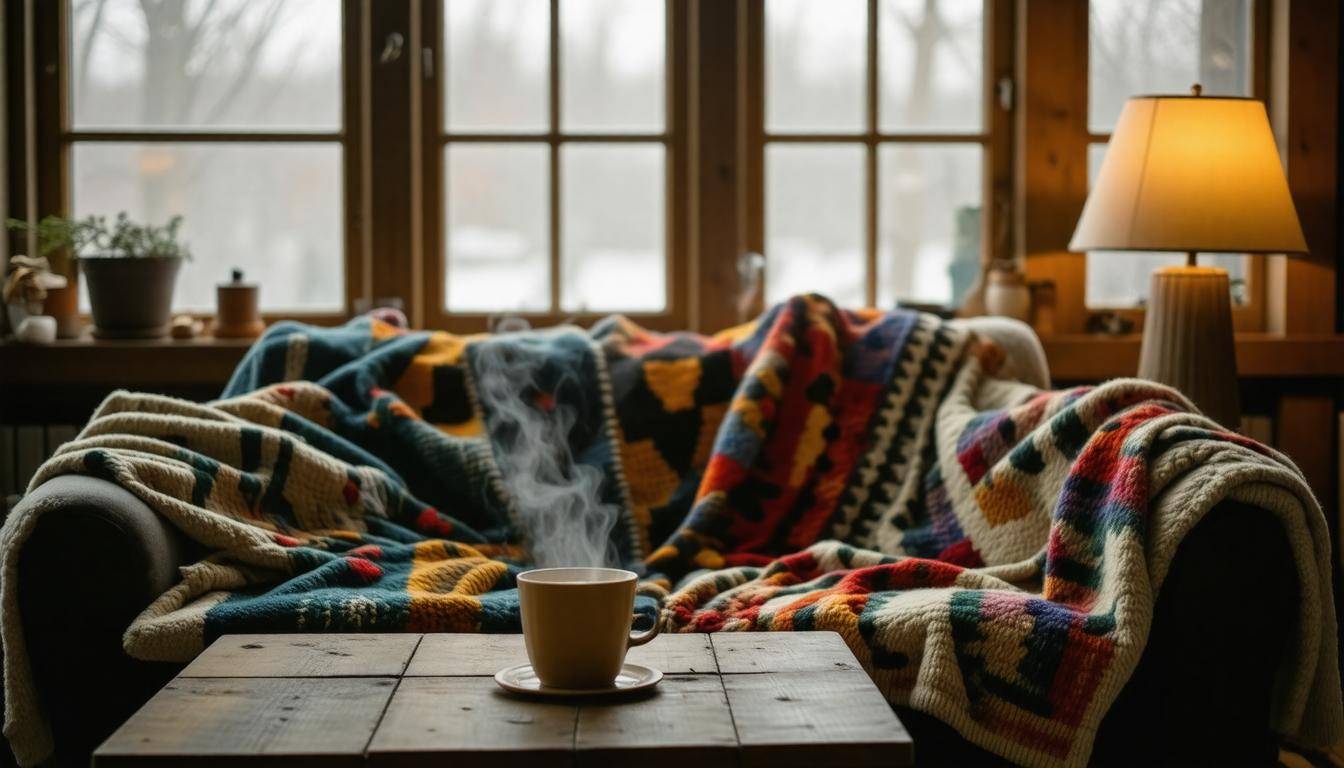
As the chilly winds of winter start to creep in, many of us begin to dread the rising costs of heating our homes. But fear not—there’s a way to stay cozy without draining your wallet! Homemade insulation is not only an affordable option but can also offer surprisingly effective results if you know where to start. By using materials that might be lying around your house or inexpensive alternatives, you can create a warm haven that stands up against the cold outside. In this guide, we’ll explore easy tips and tricks to help you keep the heat in and the cold out, all while making your home more energy-efficient. So, roll up your sleeves and let’s get to work on making your space snug and comfy for the colder months ahead!
To make effective homemade insulation for cold weather, start by identifying areas in your home where heat loss occurs, such as windows and doors. Utilize materials like reflective emergency blankets or foam board to cover these areas, and consider adding thick curtains or layers of fabric to trap heat; sealing gaps with caulk will further improve your home’s energy efficiency. Always remember to follow up with proper air sealing and ventilation to prevent moisture issues.
Best Homemade Insulation Options for Cold Weather
When considering insulation for your home, homemade options can be as effective as store-bought materials, often at a fraction of the cost. Among these options, cellulose insulation stands out due to its impressive R-value (which measures thermal resistance) and sustainability. Crafted primarily from recycled paper products, it is treated with non-toxic fire retardants, making it a safe choice for both homes and the environment. Installing cellulose can be labor-intensive; preparation involves filling wall cavities or attic spaces snugly without leaving gaps that could mitigate insulation effectiveness.
Another natural option gaining traction is wool insulation, which is renowned for its excellent thermal regulation properties and breathability. Wool not only traps warmth but also manages moisture effectively, thanks to its lanolin content that provides both water resistance and fire-retardant qualities. Though more expensive compared to cellulose, wool offers longevity and durability that can offset initial costs since it typically requires less replacement over time.
On top of these materials, there’s an increasingly popular choice: denim insulation. This option utilizes post-consumer recycled denim that provides a good thermal barrier and is non-toxic and eco-friendly. It’s lightweight and easy to handle, making it a favorable option for DIY projects in home renovation. Furthermore, its informal appearance appeals to those looking for a creative touch within their living spaces, reflecting modern sensibilities toward sustainability.
Moving beyond traditional materials, foam is another versatile solution worth exploring. Reflective foil insulation, made from layers of reflective materials, can substantially enhance energy efficiency by preventing heat transfer. It’s exceptionally effective when combined with other insulating methods. When installed correctly, it can reflect radiant heat throughout your home while remaining lightweight and easy to handle during installations.
In line with these innovations, consider using flexible insulated curtains or thermal window shades in conjunction with additional insulation methods. These can help block drafts from windows effectively while adding an extra layer of comfort during colder months. Whether you’re looking at complete renovations or simply adjusting your current setup, every little bit helps when trying to keep your indoors cozy.
Planning ahead will aid significantly — testing your setups before actual use will enable you to make necessary adjustments based on performance evaluations. Routine checks are essential; ensuring that the materials used remain effective is crucial in maintaining a warm home environment when temperatures drop outside. As we explore further into practical approaches, let’s uncover specific techniques that utilize foam to optimize insulation efforts even more efficiently.
Foam Insulating Techniques
When it comes to insulating your home for cold weather, foam insulation techniques are among the most effective and practical options available. The beauty of foam insulation lies in its versatility; not only is it effective at trapping heat, but it’s also relatively easy to work with, especially for those who enjoy a good DIY project. Understanding how to use different types of foam insulation is key to optimizing your home’s warmth during frigid months.
Types of Foam Insulation
-
Spray Foam: This method is particularly popular because it can be applied in hard-to-reach places where conventional insulation simply won’t fit. Utilizing special equipment, you spray the foam directly onto surfaces—walls, ceilings, or even under floors. As it expands, it fills every gap and crack, creating an airtight barrier.
-
Foam Board: Available in large panels, foam board is easy to cut to size and fits snugly into walls and floors. It provides solid thermal resistance and is a great choice for adding insulation to existing structures without major renovations.
-
Polyethylene Foam: Often overlooked, this type of foam is typically used for insulating pipes to prevent freezing. However, its lightweight nature makes it adaptable for wall and floor applications as well.
But what really sets spray foam apart is its unique ability to seal gaps and cracks that may go unnoticed. Picture your home; cold air sneaks in through tiny fissures around windows or doors, causing your heating system to work overtime. Spray foam expands when applied, filling those crevices completely and creating a robust air barrier.
In fact, if installed correctly, spray foam can lower energy bills significantly—by as much as 20%. Just imagine what you could do with those savings!
Beyond foam insulation options, it’s essential to remember that preparation plays a critical role in ensuring optimal application and effectiveness. Before you even pick up a can of spray foam or a piece of foam board, clean the area thoroughly; removing dust and debris will create a better bond for the material you’re about to apply.
Once your workspace is clear, make sure to measure precisely the areas you plan to insulate; this will help you determine how much material you’ll need. For spray foam applications, shaking the canister well before use ensures an even mixture for optimal performance during application.
Remember: An adequately insulated space doesn’t just keep you warm; it can also contribute greatly to your comfort levels by minimizing drafts and maintaining a consistent temperature throughout your home.
Applications Techniques
Now let’s talk about applying these materials properly. With spray foam insulation, hold the nozzle about 12 inches from the surface and apply it in a sweeping motion. Be cautious not to overdo it as too much foam can create excessive expansion beyond desired areas. Allow the foam to cure for at least 24 hours before touching it further.
If you’re opting for foam board insulation instead, cutting the boards so they fit snugly in their designated areas is crucial. Use adhesive or mechanical fasteners to secure them in place effectively so they won’t shift after installation.
Finally, don’t forget safety precautions; ensure proper ventilation when working with these materials, and always wear protective gear like gloves and goggles to avoid irritation.
By employing these techniques and considering their characteristics, you’ll not only enhance energy efficiency but also contribute positively towards overall comfort during those chilly nights ahead.
With these foundational insulating principles in place, we can now shift our attention to another practical approach that enhances your home’s warmth while tackling those pesky drafts effectively.
Crafting DIY Insulating Draft Curtains
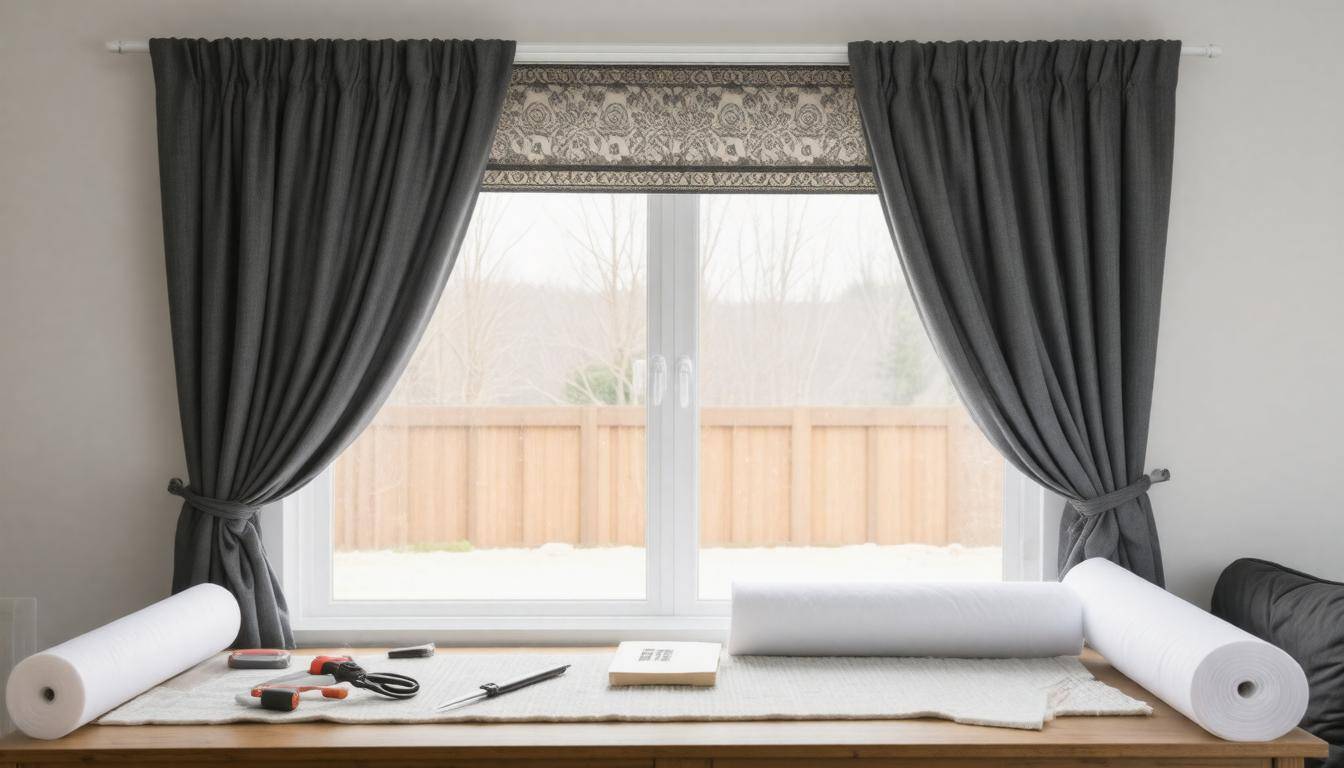
Draft curtains are a fantastic way to improve the insulation of your home without breaking the bank. They act as a barrier against cold air seeping through windows, helping to maintain a comfortable temperature indoors. The best part? You can easily craft these curtains yourself with just a few materials and basic sewing skills.
Step-by-Step Guide
To get started on your DIY project, first, gather your materials. You will need sturdy cloth—ideally something thick like fleece or wool—along with insulating foam for added protection against the chill. You’ll also need basic sewing materials such as thread, scissors, and a sewing machine. Having everything at hand will make the process smoother.
Once you have gathered everything, it’s time for cutting. Measure your windows carefully to determine the dimensions needed for your curtains. Remember to add an extra six inches on each side to ensure full coverage and prevent drafts from sneaking in around the edges. Cut both the cloth and foam accordingly.
Next comes the fun part: sewing! Lay one piece of fabric down flat, place the insulating foam on top, and then cover it with the second piece of fabric. Sew along the edges, being careful to keep everything aligned. You should aim for a tight seal that keeps the foam secure between the layers. This is where that thick material really pays off; it will create a substantial barrier against heat loss.
After you’ve sewn your curtains, installation is quite straightforward. Hang them close to your window using a curtain rod or tension rod, ensuring that they overlap slightly with the wall to minimize any remaining drafts. It’s essential for these curtains to fit snugly against the window frame for optimal effectiveness.
Many homeowners have shared their experiences with these simple yet effective solutions online; they often report significant reductions in wind chills entering their homes after installing DIY draft curtains. One particular testimony stands out: a user noted that by using these insulated curtains during winter months, they were able to lower their heating costs by 15%. Such figures underscore how impactful insulation can be when you’re trying to stay warm without cranking up your thermostat.
If you’re looking to save even more on energy costs while protecting your home from drafts, another innovative solution involves recycling plastic materials to create effective insulating barriers.
Recycling Plastic for Insulation
Plastic waste, a symptom of modern living, can be turned into a resource instead of filling landfills. By utilizing PET bottles, which are commonly found in everyday life, we can create sustainable insulation materials. When these bottles are shredded and treated, they become effective insulation batting that retains warmth while being incredibly lightweight. The process not only removes harmful waste from the environment but also offers a functional solution to improve energy efficiency in our homes.
It’s essential to remember that cleanliness is key; always ensure the plastic is free from residue and properly treated to avoid releasing harmful chemicals. Making informed choices during this step can lead to better health outcomes in your living space.
Benefits of Recycled Plastic Insulation
One major advantage of using recycled plastic is its cost-effectiveness. At approximately $0.50 to $1.00 per square foot, it stands out as a budget-friendly alternative compared to traditional fiberglass insulation, which usually costs between $0.70 to $1.50 per square foot. This significant price difference allows homeowners to engage in DIY projects without breaking the bank. Beyond just savings, homes insulated with recycled plastic materials reportedly achieve energy savings between 20% to 30% on heating costs during winter months.
In fact, studies indicate the production of insulation from recycled plastic can reduce energy consumption by up to 80% compared to conventional materials. This means you’re not only enhancing your living space but acting as a steward for the environment—something every homeowner can feel good about.
From an environmental perspective, utilizing recycled plastic has far-reaching benefits. Each year, approximately 1.5 million tons of plastic waste could be diverted from landfills through such initiatives. Not only does this recycling strategy help tackle pollution, but it also contributes to conserving resources by repurposing materials rather than relying on new ones.
However, choosing the right insulating material involves weighing both economic and environmental considerations.
| Material | Cost | Thermal Resistance | Eco-Friendliness |
|---|---|---|---|
| Cellulose | Low | High | High |
| Wool | Medium-High | Very High | High |
| Recycled Denim | Medium | High | High |
| PET Plastic | Low | Medium | Medium |
This table showcases not just recycled plastic but other eco-friendly alternatives too, providing a clearer picture of what’s available at various costs and their thermal resistance values. Understanding these attributes may broaden your options when deciding on insulation solutions suitable for your home. Tools like this help empower homeowners to make informed decisions that align with their priorities and budgets.
As we move forward, let’s assess how to gather the necessary supplies while considering both cost implications and environmental impacts.
Gathering Materials: Cost and Environmental Considerations
The decision to create homemade insulation is a wise one, not only for your budget but also for the planet. Spending a little more on eco-friendly materials may feel like a hefty price tag upfront, but think of it as an investment in your home’s comfort and energy efficiency long-term.
For instance, while traditional fiberglass insulation can range from $0.50 to $1 per square foot, eco-friendly alternatives like wool or denim insulation typically cost between $1.50 to $3.50 per square foot.
Cost Analysis
Now, why might one opt for the pricier option? Though the initial expense is higher for natural materials, their durability and performance often lead to significant savings over time. Adding insulation, particularly high-quality options, can reduce heating and cooling bills by up to 20% in specific climates. This potential saving can offset that upfront cost as soon as the seasons change and your utility bills become noticeably lower.
The true beauty lies in the longevity of these natural materials. Wool or cellulose provide excellent thermal performance and can last for decades without needing replacement. They are composed of recycled materials, offering a sustainable solution that keeps waste out of landfills.
Environmental Impact
Furthermore, it’s crucial to recognize that while many traditional insulation options involve harmful emissions during production, eco-friendly choices like wool or cellulose contribute zero harmful emissions. They’re made with a commitment to sustainable practices, which makes you feel good about your decision each time you enjoy the cozy warmth of your insulated home.
Opting for these greener alternatives can even earn you points towards sustainability certifications if you’re considering a future home sale.
As you consider the materials that align with both your budget and environmental values, it’s equally important to think about how these choices translate into practical layers of warmth inside your home.
Layering Techniques for Maximum Warmth
To fully harness the potential of your insulation efforts, it’s essential to employ layering techniques that synergize various materials and maximize thermal efficiency throughout your home. By combining different types of insulation, you not only achieve superior performance but also enhance overall comfort in your living space.
Double Layering Method
One highly effective strategy is the double layering method, where you line the interior walls with an initial layer of spray foam insulation, followed by another layer made from cellulose or wool insulation. This combination takes advantage of the unique properties of each material; the spray foam creates a solid air barrier while simultaneously filling gaps and cracks. Meanwhile, cellulose or wool provides additional density and insulation value.
By strategically layering these materials, homes can become significantly more energy-efficient. In fact, many homeowners have reported heating cost reductions of up to 40% after implementing this dual-layer approach.
Multi-layer Insulation Blankets
Another great option involves using multi-layer reflective insulation. These blankets are designed with alternating layers of reflective foil and foam board, essentially creating a mirror-like effect to bounce heat back into the room. What’s fascinating about this type of insulation is its ability to reflect rather than absorb heat, which proves particularly useful during colder months when dampness can linger in the air.
The combination of these materials results in improved warmth retention within spaces like attics or basements, where temperature fluctuations are typical.
With these techniques outlined, it’s equally important to pay attention to specific areas in your house that often play pivotal roles in maintaining warmth.
Focusing on Individual Parts
Let’s break down each part of the house—be it walls, attics, windows, or doors—because insulating these areas appropriately can make a world of difference. For example, ensuring windows are properly sealed with caulk or weatherstripping can drastically reduce drafts. Layering heavier curtains over windows can also act as an insulator against cold air seeping inside.
Meanwhile, adding baffles at the soffits when insulating attics prevents blockage and maintains airflow—an often overlooked detail that proves crucial for proper ventilation.
Insulation is not merely about stuffing material into cavities; it requires thoughtful strategies and execution to ensure maximum effectiveness. Each layer contributes to the whole system’s performance: retaining heat during winter months while keeping your costs down over time.
Adopting these layered approaches helps establish a more comfortable environment while promoting better energy efficiency within your home.
As we recognize the importance of these individual components in creating an insulated haven, let’s explore practical solutions for those key areas within your dwelling that require targeted attention.
Insulating Walls, Attics, Windows, and Doors
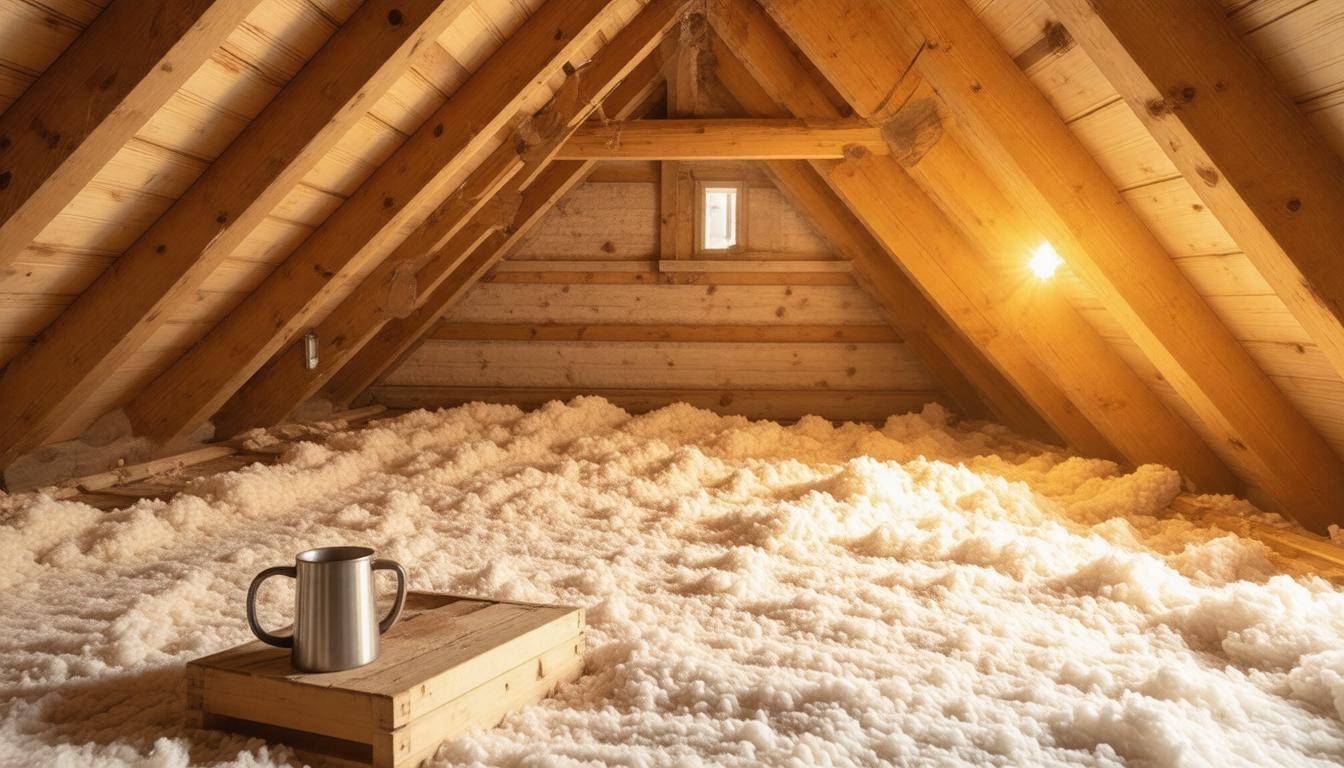
To maximize warmth throughout your home, it’s essential to focus on insulating not just the attics but also walls, windows, and doors. For attics, the use of Roxul Rockwool batts is a stellar choice. These batts are not only fire-resistant but also possess superior thermal properties that trap heat effectively. The benefits add up; proper attic insulation can lead to a stunning 30% reduction in heating costs—something every homeowner will appreciate during those chilly winter months. Imagine reducing your energy bills simply by ensuring that warm air doesn’t escape!
Attic Insulation
Research shows that poorly insulated attics are a significant source of heat loss. It’s surprising how many homes lack adequate insulation in this critical area due to wear or neglect. Therefore, addressing this first can make a world of difference in the comfort level of your home.
After addressing the attic, it’s time to consider the walls. Insulating walls can create a comprehensive barrier against cold air infiltration. A fantastic method is to fill wall cavities with blown-in cellulose insulation. This dense material not only fills gaps effectively but also provides excellent soundproofing while enhancing thermal efficiency. Homeowners often overlook wall insulation, yet it plays a crucial role in maintaining cozy warmth and cutting down on unwanted drafts.
Walls Insulation
Beyond simply filling wall cavities, it’s important to assess for any potential air leaks before applying insulation materials. This may involve sealing cracks or gaps around electrical outlets or pipes that penetrate through the walls. By creating an airtight environment before adding insulation, you ensure its effectiveness and longevity.
Now let’s pivot to one of the biggest culprits of heat loss: windows and doors. These openings can frequently allow cold air in and warm air out if they are not properly sealed. Ensuring that you’ve applied weatherstripping around doors and windows is crucial. Not only does this prevent drafts, but it also maintains a consistent indoor temperature.
Windows and Doors
To further enhance efficiency, consider installing double-pane or storm windows. These additions provide an extra layer of protection from the elements, significantly reducing heat loss compared to single-pane counterparts. Some homeowners have reported notable improvements after making this switch, even saying they could feel a difference immediately upon installation.
Regular assessment and maintenance of these insulating measures will guarantee their effectiveness year after year, ultimately leading to warmer living spaces and lower energy bills throughout the cold seasons. This proactive approach not only enhances comfort but also sets the stage for exploring how to keep these solutions working at peak performance over time.
Maintaining Insulation Effectiveness Over Time
Even the best insulation can gradually degrade over time, losing its ability to keep your home cozy when the temperature drops. To combat this natural decline, it’s essential to conduct regular inspections.
At least once a year, take time to look for signs of wear in your insulation—such as gaps, moisture damage, or even pest infestations. You’d be surprised how quickly these issues can escalate if left unchecked. Using a thermal imaging camera during these inspections can make the process easier. By detecting cold spots where insulation might have degraded, you can target specific areas that need attention.
Another effective way to maintain the integrity of your insulation is to ensure that blown-in materials in attics are regularly topped up. This involves checking that they haven’t settled due to gravity or humidity—common culprits of reduced efficiency.
While you’re at it, checking seals around windows and doors is equally important. Gaps here can allow icy drafts to seep into your home, counteracting the effectiveness of any insulation you’ve installed. If you find any cracks or openings, applying fresh caulk or weatherstripping is a simple yet powerful solution.
Many households have reported significant savings after committing to regular insulation maintenance—averaging around 15% on their annual energy costs. This not only translates to a little more cash in your pocket but also contributes positively to the environment by reducing overall energy consumption. Keeping your home insulated goes hand-in-hand with lower heating bills, making it a win-win situation.
The effectiveness of insulation can also be measured using R-value, which indicates its resistance to heat flow. Over time, insulation materials may lose some of their R-value due to settling or moisture absorption. Aim for an R-value suited for your climate; for many regions, an R-value of 38-60 in attics and 19-38 for walls is recommended.
Regular upkeep not only helps maintain efficiency but also enhances comfort levels in your home. Taking proactive steps today will set you up for a snug winter tomorrow while pleasantly keeping those pesky heating bills in check.
By understanding how to maintain and improve your home’s insulation over time, you’re not just investing in comfort but also smarter energy use and long-term savings.