
Disasters can turn our lives upside down in an instant, leaving us to pick up the pieces of our homes and hearts. Whether it’s flooding, fire, or another catastrophe, knowing how to salvage your belongings is key to regaining a sense of normalcy. The struggle becomes not just about what you’ve lost, but about identifying what’s worth saving amidst the chaos. As you navigate through damaged rooms filled with memories, understanding which items to focus on—be it essential documents, irreplaceable heirlooms, or everyday necessities—can make a huge difference in your recovery journey. In this article, we’ll guide you through the critical steps of salvaging your belongings after a disaster, ensuring that you can approach the challenging process with clarity and purpose.
When salvaging belongings after a disaster, prioritize items that did not come into contact with floodwaters and show no visible damage, as they are generally safer to keep. Additionally, focus on preserving possessions with significant historical, monetary, or sentimental value while ensuring thorough cleaning to remove any potential contaminants.

Identify and Prioritize: The First Step
In the aftermath of a disaster, particularly floods, time becomes an invaluable resource. Your first step is to ensure safety, which means assessing any potential hazards around your home. This could involve checking for leaking gas lines or identifying unstable walls that could collapse. It’s advisable to consult professionals who can offer a quick assessment. Failure to do so can lead to dangerous situations that may further compromise your safety.
Picture this: you’re navigating through your flooded home, trying to salvage your grandmother’s antique vase, but suddenly you realize the ceiling above you is dripping water precariously. Not the kind of situation you want to find yourself in!
Once clear of hazards, it’s time to prioritize your items. When considering what to save, focus on immediate survival needs and important documents. These include crucial identification papers, insurance documents, and anything related to finances—such as tax records or bank statements. In situations where every second counts, having these vital items ready can significantly ease the recovery process.
Think of it like building a safety net; essential documents are your lifeline back to normalcy.
Alongside valuable papers, don’t forget about essentials for immediate survival such as non-perishable food, medications, and clean drinking water. Depending on the severity of the disaster, food supplies may dwindle quickly or become contaminated—prompting a need for swift action. While saving sentimental items is important, prioritizing what keeps you safe and functional should always come first.
Once you’ve taken care of these immediate priorities, it’s time to focus on more delicate items. Fast-moving equipment like electronics should be addressed next due to their vulnerability to water damage. While a classic book might survive soaking wet over time, your laptop’s circuitry will not fare as well. If electronics have been submerged, avoid turning them on until they’ve been thoroughly dried out and checked by a professional.
Lastly, keep an organized approach throughout the process. Use checklist methods or color-coded bins to help manage your salvaging efforts based on priority criteria established earlier. Document each item’s condition with photographs; this will assist in insurance claims later on and give you a sense of progress as you move forward.
As the process unfolds and your priorities shift, it’s essential to systematically assess the condition of each belonging before deciding what to keep and what may need professional evaluation.
Evaluating Damage to Belongings
The next vital step in salvaging your possessions after a disaster is understanding the full extent of the damage. This evaluation not only helps in deciding what to keep but also informs your approach to cleaning.
In the aftermath of a flood, for instance, knowing whether an item has minor surface stains or significant structural issues can determine whether it’s worth the effort to restore.
Items affected by water take on a different character based on their exposure. Differentiating between superficial and extensive damage will guide your decisions in this critical phase.
Step I – Superficial vs. Extensive Damage
Superficial damage refers to issues that are merely cosmetic: dirt, soot, or surface-level water marks that can often be cleaned away with some elbow grease.
On the other hand, extensive damage means that an item has suffered serious impacts such as warping, breaking, mold growth, or contamination from hazardous materials.
For example, while a wooden chair may just need a good scrub if it absorbed a bit of water, an heirloom piece exposed to sewage would likely require more drastic measures or disposal altogether.
Understanding these distinctions allows you to prioritize your salvage efforts based on what can be reasonably restored versus what poses a health risk.
Step II – Signs of Irreparable Damage
As you assess your belongings, certain signs indicate irreparable damage—most notably, items submerged in contaminated water.
If belongings were in contact with sewage or chemicals, they should be discarded immediately to safeguard your health and prevent cross-contamination. Quick action is essential; studies reveal that mold can develop within just 24 to 48 hours after exposure to moisture.
Consequently, acting swiftly when assessing moisture-damaged items becomes critical. Look for discoloration or unusual odors, as these may signal mold growth or degradation that could compromise not just the item but also the air quality in your home.
Checklist for Assessment
To streamline your evaluation process, here’s a handy checklist:
- Photographs for insurance purposes: Document everything before disposal.
- Quick visual check for contamination: Identify any items showing clear signs of water or chemical exposure.
- Plan decisions based on damage level: Keep records of salvageable items and create a secure plan for cleaning.
After completing these assessments and gathering all necessary information, you can now shift focus towards making informed decisions about which belongings to keep based on sentimental value and their potential for restoration.
What To Keep: Emotional vs. Functional
When salvaging belongings post-disaster, there are two key categories that emerge: items of emotional value and those of functional utility. Understanding the difference—and navigating each category thoughtfully—is essential for a successful recovery.
In many cases, emotionally significant items such as family heirlooms, photographs, or cherished keepsakes hold deep personal connections. It’s not just about their material worth; they encapsulate memories and relationships that cannot easily be replaced. For instance, consider a weathered family quilt passed down through generations. Even if waterlogged from flooding, with professional cleaning care, such sentimental treasures often find new life—symbolizing resilience in the face of adversity.
However, while emotional items tug at our heartstrings, we cannot overlook the importance of practical possessions.
Items that ensure our daily functioning—clothing, kitchenware, and critical documents—are also paramount in this decision-making process. When your home is disrupted, functionality often narrows to essentials that allow you to manage life during recovery.
Think about documents like birth certificates or insurance papers; losing these could complicate your future efforts significantly. Therefore, while assessing what to keep, make sure to prioritize items that maintain daily life and comfort. Yet equally important is keeping track of more functional possessions—being aware of not sacrificing those essentials for less impactful sentimental items.
That said, it’s effective to get organized early on, creating separate piles for each category during your sorting process.
Step-by-Step Sorting
| Pile | Key Considerations |
|---|---|
| Emotional Value | Family heirlooms, photographs, art from children |
| Functional Utility | Kitchenware, essential clothing, important documents |
In practical terms, create two distinct piles: one for emotionally valuable items and another for functional needs. This expedites your decision-making process significantly and offers a clear visual separation between what is necessary and what provides comfort.
As you sift through your belongings, you may feel an instinctive reluctance to part with items due to their emotional weight; by systematically organizing them into these categories, you will gradually establish clarity amid potential chaos.
This organized approach serves as a strong foundation as you navigate the various aspects of recovery and begin to address the next steps in restoring your life.
Organizing Your Recovery Efforts
Coordination and Delegation
Bringing in family or friends can significantly lighten the burden during this challenging time, but to make the most out of their help, it’s crucial to delegate specific tasks.
Imagine this scenario: while one person sorts through cherished heirlooms and decides which items need immediate attention, another individual could document everything for insurance purposes. This coordination ensures that each task is handled without overlapping efforts, which can lead to confusion or missed steps. When everyone knows their role, actions become more streamlined, allowing for quicker recovery and less stress.
Timing and Scheduling
Establishing a timeline with clear milestones can transform a chaotic recovery into a manageable process. For example, the first priority after a disaster like flooding must be immediate drying—ideally tackled within the first 24 hours.
Scheduling structural evaluations by professionals should occur within the week following the event. By segmenting these timelines into immediate, short-term, and long-term goals, you’ll be able to focus on what’s most pressing without feeling overwhelmed by what still needs to be done.
Documentation and Inventory
Keeping meticulous records is another essential part of the recovery effort. Create an inventory that not only lists items you’ve recovered but also includes photographs and brief descriptions for each object.
This simple practice serves two key purposes: it facilitates any insurance claims you need to file and efficiently tracks what has been saved from potential loss. Your documentation can effectively tell a story of resilience amidst hardship, showing how you’ve preserved irreplaceable memories and necessary items.
Remember, as you organize your recovery efforts, each step taken towards salvaging belongings is not just practical; it helps in restoring a sense of normalcy amidst upheaval.
As we shift our focus towards practical aspects that support this journey, let’s look at resources and strategies designed to streamline your recovery process.
Tools and Tips for Salvaging
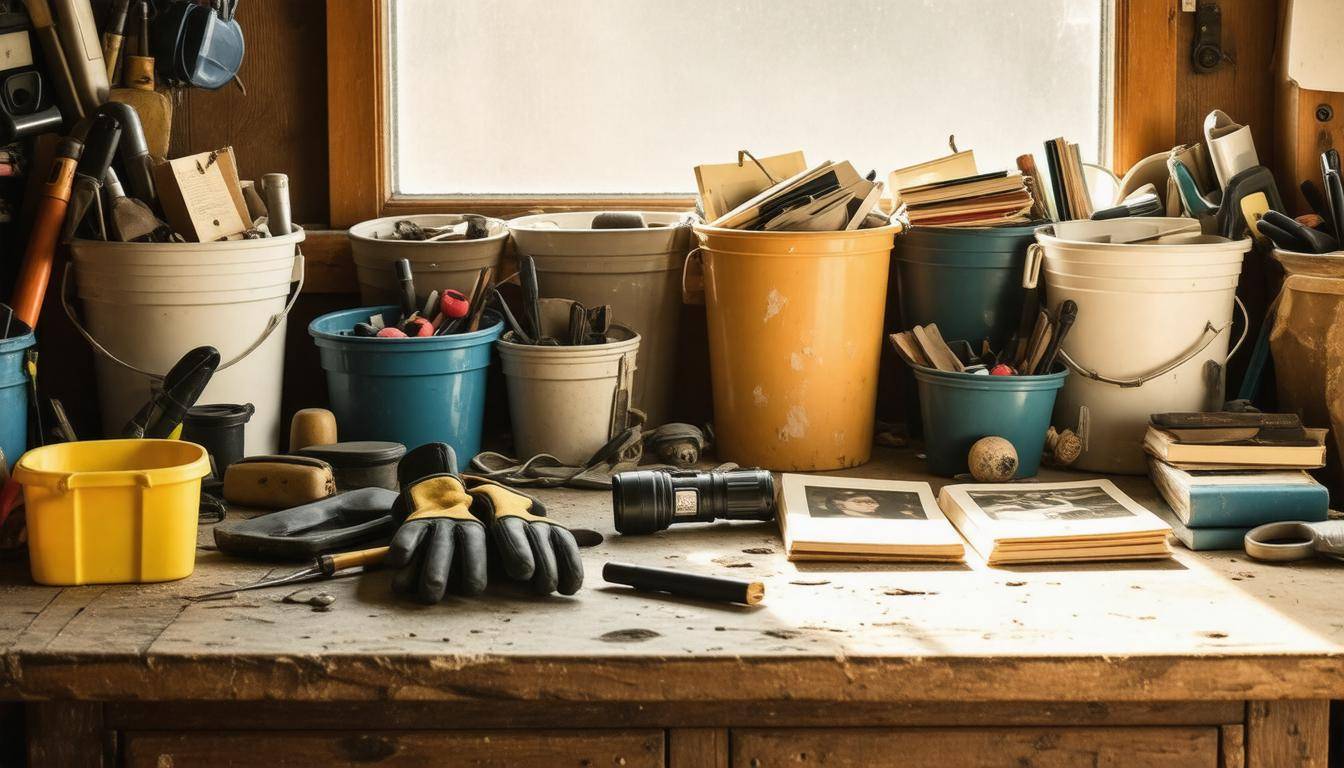
Having the right tools can truly transform your salvaging efforts. Rather than feeling overwhelmed in the wake of a disaster, possessing essential equipment makes your recovery process more manageable and efficient. Think of these tools as allies in your battle against damage—each with its unique role to play. For example, donning a sturdy pair of gloves will protect your hands from unexpected sharp edges or hazardous materials while sorting through debris. Meanwhile, a quality mask will shield you from inhaling any potentially harmful particles that may have been stirred up during cleanup.
Essential Tools
It’s crucial to gather a comprehensive toolkit for this endeavor, which should include:
- Gloves: Protects your hands from contaminants.
- Masks: Ensures you breathe safely in possibly toxic environments.
- Wet/dry vacuum: An invaluable tool for quickly removing water and muck from affected areas.
- Dehumidifiers: Helps lower moisture levels to prevent mold growth.
- Plastic bins: For safely storing recovered items without risk of further damage.
- Cleaning agents: Specific products designed for diverse materials; however, remember to select non-abrasive solutions when dealing with fragile belongings.
Each item plays a critical role in salvaging effectively. When facing the aftermath of a flood or other disasters, every ounce of effort counts towards preserving what truly matters.
Beyond having the right tools at hand, incorporating recommended practices into your recovery routine is vital. Quick action helps mitigate long-term damage, so once you’ve assessed the situation, it’s time to move swiftly. Begin by using fans and dehumidifiers to reduce moisture levels immediately. The faster you can lower humidity, the better chance you give materials—be it furniture, fabrics, or books—a fighting chance against ruin.
For instance, fans can assist in drying out damp books more quickly and delicately, preventing them from warping or deteriorating further. Additionally, utilizing HEPA filters can significantly aid in removing airborne contaminants that linger post-disaster, enabling a safer environment for recovery.
Expert Help
Even with all the tools and techniques at your disposal, there may come a moment when professional help becomes essential. If you’ve encountered items extensively damaged or contaminated beyond safe home restoration efforts—like cherished family heirlooms or valuable antiques—it’s wise to seek guidance from a conservator. Organizations such as the American Institute for Conservation (AIC) provide resources specifically designed to restore invaluable pieces that might otherwise be lost forever.
Reaching out for expert help is not a sign of defeat but rather an acknowledgment of the value encapsulated within those irreplaceable belongings. This collaboration could mean the difference between complete loss and precious recovery.
As we move forward in our journey of restoring what has been damaged, considering how to safeguard these belongings against potential future incidents can prove equally beneficial.
Protecting Your Belongings for Future Disasters
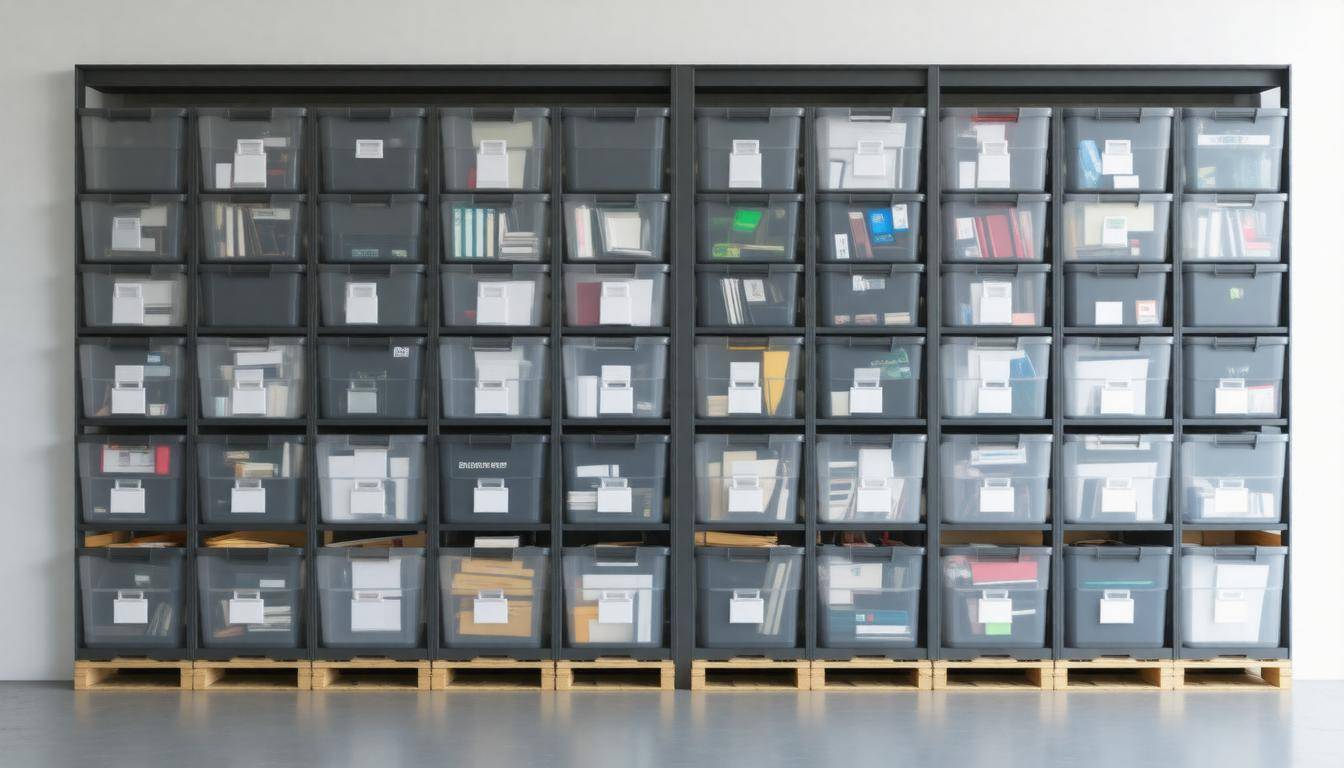
Once the immediate crisis passes, the importance of taking preventive measures cannot be overstated. One pivotal step involves utilizing protective storage solutions effectively. By storing critical documents in waterproof and fireproof safes, you shield them from potential wildfire or flood damage while having peace of mind that they’re secure.
For your cherished sentimental items, encasing them in sealable plastic containers prevents moisture and protects against dust accumulation over time.
As we set up these defensive barriers, regular updating of our preparedness kits becomes equally essential.
Step I – Using Protective Storage Solutions
Consider investing in high-quality safes designed to withstand extreme conditions. This investment is more than just a safety measure; it’s a promise to yourself and your loved ones that you cherish what matters most.
Likewise, inspecting and updating the contents of your emergency kit every six months ensures you’re stocked with essentials. Over time, batteries may die, food may expire, and invaluable items may need replenishing.
When crafting these essential kits, backups of crucial documents like ID cards or financial records should feature prominently. Including basic necessities—think non-perishable snacks, bottled water, and flashlights—is crucial as well. These small steps ensure you’re prepared not just for individual crises but also empower you with a sense of security.
Just as important as storing our cherished memories is routinely checking our insurance policies.
Step II – Regularly Updating Preparedness Kits
Reviewing and updating your insurance coverage plays a pivotal role in protecting your valuables adequately. Assess every policy at least once a year or whenever major acquisitions occur—like a new vehicle or valuable art piece—to guarantee full coverage.
Also crucial is maintaining digital copies of vital documents such as property deeds and vehicle titles stored securely in the Cloud. This digital backup can save tremendous time during emergencies when accessing information quickly is paramount.
Visual aids like photographs of your home inventory serve as useful timestamps and are a great reference point for any claims you might need to file later on.
Keeping a thorough record ensures no detail is overlooked and protects against unforeseen losses.
To guide you through optimal protection strategies, here’s a quick summary.
Step III – Insurance and Documentation
| Measure | Frequency | Tools Needed |
|---|---|---|
| Review Emergency Kit | Every six months | Basic supplies, updated documents |
| Insurance Review | Annually | Policy documents, digital records |
| Protective Storage | Ongoing | Fireproof/waterproof safes, plastic containers |
Implementing these preventive measures doesn’t merely protect material possessions; it honors the emotional connections embedded within them. Taking the time to prepare today will yield dividends in resilience tomorrow.
As you set your plans in motion, remember that preparedness is not just about resources—it’s about safeguarding what truly matters in times of uncertainty.
How can I effectively document salvageable items for insurance purposes?
To effectively document salvageable items for insurance purposes, create a comprehensive inventory that includes photographs of each item, receipts or proof of purchase, and a detailed description of their condition. Statistics show that individuals who file claims with thorough documentation are 50% more likely to receive full compensation from their insurance providers. Regularly updating this inventory, particularly after major purchases or before disasters, can significantly improve the claims process and ensure you receive what you’re entitled to recover.
What steps should I take immediately following a disaster for proper preservation of valuable belongings?
Immediately following a disaster, prioritize safety and then assess the damage to your belongings. Begin by documenting everything with photographs for insurance purposes, as evidence can expedite claims—stats show that claim processing times can be improved by 30% with proper documentation. Next, carefully clean and dry items to prevent mold; for example, textiles should be air-dried away from direct sunlight to avoid fading. Finally, store valuables in a safe, dry location until they can be properly restored or disposed of.
Are there specific categories of items that are more important to salvage?
Yes, there are specific categories of items that are more important to salvage after disasters, such as essential documents (passports, insurance papers), sentimental items (family photos, heirlooms), and survival essentials (medications, clothing). According to a survey by the American Red Cross, 80% of individuals prioritize salvaging important documents first, while 70% emphasize the emotional value of mementos. These categories not only provide practical support but also help restore a sense of normalcy and comfort in times of crisis.
How do I assess the condition of damaged items post-disaster?
To assess the condition of damaged items post-disaster, first, inspect each item thoroughly for visible signs of damage such as cracks, deformities, or corrosion. Use a checklist to evaluate functionality—whether it still operates as intended. For textiles or documents, check for water damage or mold growth; research shows that 30% of salvaged items may be irreparably harmed if not treated within 48 hours. Finally, prioritize sentimental value over monetary worth, as emotional attachment often outweighs physical utility in recovery scenarios.
What criteria should I use to determine which belongings are salvageable?
To determine which belongings are salvageable after a disaster, assess the item based on its material condition, irreplaceability, and potential for repair or restoration. Consider whether the item holds significant sentimental value or if it can be easily replaced. Statistics show that 70% of items affected by water damage can be restored if addressed promptly, while items with significant mold growth or structural damage may need to be discarded for health reasons. Prioritize keeping things that are not just valuable financially but also carry emotional significance.